NOTICE: Please make an appointment via WhatsApp or call the office before walking in. We respond during working hours.
Menu
iPhone Service Malaysia
201303050224
iPhone CPU Repair: Can an iPhone CPU Be Repaired or Replaced?
A customer contacted us asking whether we could repair an iPhone CPU. Another repair shop had already checked the device and told the customer that it had a CPU problem, but no repair was carried out.
Before discussing the repair cost, we explained that the motherboard would need to be diagnosed again.
We do not proceed directly with CPU repair based only on a previous diagnosis. CPU work is one of the most complex procedures on an iPhone logic board, and unnecessary CPU removal introduces additional risk.
More importantly, a CPU that is not working does not necessarily mean the CPU itself is damaged.
The CPU depends on multiple power rails, communication lines and supporting circuits on the motherboard. If one of these requirements is missing, the CPU may stop operating even though the CPU itself is still functional.
This is why proper diagnosis is important before any CPU repair is attempted.
In this repair case, we started the diagnosis from the beginning, analysed the motherboard’s electrical response, isolated the relevant hardware and confirmed the fault before proceeding with CPU reballing.
The iPhone eventually powered on normally with the customer’s original data still intact.
Table of Contents
Can an iPhone CPU Be Repaired or Replaced?
Yes, an iPhone CPU can sometimes be repaired, but it cannot simply be replaced with another CPU like a normal motherboard component.
When technicians refer to “CPU repair,” it is important to understand what type of problem the CPU actually has.
If the original CPU is still functional but has a poor solder connection to the logic board, CPU reballing may restore the connection. This involves removing the original CPU, replacing its solder balls, and reinstalling the same CPU onto the motherboard.
However, if the CPU itself is physically or electrically damaged, installing another CPU alone is not a normal replacement solution.
Why Can't We Simply Replace the iPhone CPU?
The iPhone CPU is part of Apple’s hardware security system and is tied to other components in the device. The data stored in the NAND flash is also encrypted and depends on the original hardware security relationship.
Because of this, replacing only the CPU with one from another iPhone will not restore the phone to normal operation, and the original user data will not simply become readable.
For certain cases, the original CPU and other required paired components can be transferred to a compatible donor motherboard. This is a much more complex procedure commonly used when the original motherboard is too badly damaged to repair directly.
We will cover this type of CPU and component transfer in a separate repair case.
A CPU Problem Does Not Always Mean a Damaged CPU
This is one of the most important things to understand before considering CPU repair.
The CPU requires several power supplies, communication signals and supporting circuits to operate. If one of these requirements is missing, the CPU may not run correctly even though there is nothing physically wrong with the CPU itself.
For this reason, we do not remove or reball a CPU simply because a device has been diagnosed as having a “CPU problem.”
The motherboard should first be tested to determine why the CPU is not operating. Only when the surrounding requirements have been checked and the diagnostic evidence points toward the CPU should CPU-level repair be considered.
How Do We Confirm an iPhone CPU Problem?
There is no single test that can confirm every iPhone CPU problem.
Before performing CPU-level repair, we first need to determine whether the CPU itself is causing the problem or whether another circuit is preventing the CPU from operating correctly.
Our diagnosis normally begins by observing the motherboard’s DC power supply current response. Different faults can produce different current behaviours during the power-on process.
Over years of motherboard repair, we have recorded and compared these responses across different iPhone models and fault conditions. This gives us reference data to help determine which stage of the power-on process is failing.
However, current response alone is not enough to justify removing a CPU.
Checking What the CPU Needs to Operate
The CPU depends on several circuits before it can operate correctly. Depending on the symptoms, we may check:
Required CPU power rails
Communication lines between critical circuits
Power management and startup conditions
Connections between different sections of the logic board
If one of these requirements is missing, the CPU may appear inactive even when the CPU itself is still functional.
Isolating the CPU From Other Hardware
In some cases, additional hardware must be removed or isolated before we can obtain a clearer CPU response.
This reduces interference from other circuits and allows us to observe how the motherboard behaves with only the hardware required for that stage of diagnosis.
We then compare the resulting power response with known reference behaviour for that iPhone model.
The objective is simple: collect enough evidence before deciding that CPU work is necessary.
CPU removal should be a diagnostic conclusion—not the starting point of the repair.
Real Repair Case: iPhone Diagnosed With a CPU Problem
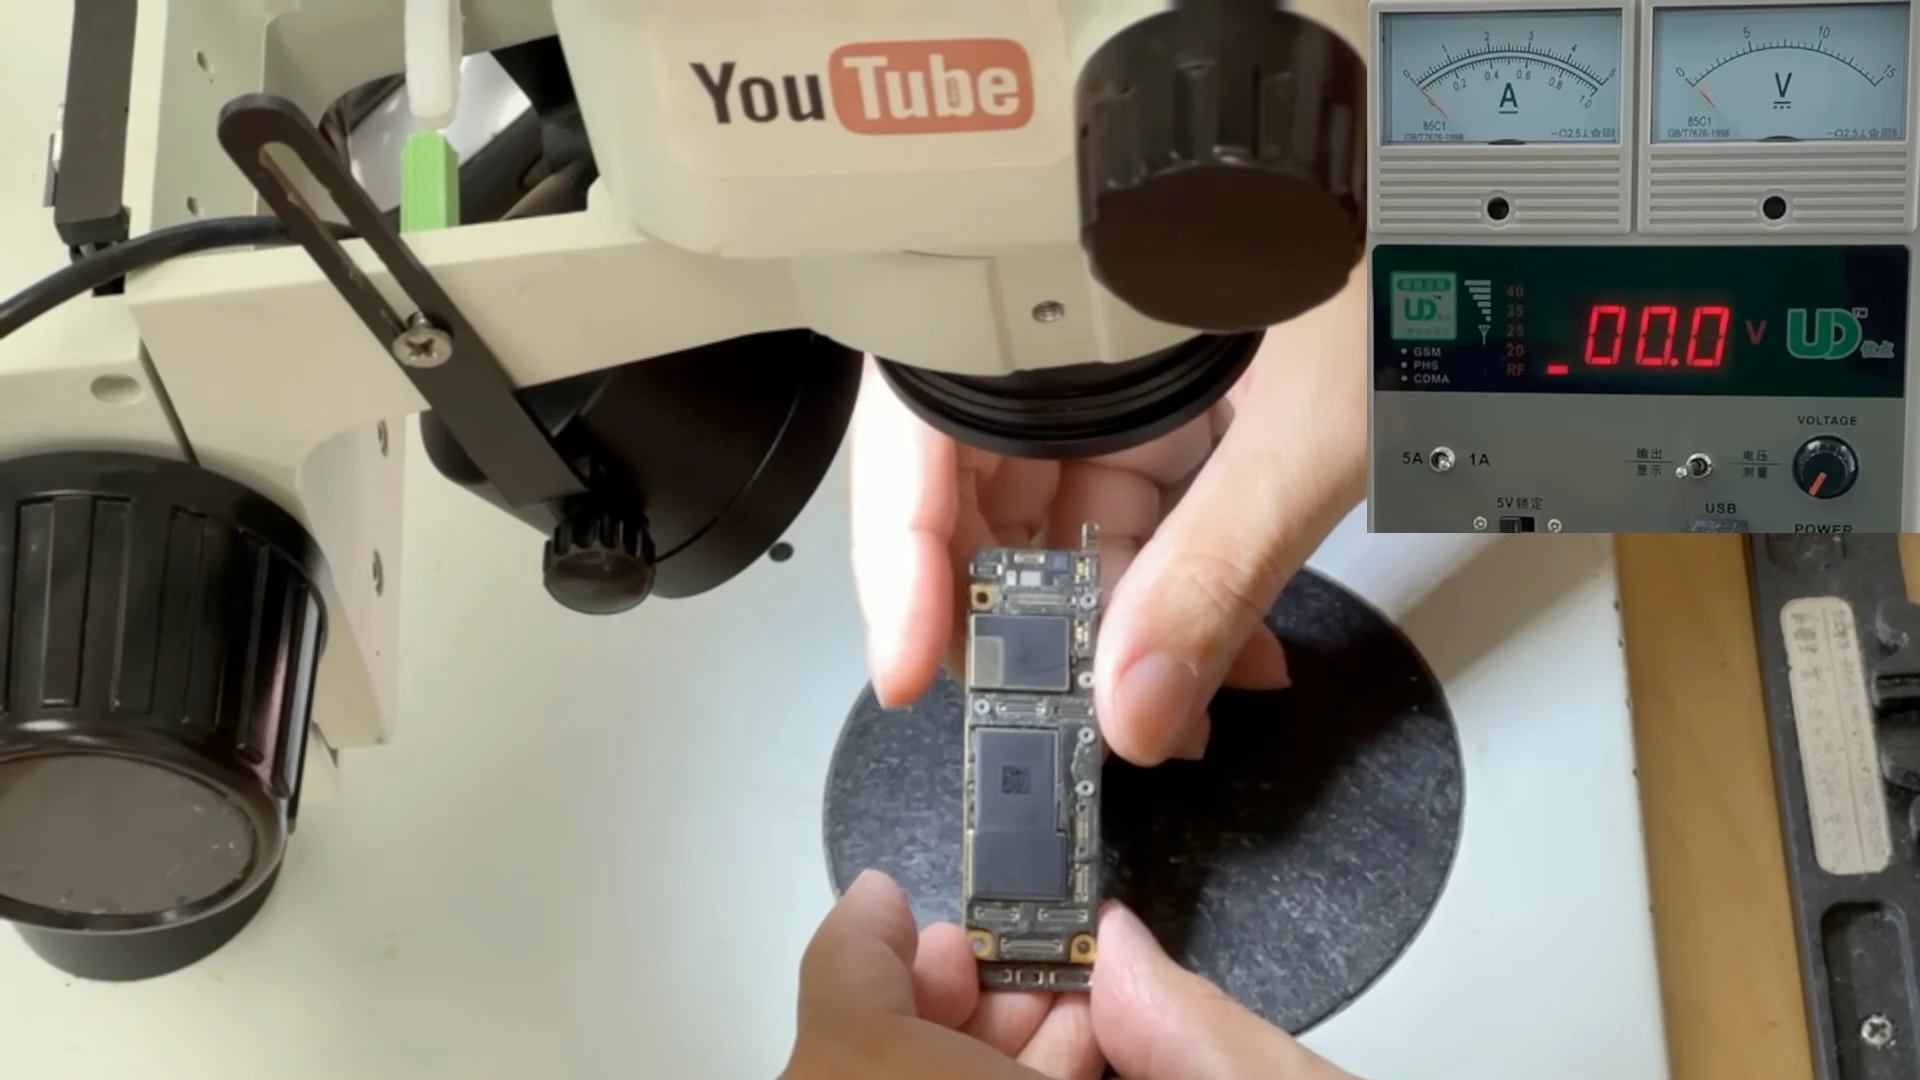
Initial inspection of the iPhone 11 logic board. No signs of previous motherboard repair were found.
The iPhone 11 in this case had already been inspected by another repair shop, and the customer was told that it had a CPU problem. Before discussing CPU repair, we started our own diagnosis from the beginning.
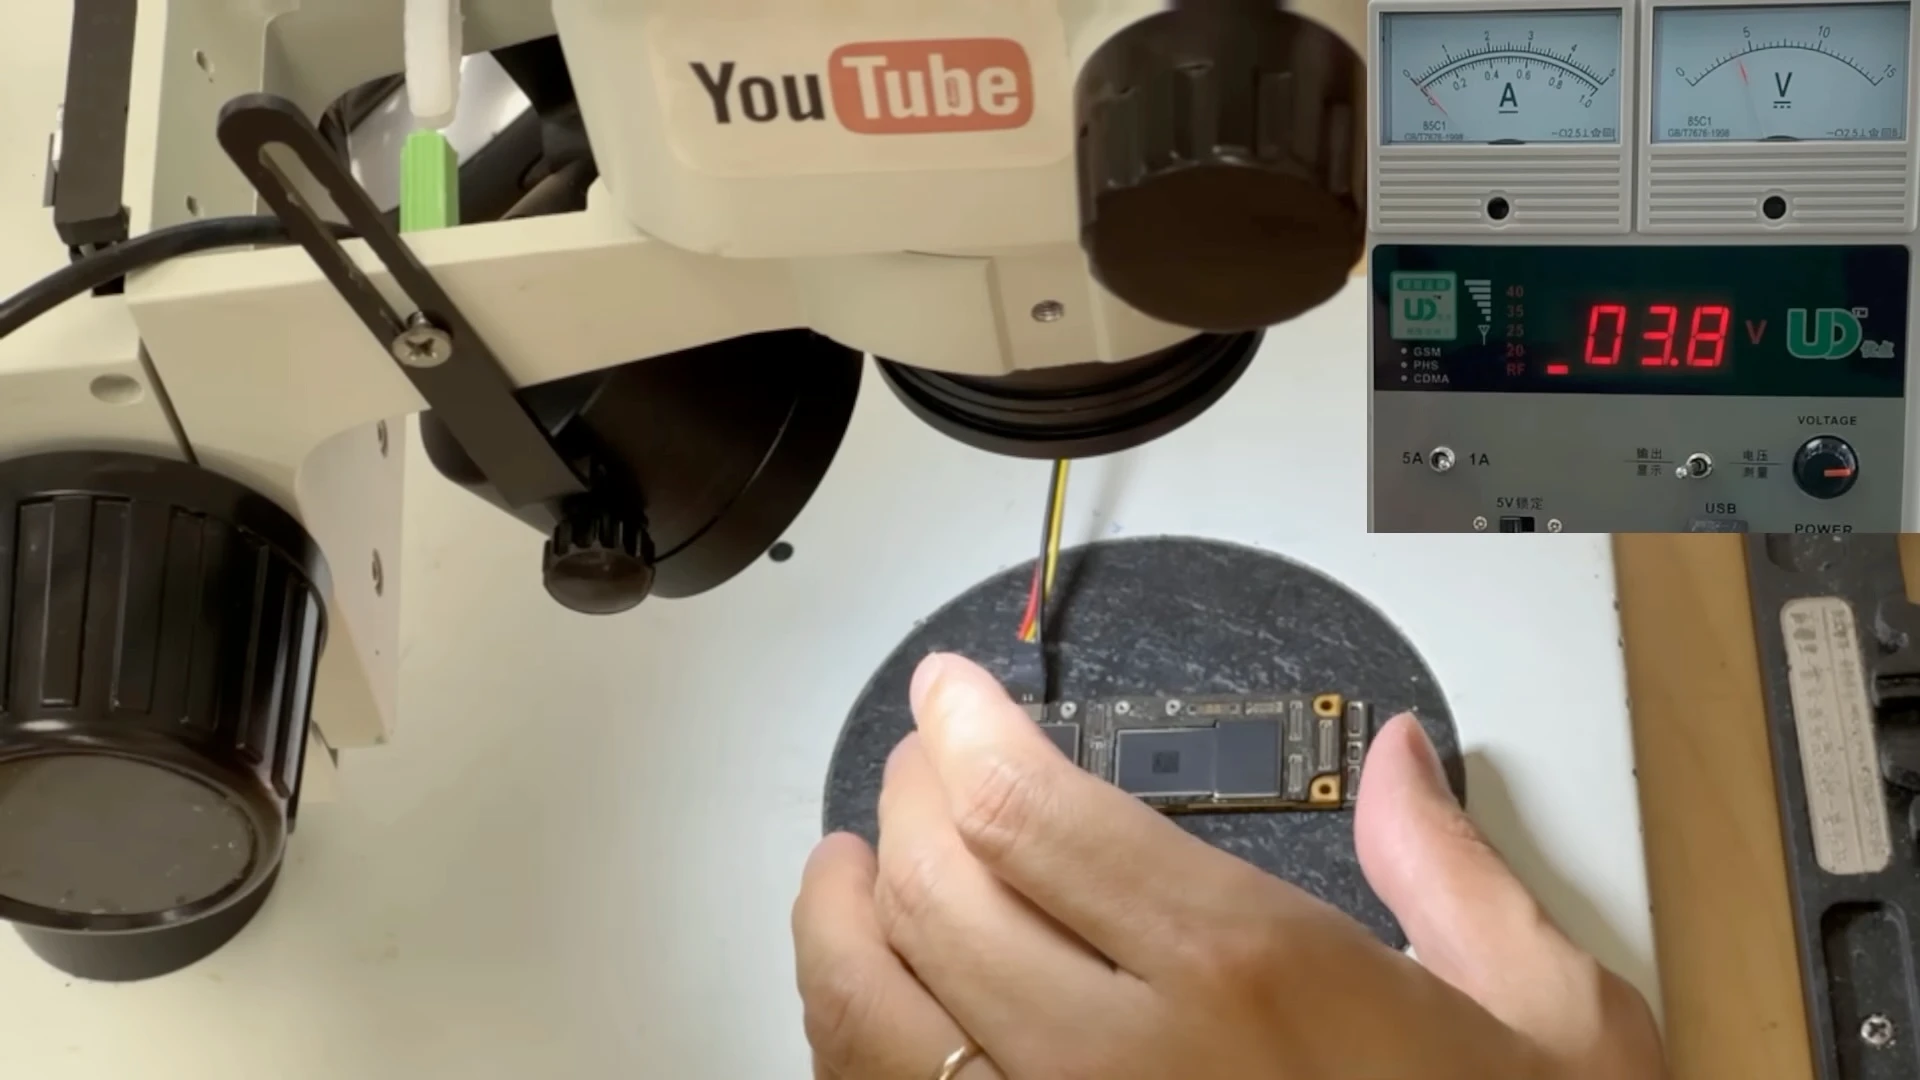
An initial inspection of the logic board showed no obvious signs of previous motherboard repair. We then connected the board to a DC power supply to observe its power-on behaviour.
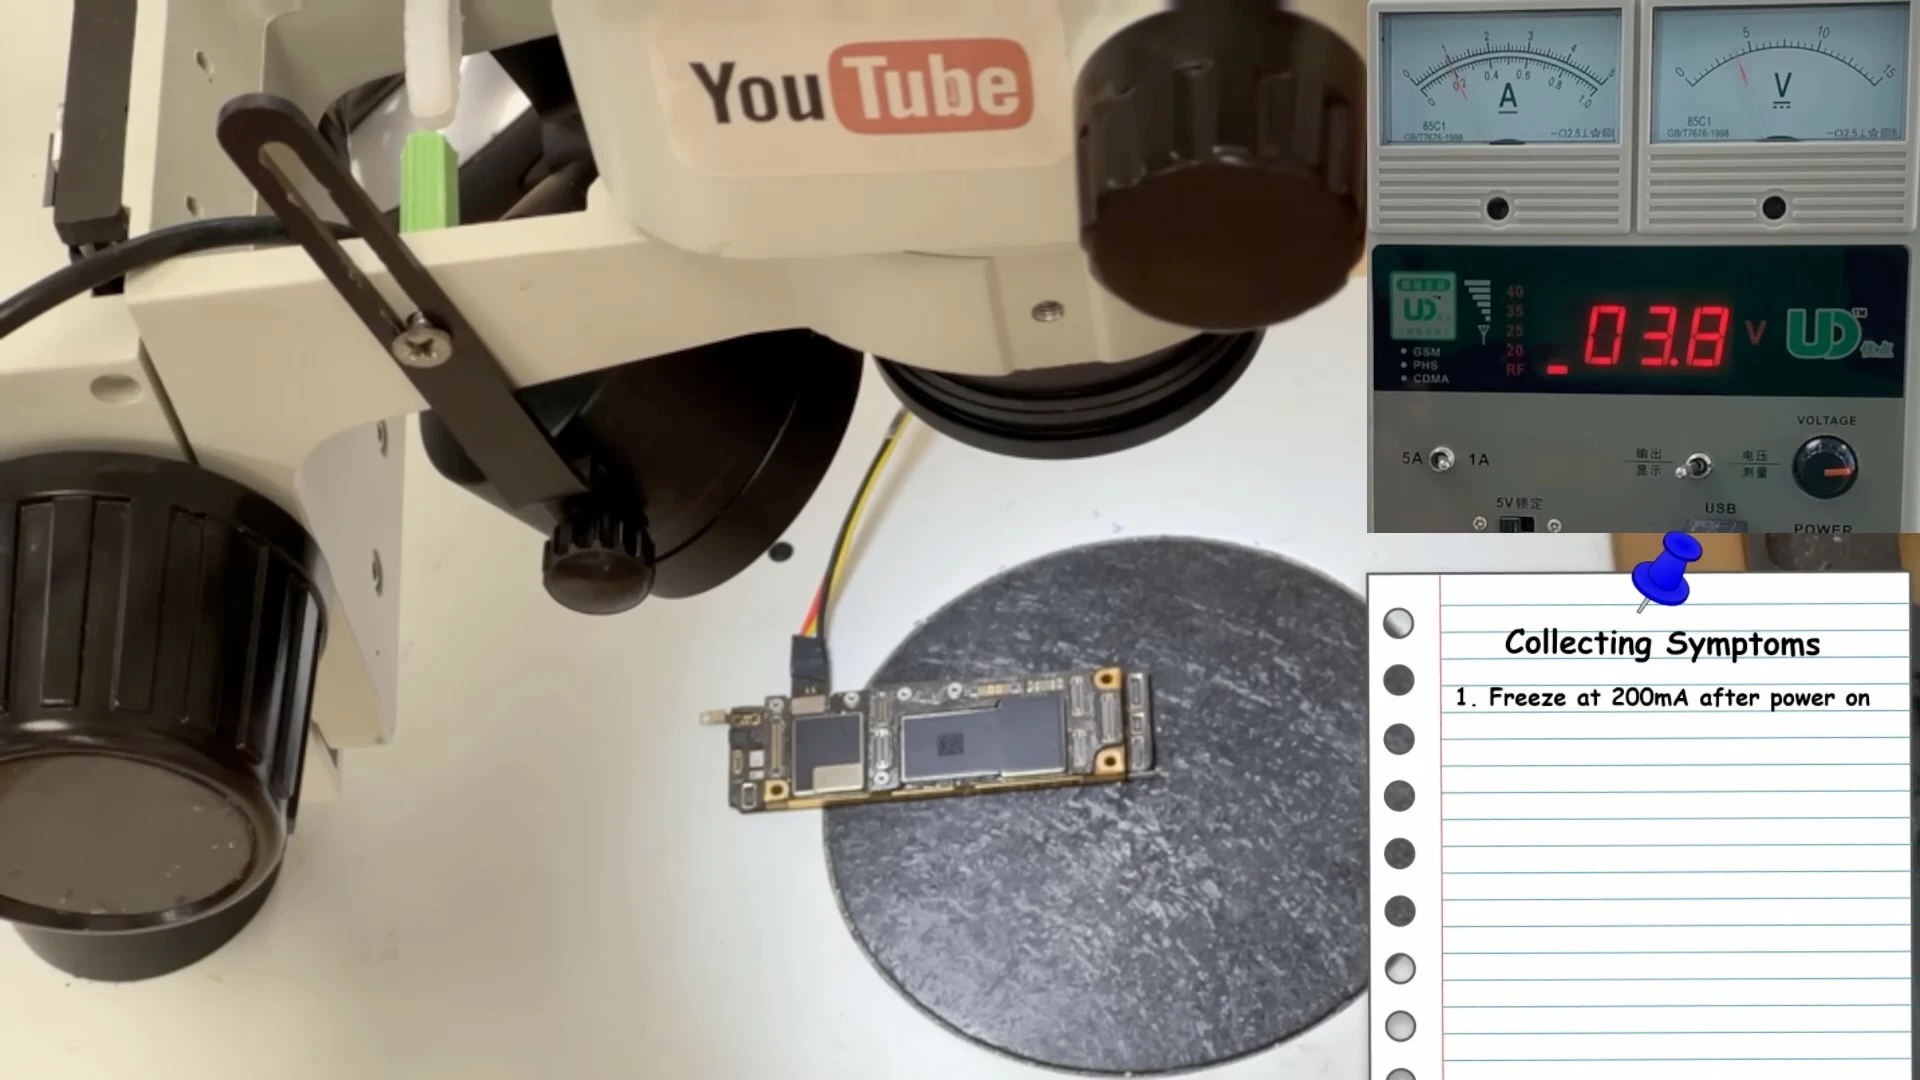
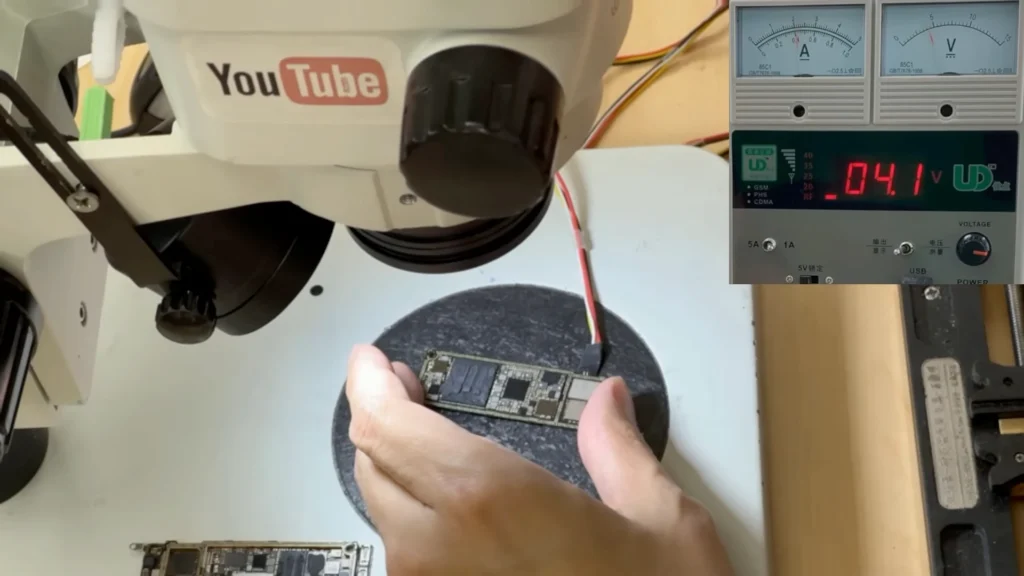
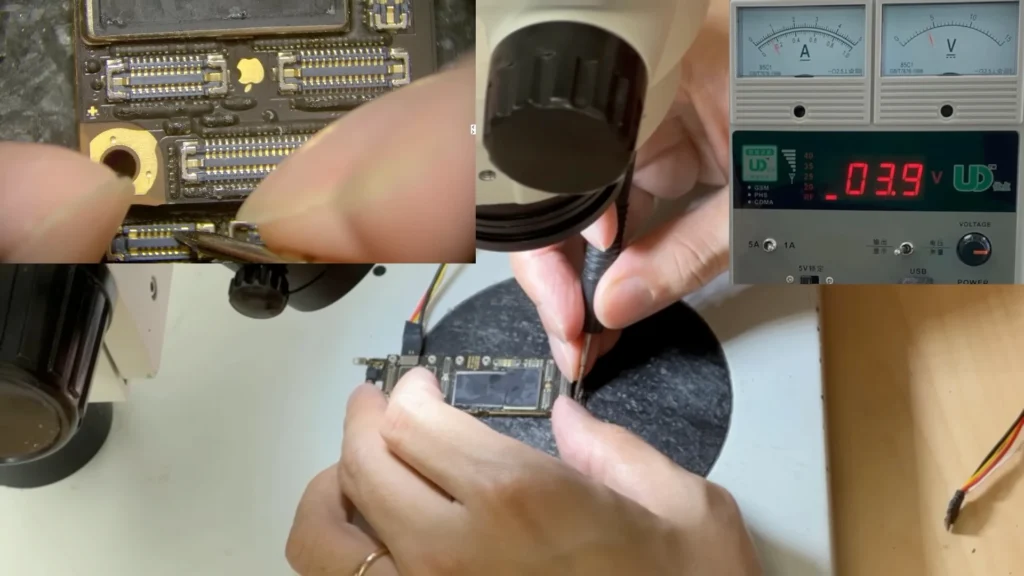
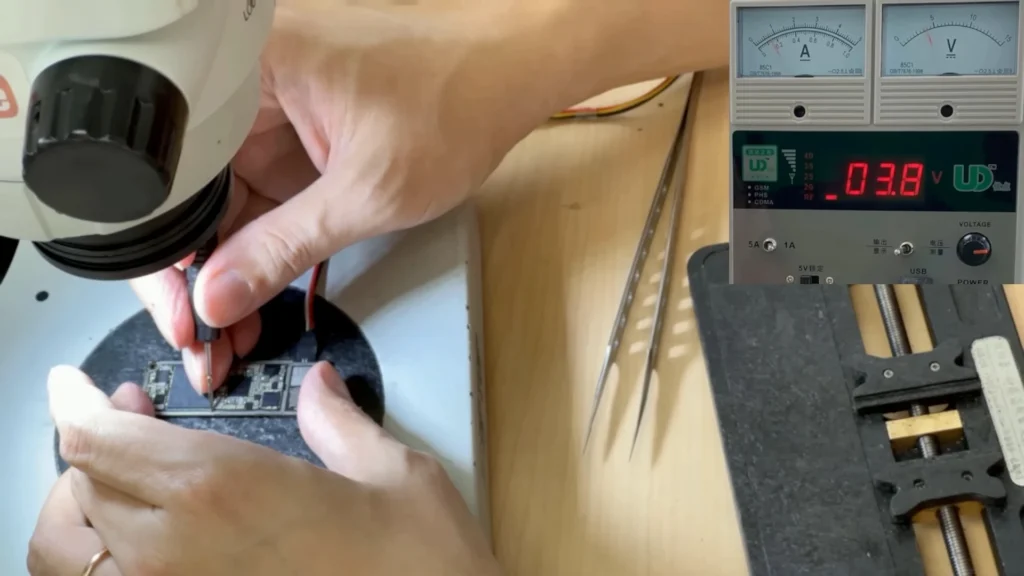
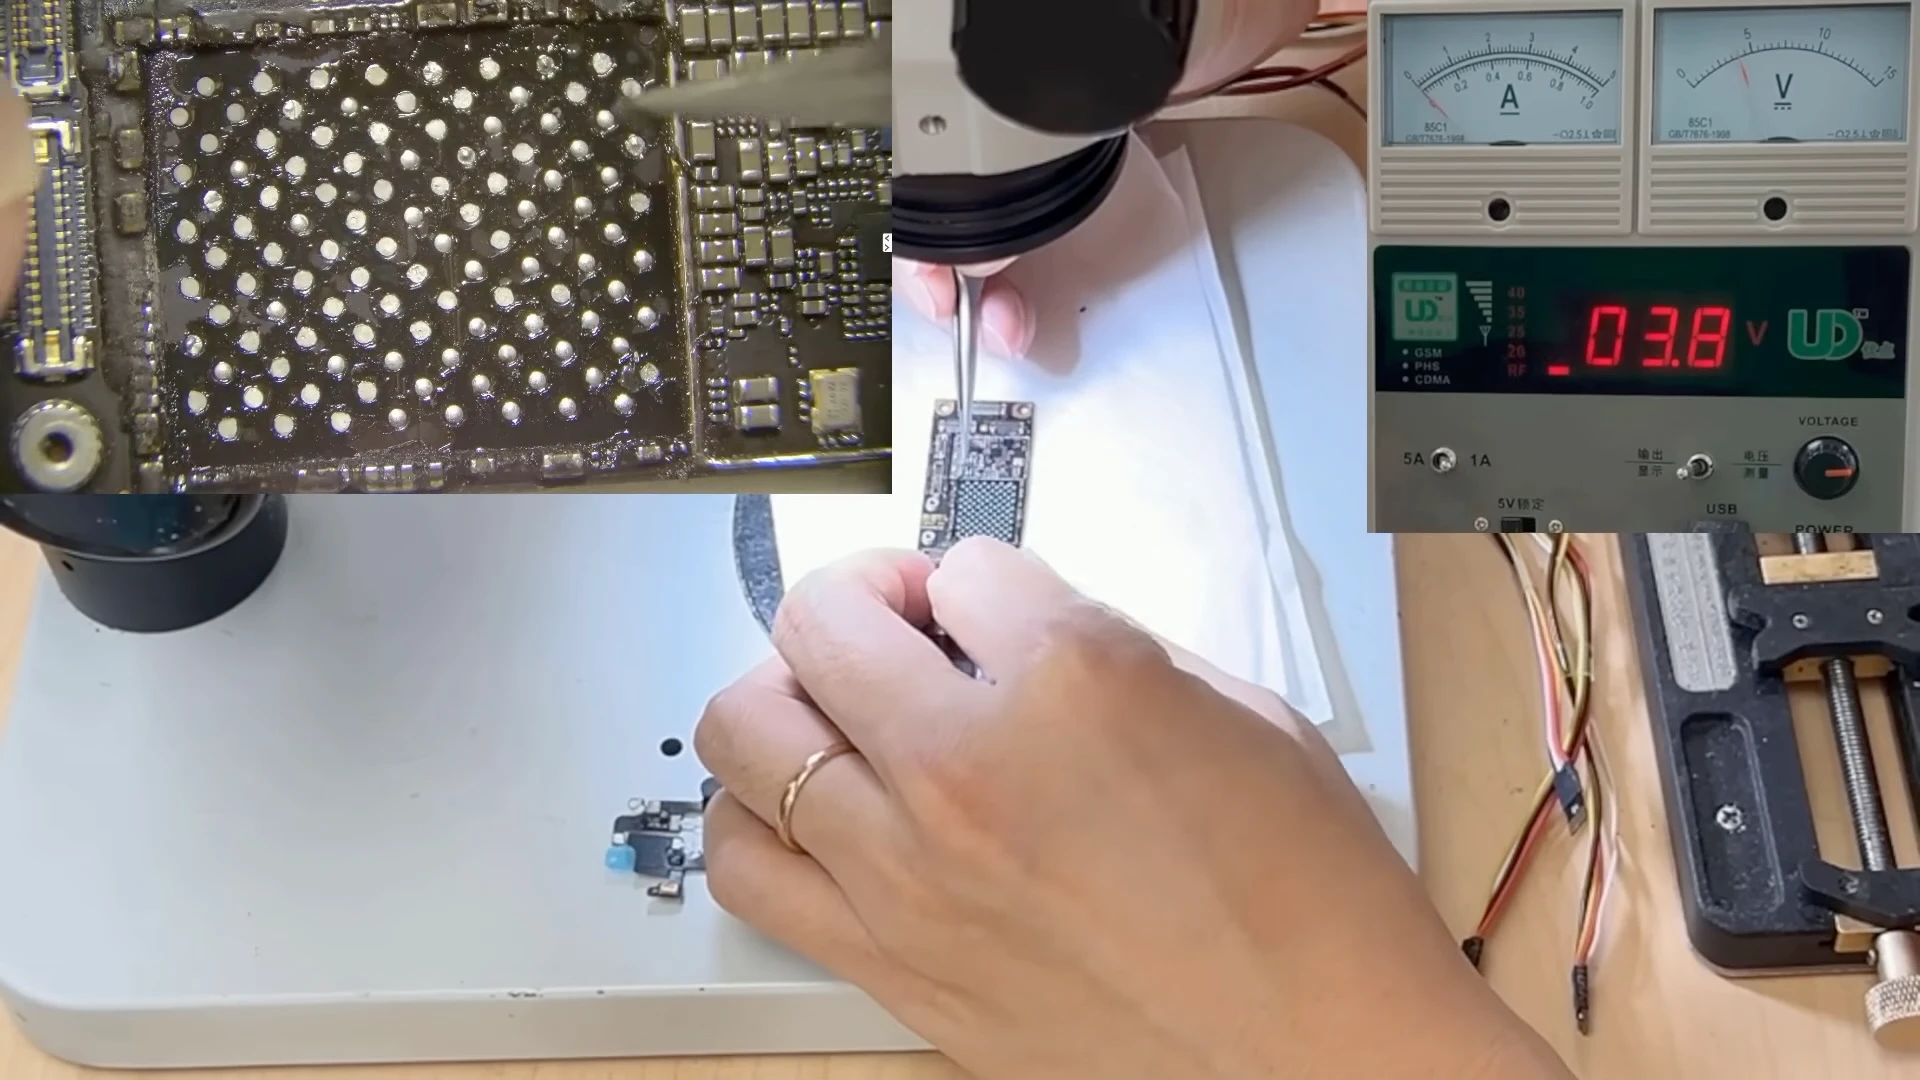
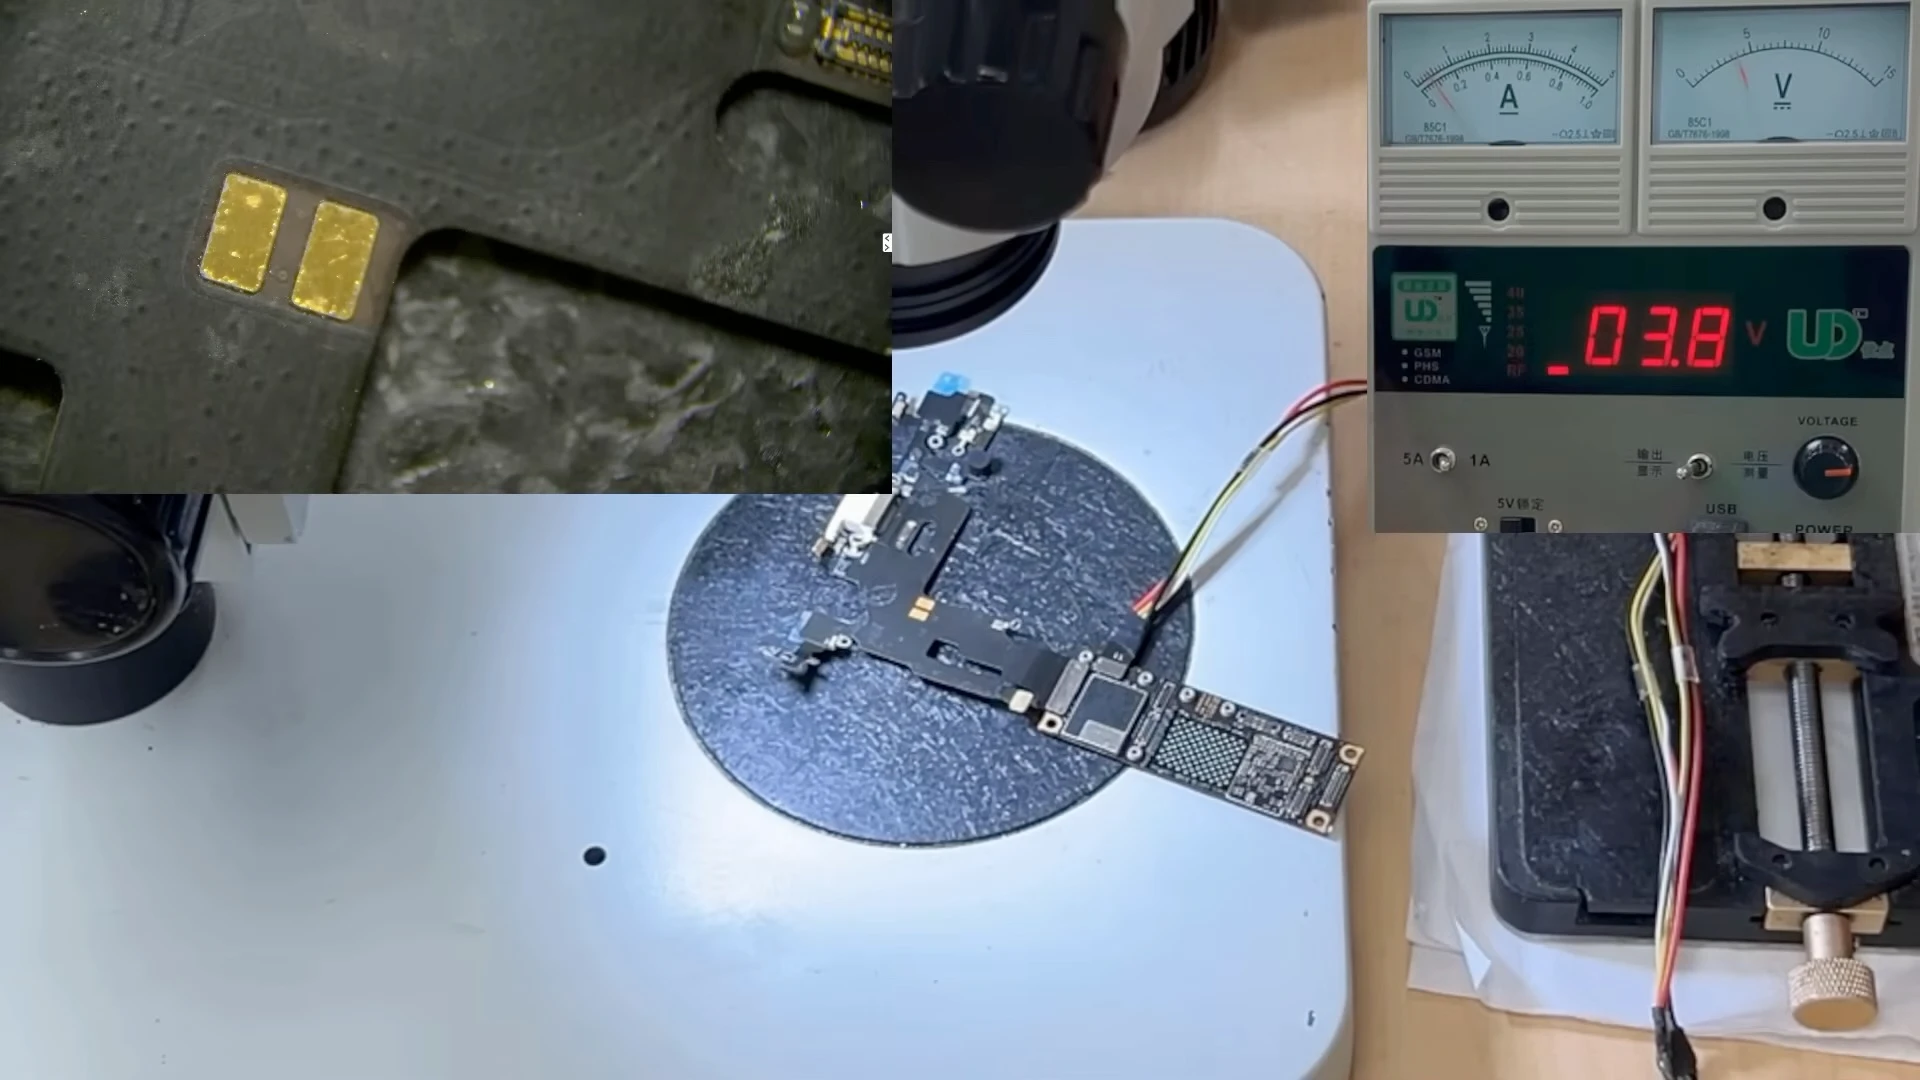
Testing the iPhone 11 logic board with a DC power supply. Pressing the power button produced a normal initial current response, with no immediate short circuit or abnormal current leakage detected.
After power-on, the current remained at approximately 200 mA instead of continuing through the normal startup sequence.
When the power button was pressed, the board responded and there was no immediate short circuit or abnormal current leakage. However, during startup, the current stopped at approximately 200 mA and remained there.
On a normally working iPhone, the current should not remain fixed at this level during startup. As the device progresses through different stages of the boot process, the current normally fluctuates and rises into the amp range. A current reading that remains around 200 mA indicates that the startup process has stopped at a particular stage and requires further diagnosis.
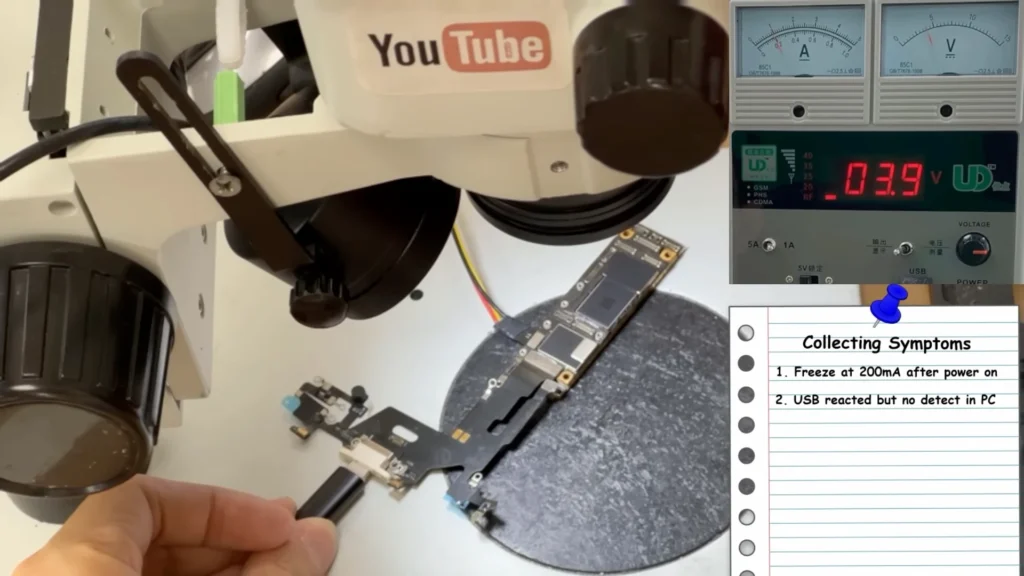
A charging flex and USB cable were connected to check for communication with the computer. The current remained around 200 mA and the PC did not detect the iPhone.
We also connected the charging circuit and USB cable to a computer. The current remained around 200 mA, with no expected USB communication or detection from the computer.
At this point, we knew the motherboard was attempting to start but was unable to continue through the normal boot process. However, this behaviour alone was not enough to conclude that the CPU was defective.
Separating the Sandwich Board to Narrow Down the Fault
The iPhone 11 uses a sandwich-style logic board consisting of an upper CPU board and a lower radio board connected together through a middle interposer.
To determine which section was responsible for the abnormal startup behaviour, we carefully separated the two board layers using controlled heat.
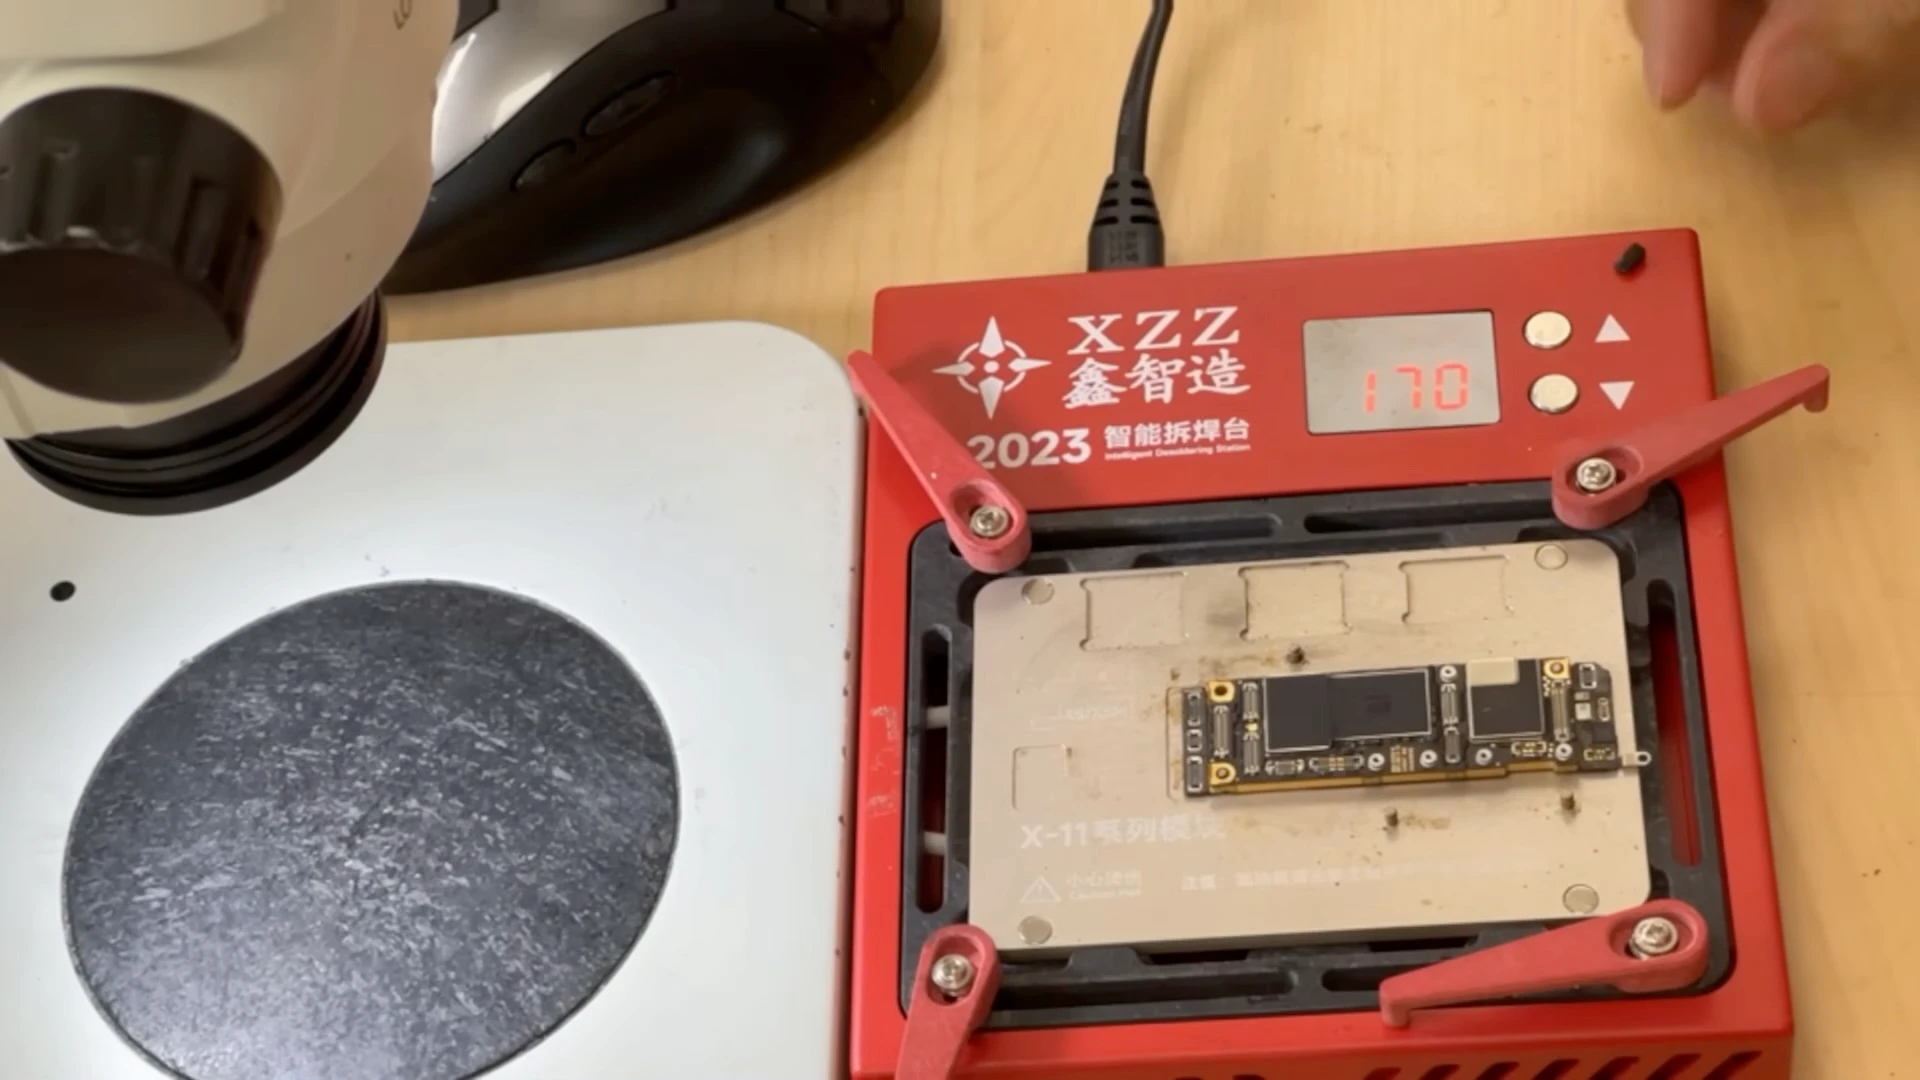
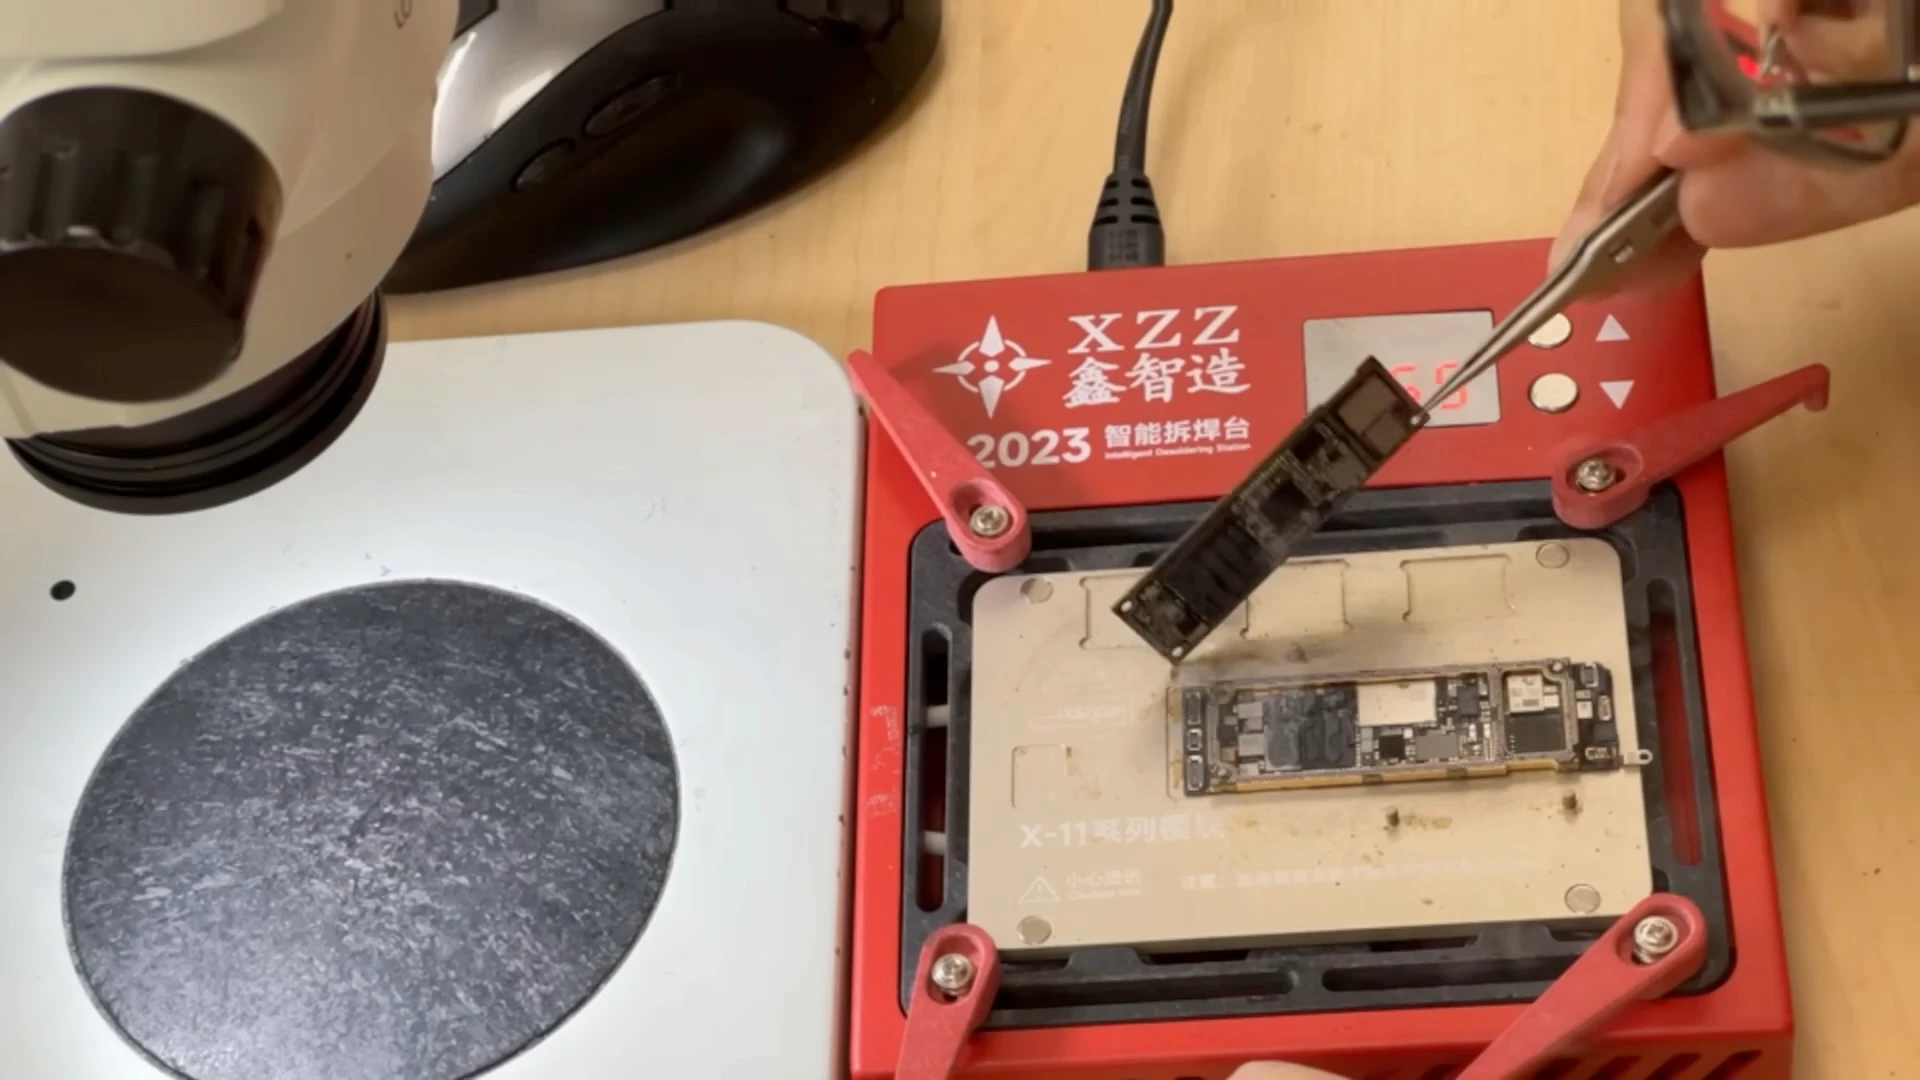
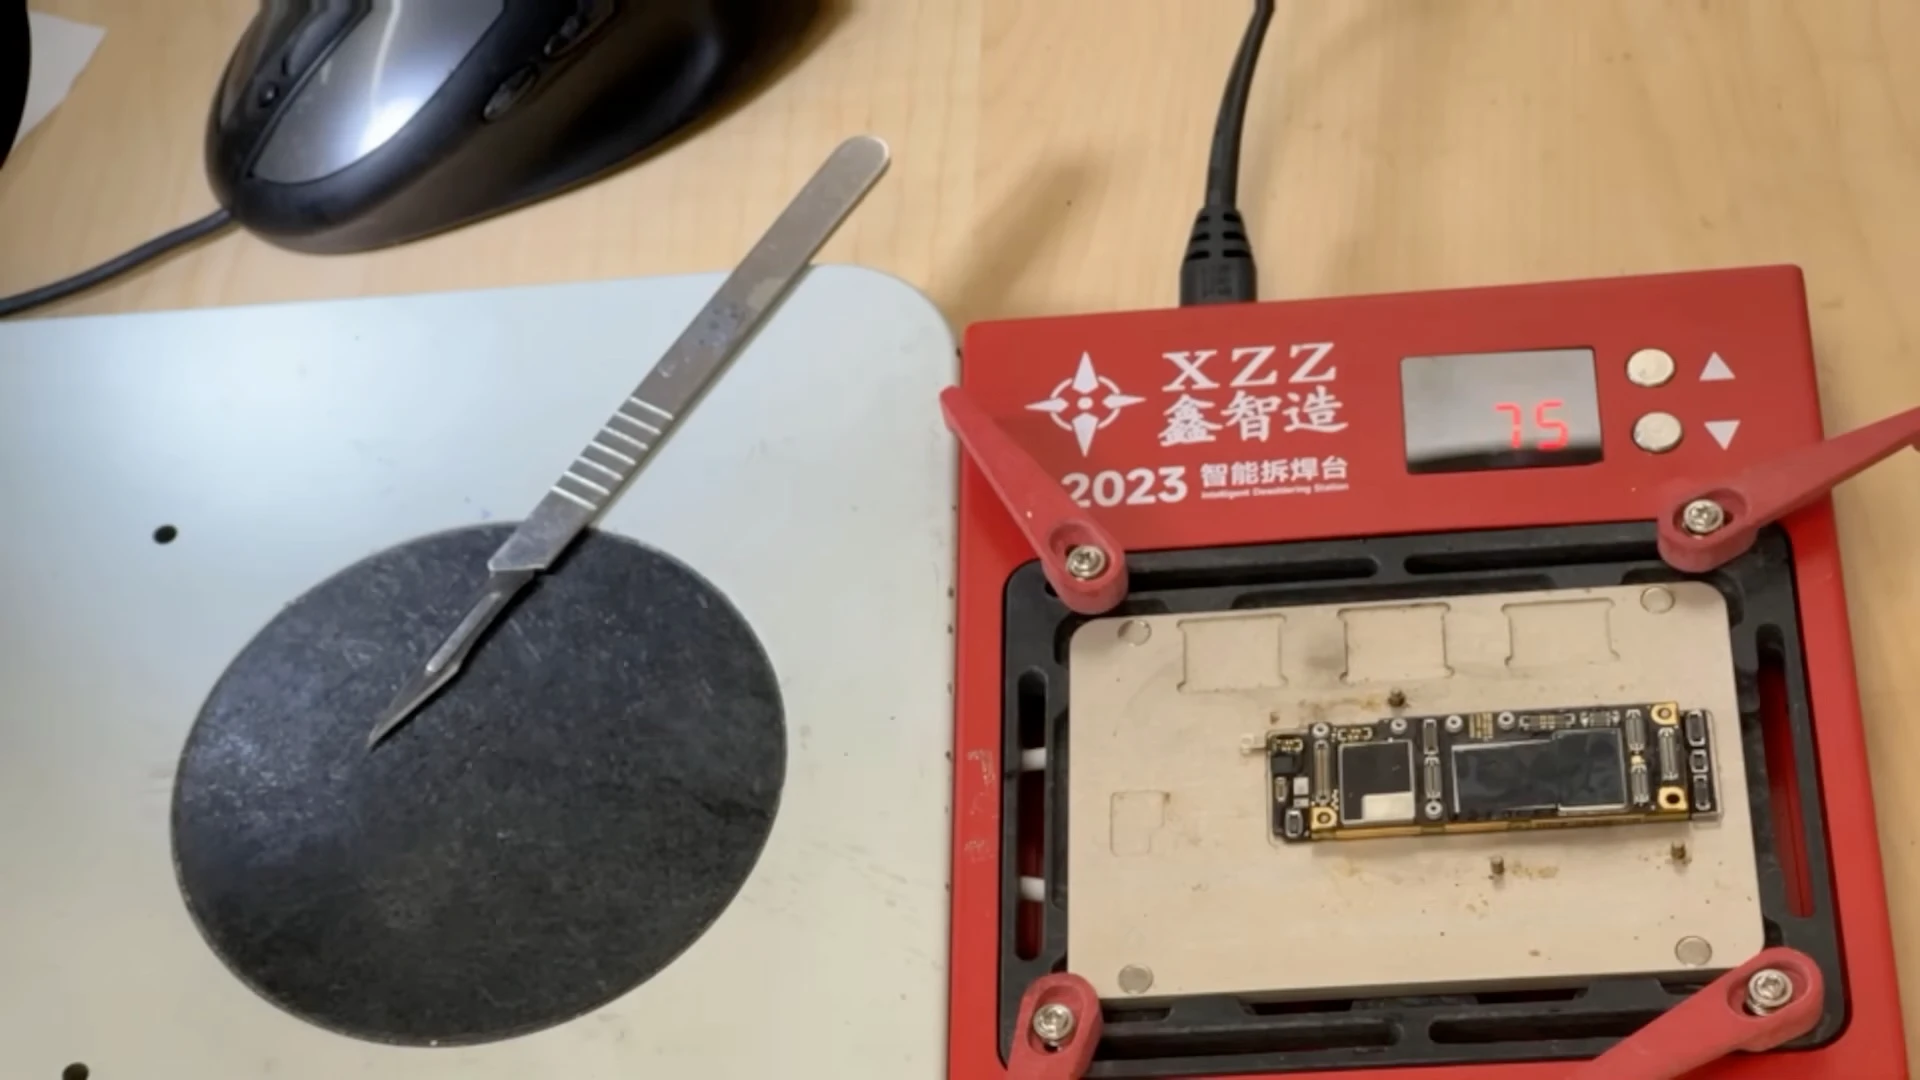
The sandwich logic board is carefully heated and separated so the two board layers can be tested independently.
The separated iPhone 11 logic board, showing the upper CPU board and lower radio board ready for further testing.
Testing the upper CPU board independently produced a normal booting current response, ranging approximately from 300 mA to 1 A instead of remaining stuck around 200 mA.
When we powered the upper CPU board by itself, its behaviour changed significantly. Instead of remaining around 200 mA, the current continued to fluctuate approximately between 300 mA and 1 A, consistent with the board progressing much further through the startup process.
This was an important diagnostic observation, but we still did not have enough evidence to determine the actual cause.
Testing Both Board Layers Before Reballing
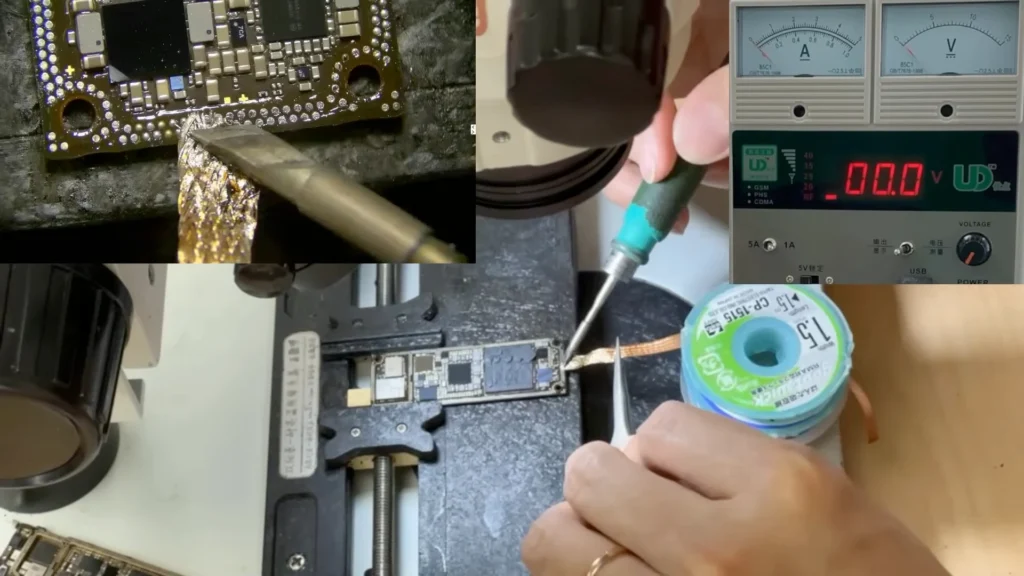
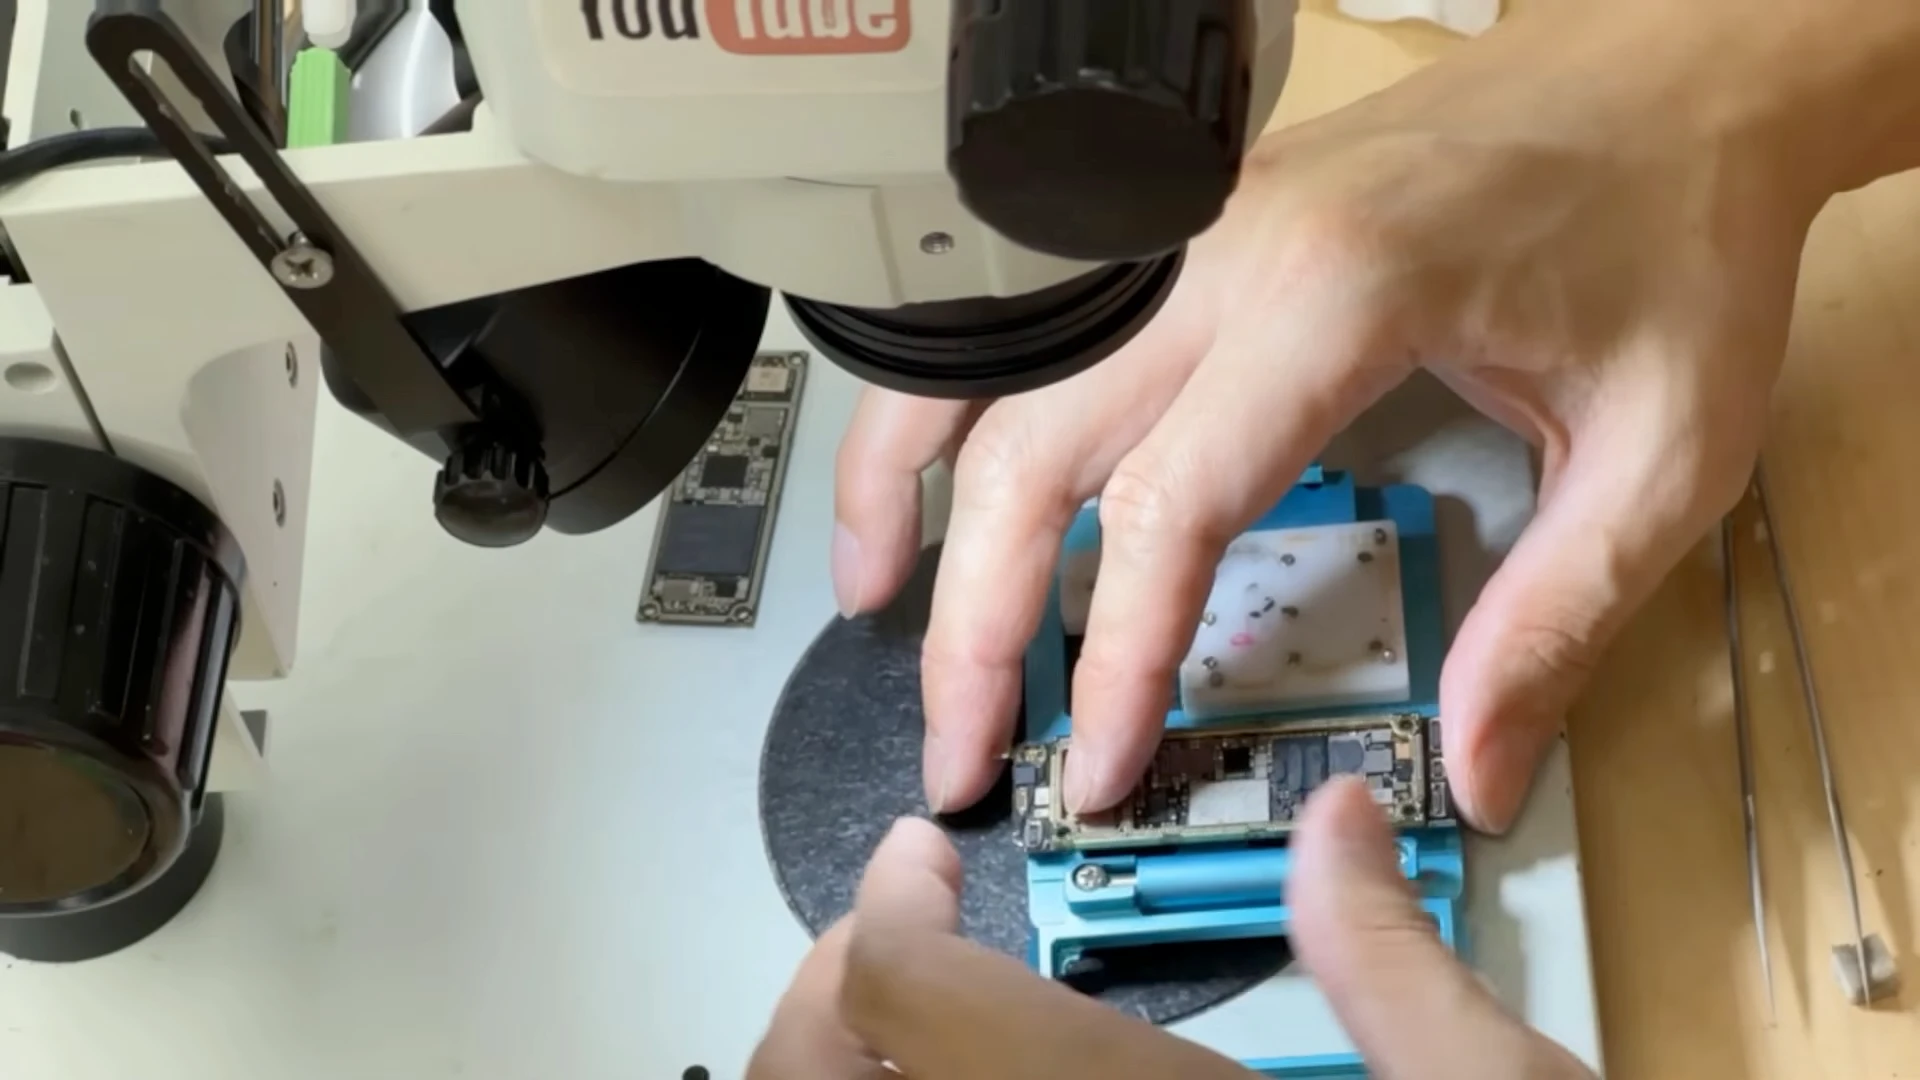
Before reconnecting the two board layers permanently, the remaining solder was cleaned from both sides so they could be installed into a sandwich-board tester.
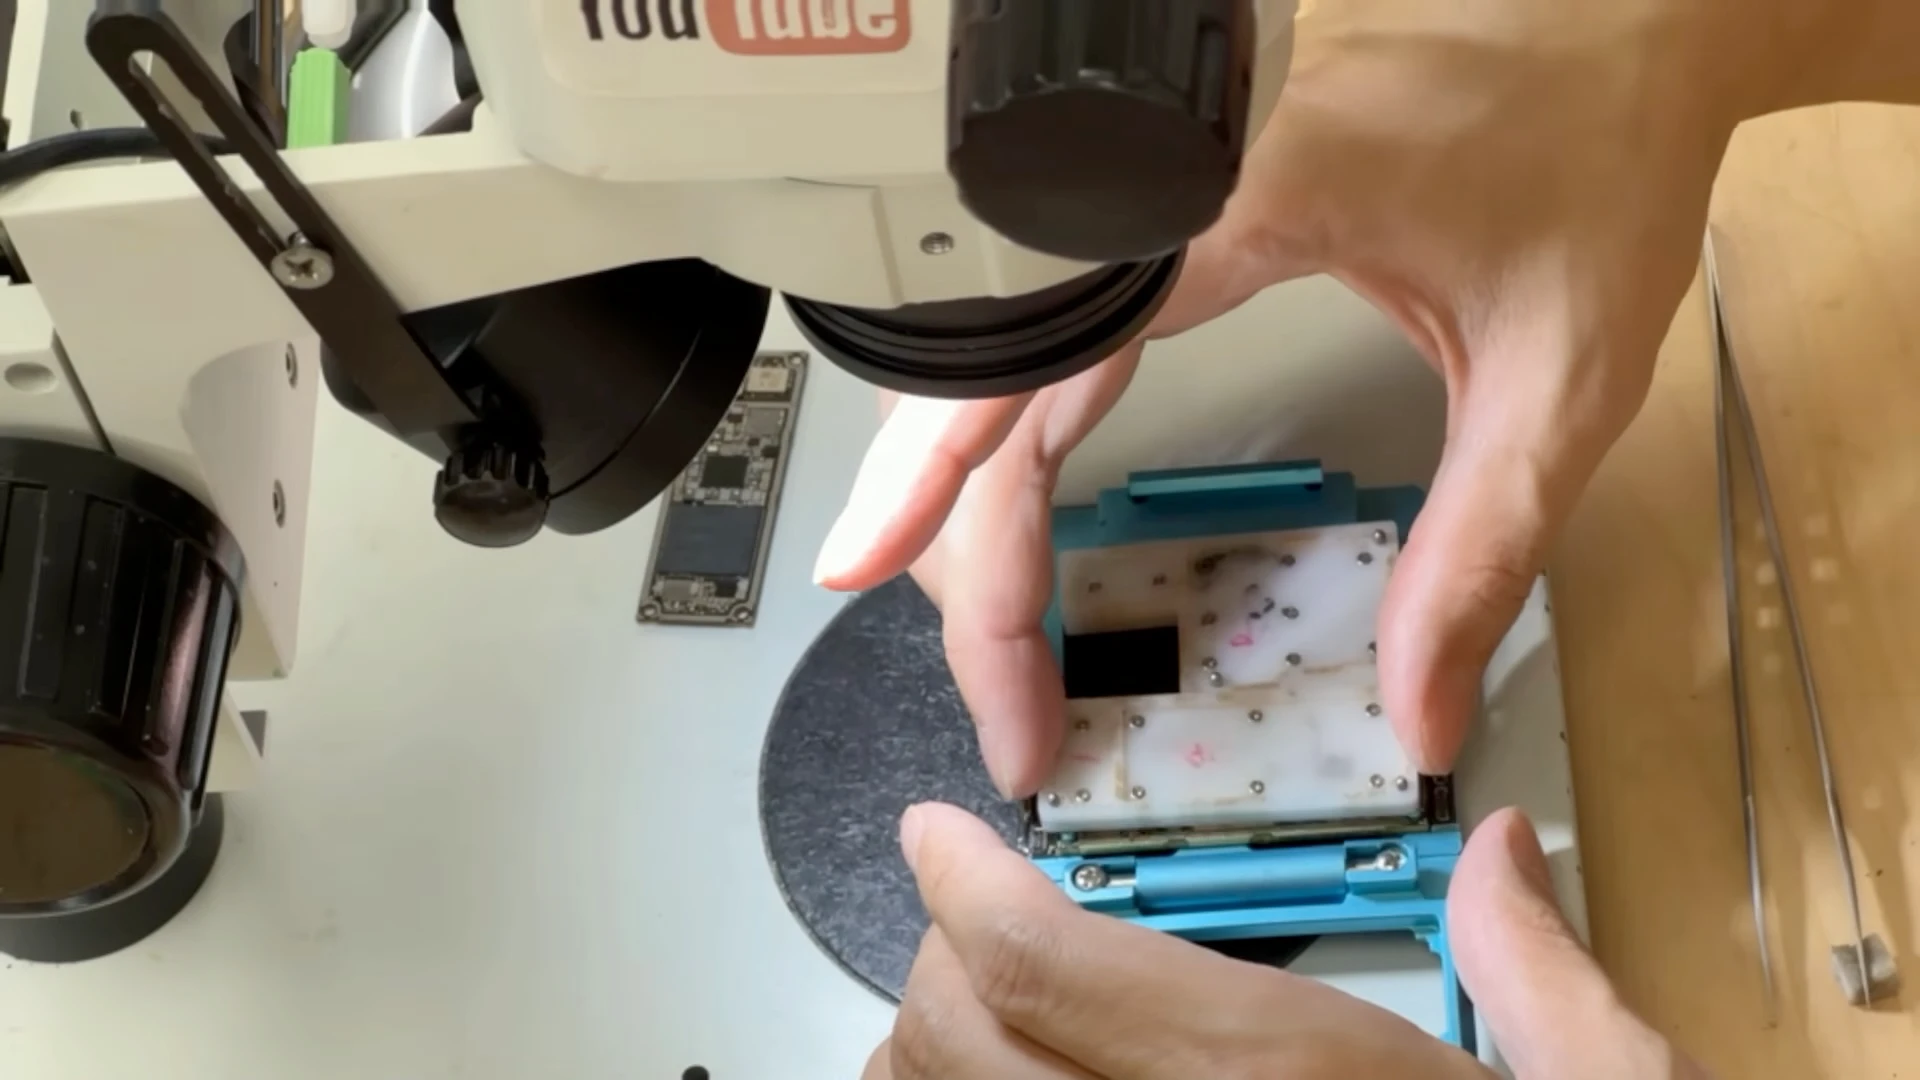
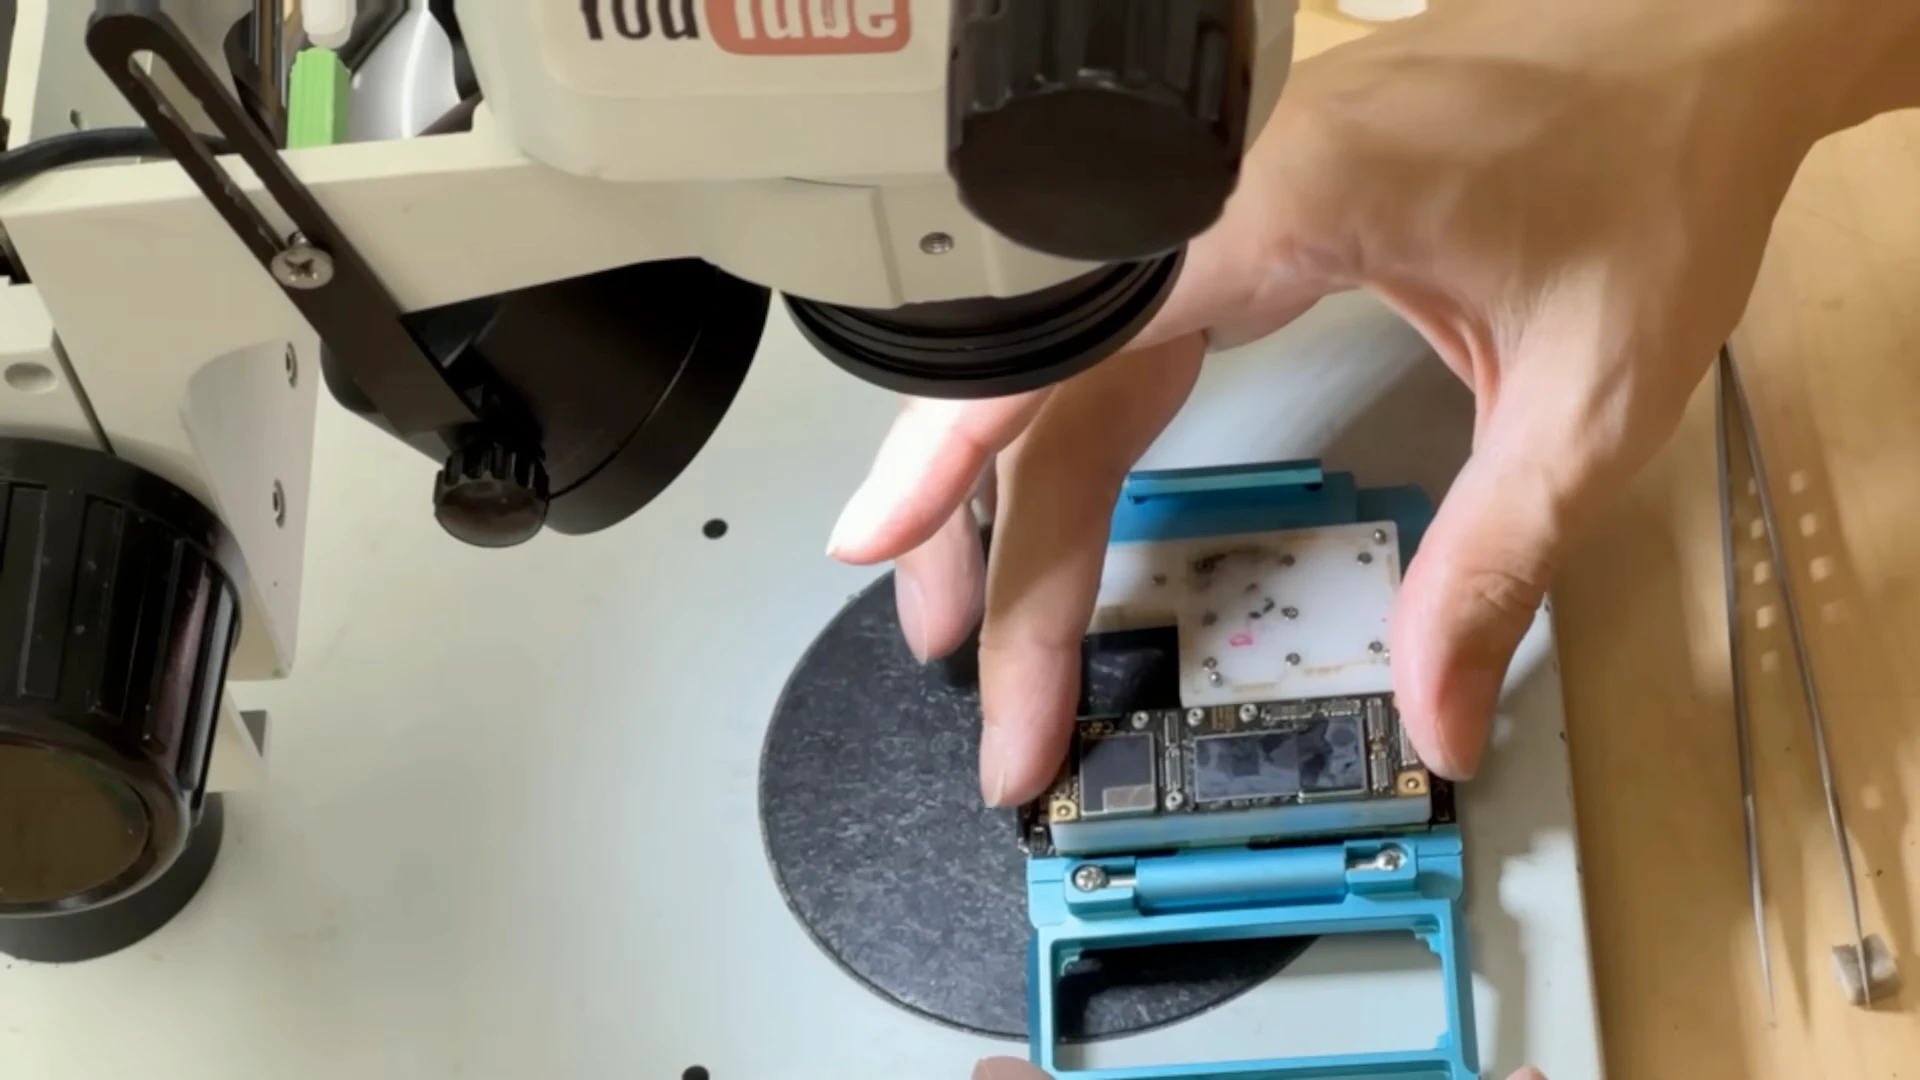
The lower radio board was placed into the tester first, followed by the tester’s contact layer and the upper CPU board. Precision contacts temporarily connected the electrical paths between both board layers without permanently soldering them together.
The lower radio board is positioned in the sandwich-board tester for further diagnosis.
The tester’s contact layer uses precision pins to temporarily reconnect the electrical connections between the two board layers.
The upper CPU board is installed over the tester, temporarily reconnecting it with the lower radio board without soldering the boards together.
With both boards connected through the tester, we tested the motherboard again. The power-on response appeared normal.
Based on the results available at this stage, a connection problem between the two sandwich-board layers was one possible cause.
With both board layers connected through the tester, the motherboard produced a normal power-on response. This provided evidence that the original sandwich-board solder connections were causing the problem.
The sandwich connection was therefore reballed, and the upper and lower boards were joined again using a preheater. After cooling, the connection between the two layers was inspected under a microscope for visible gaps or soldering problems.
We then powered the motherboard on again.
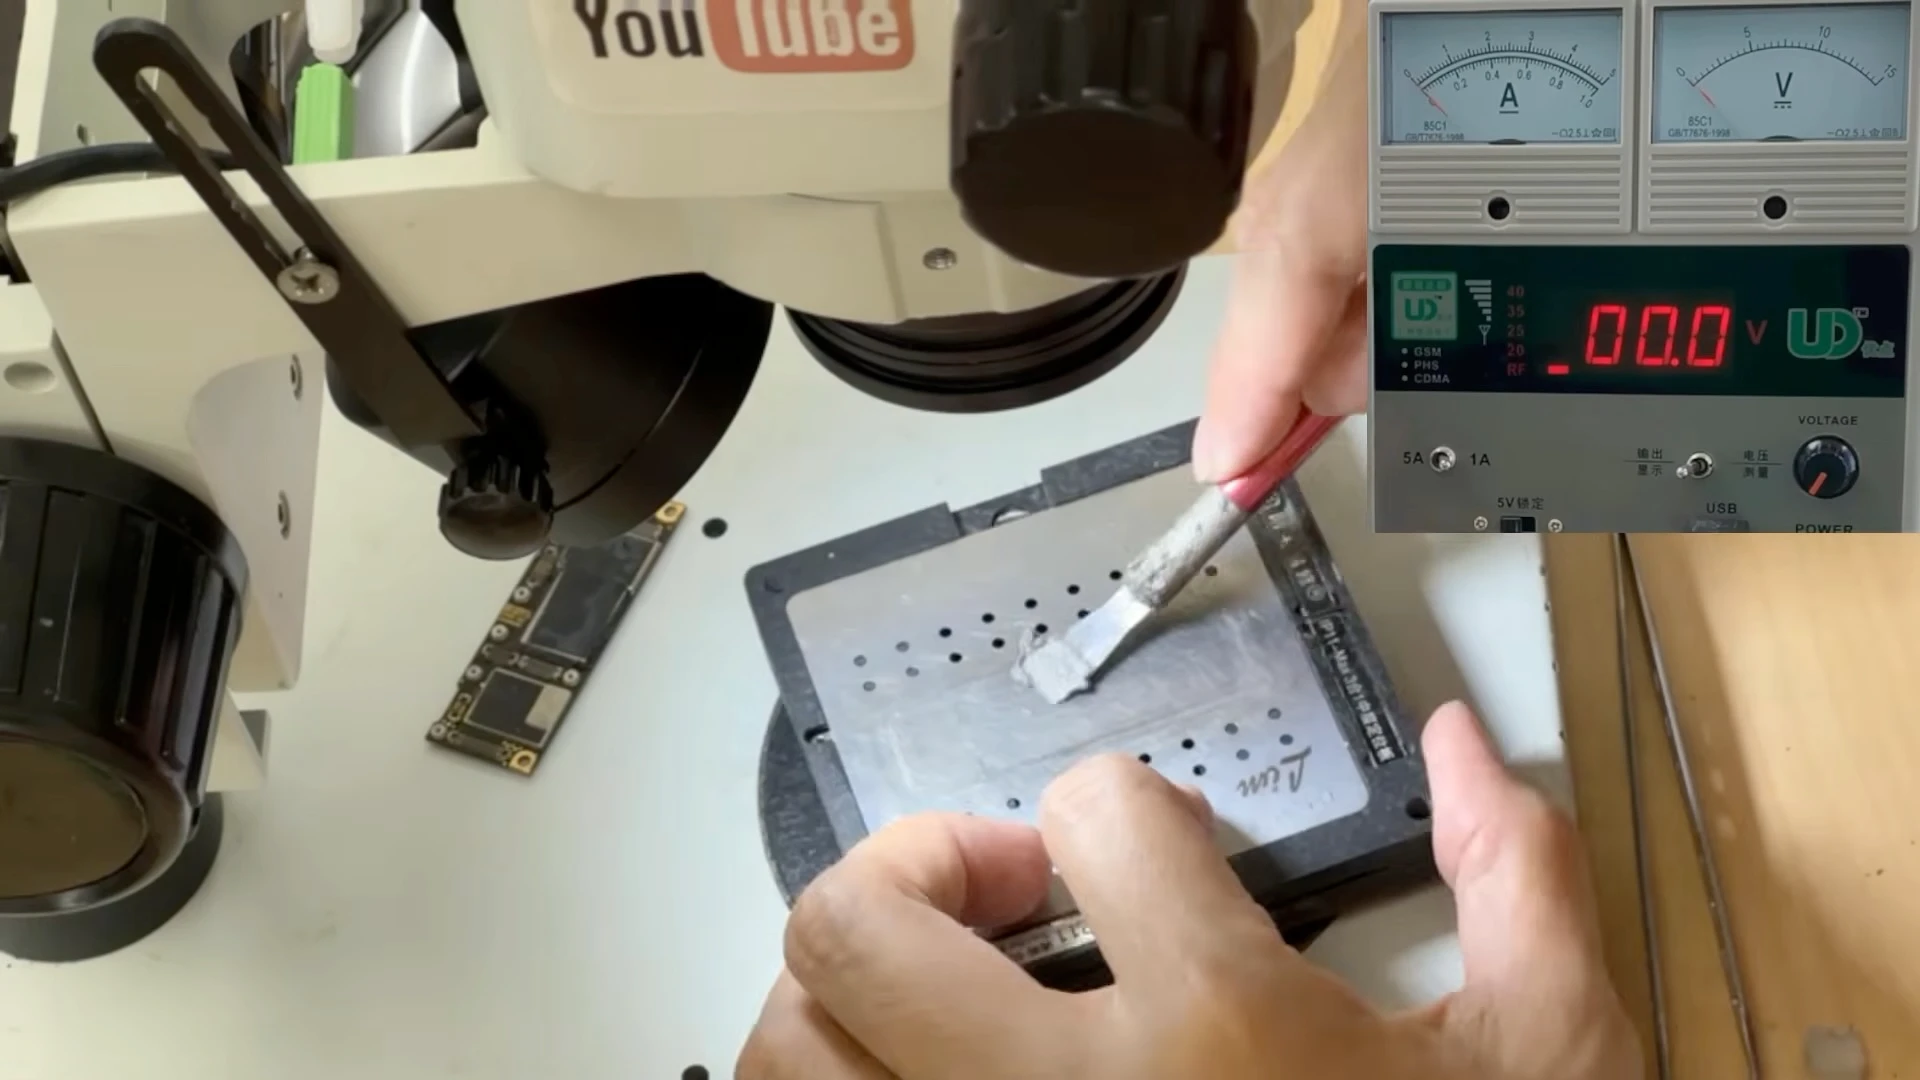
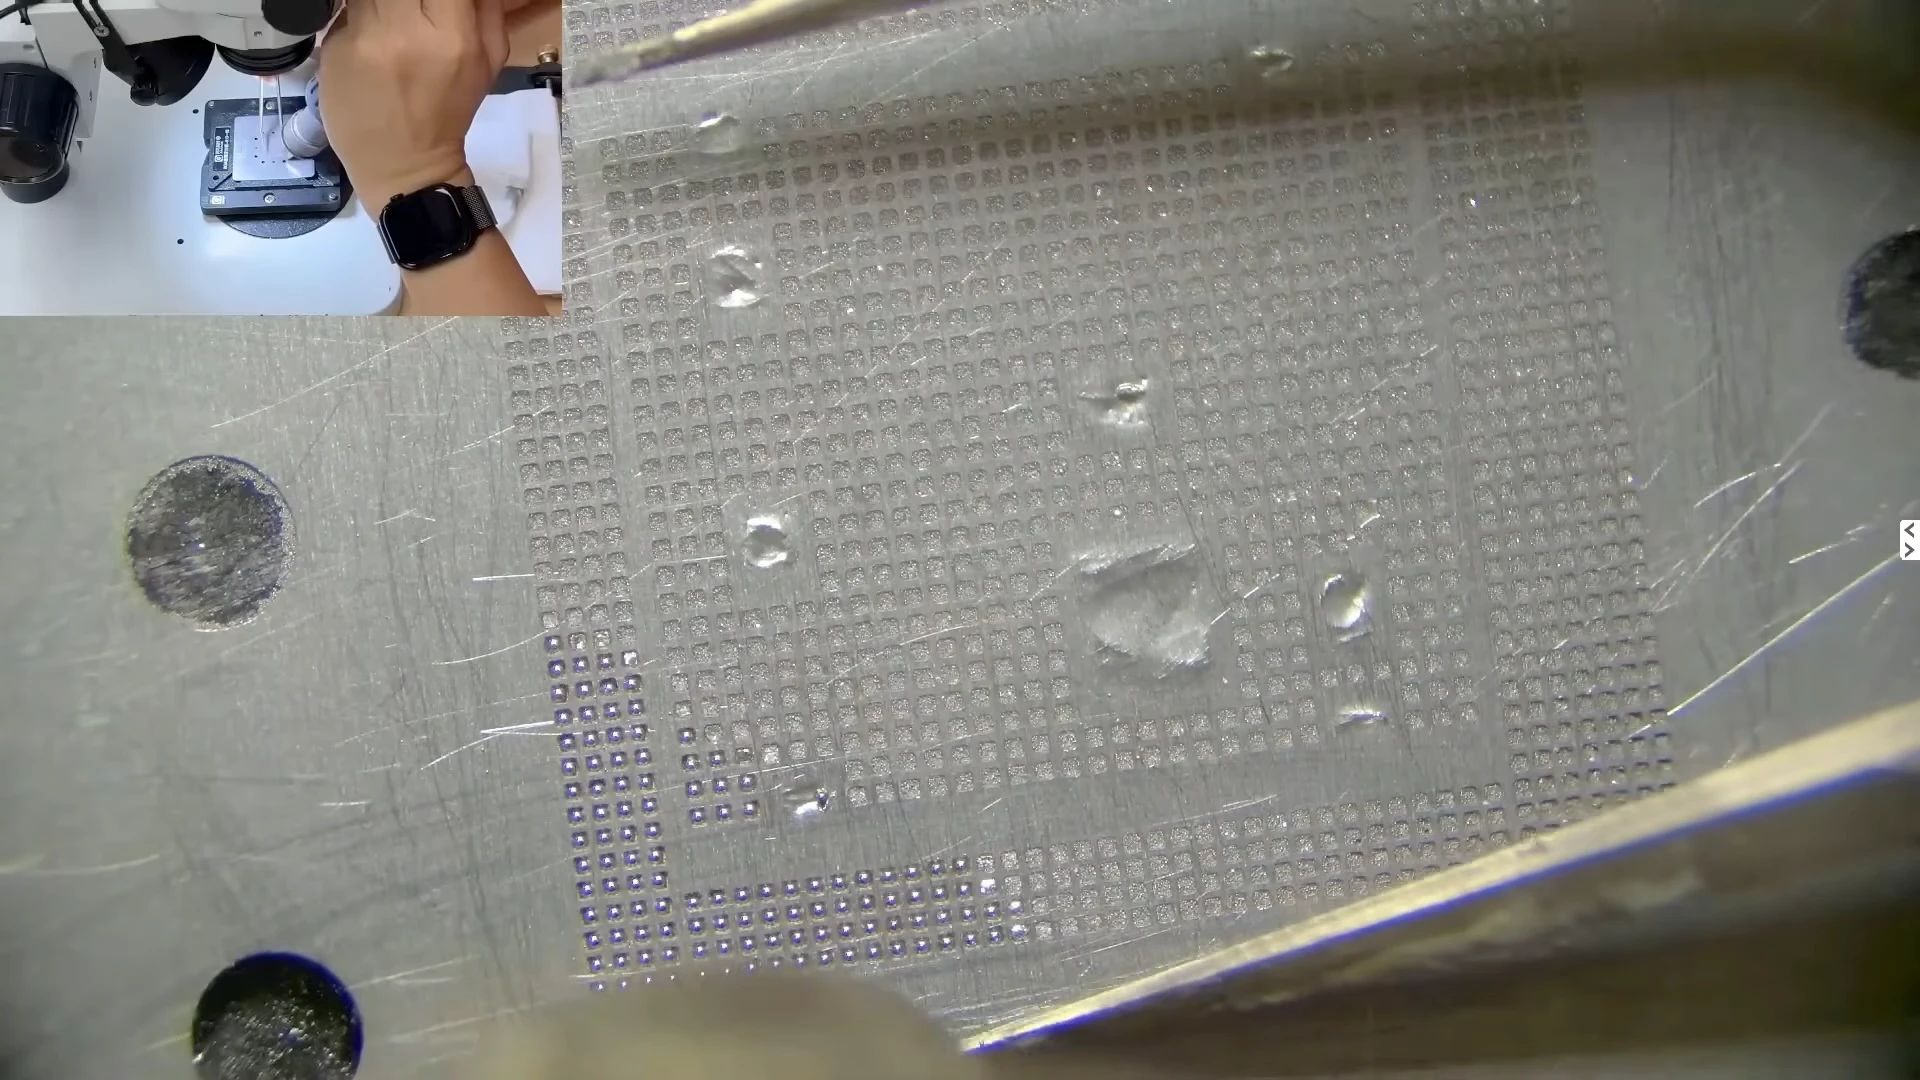
Solder paste is applied through a stencil to recreate the solder connections required between the two logic board layers.
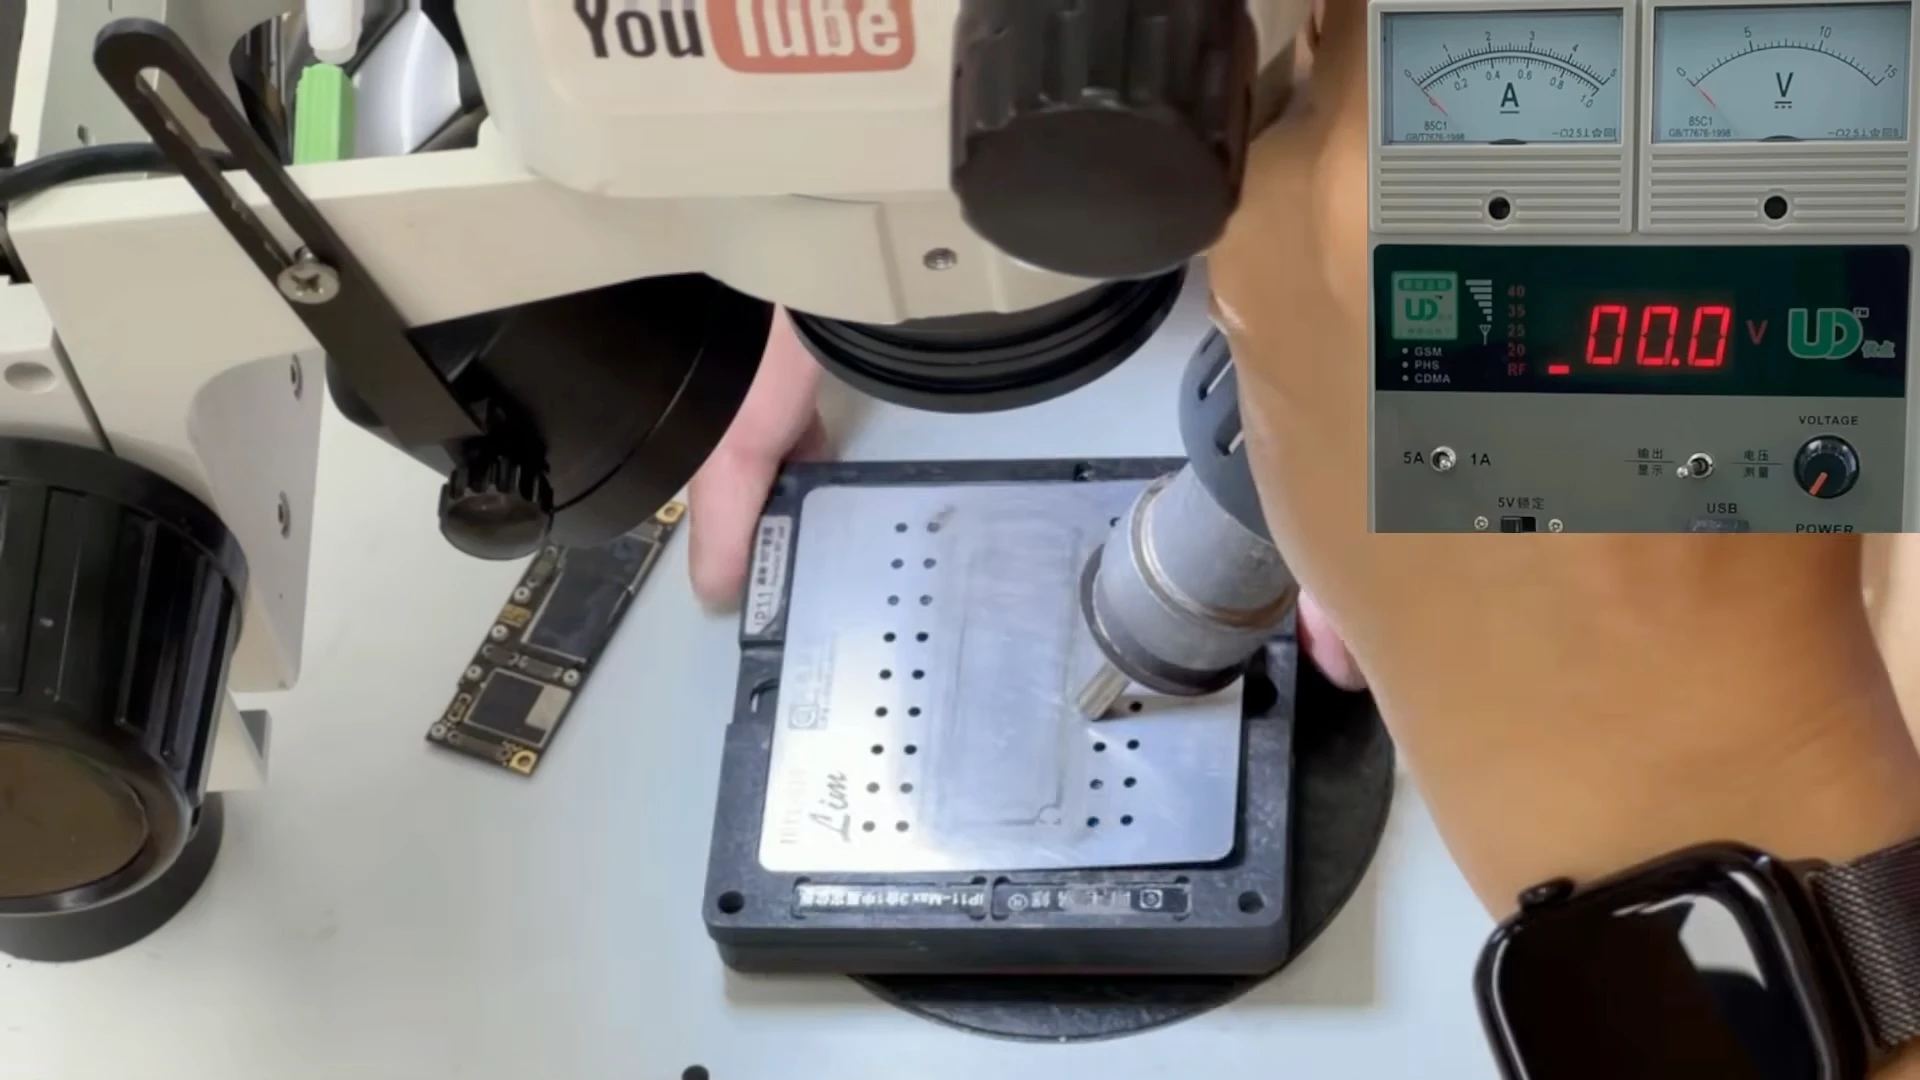
Hot air is used to heat the solder paste through the stencil, forming uniform solder balls for the sandwich-board connection.
The upper and lower board layers are heated on the preheater until the solder connections melt and both layers join together.
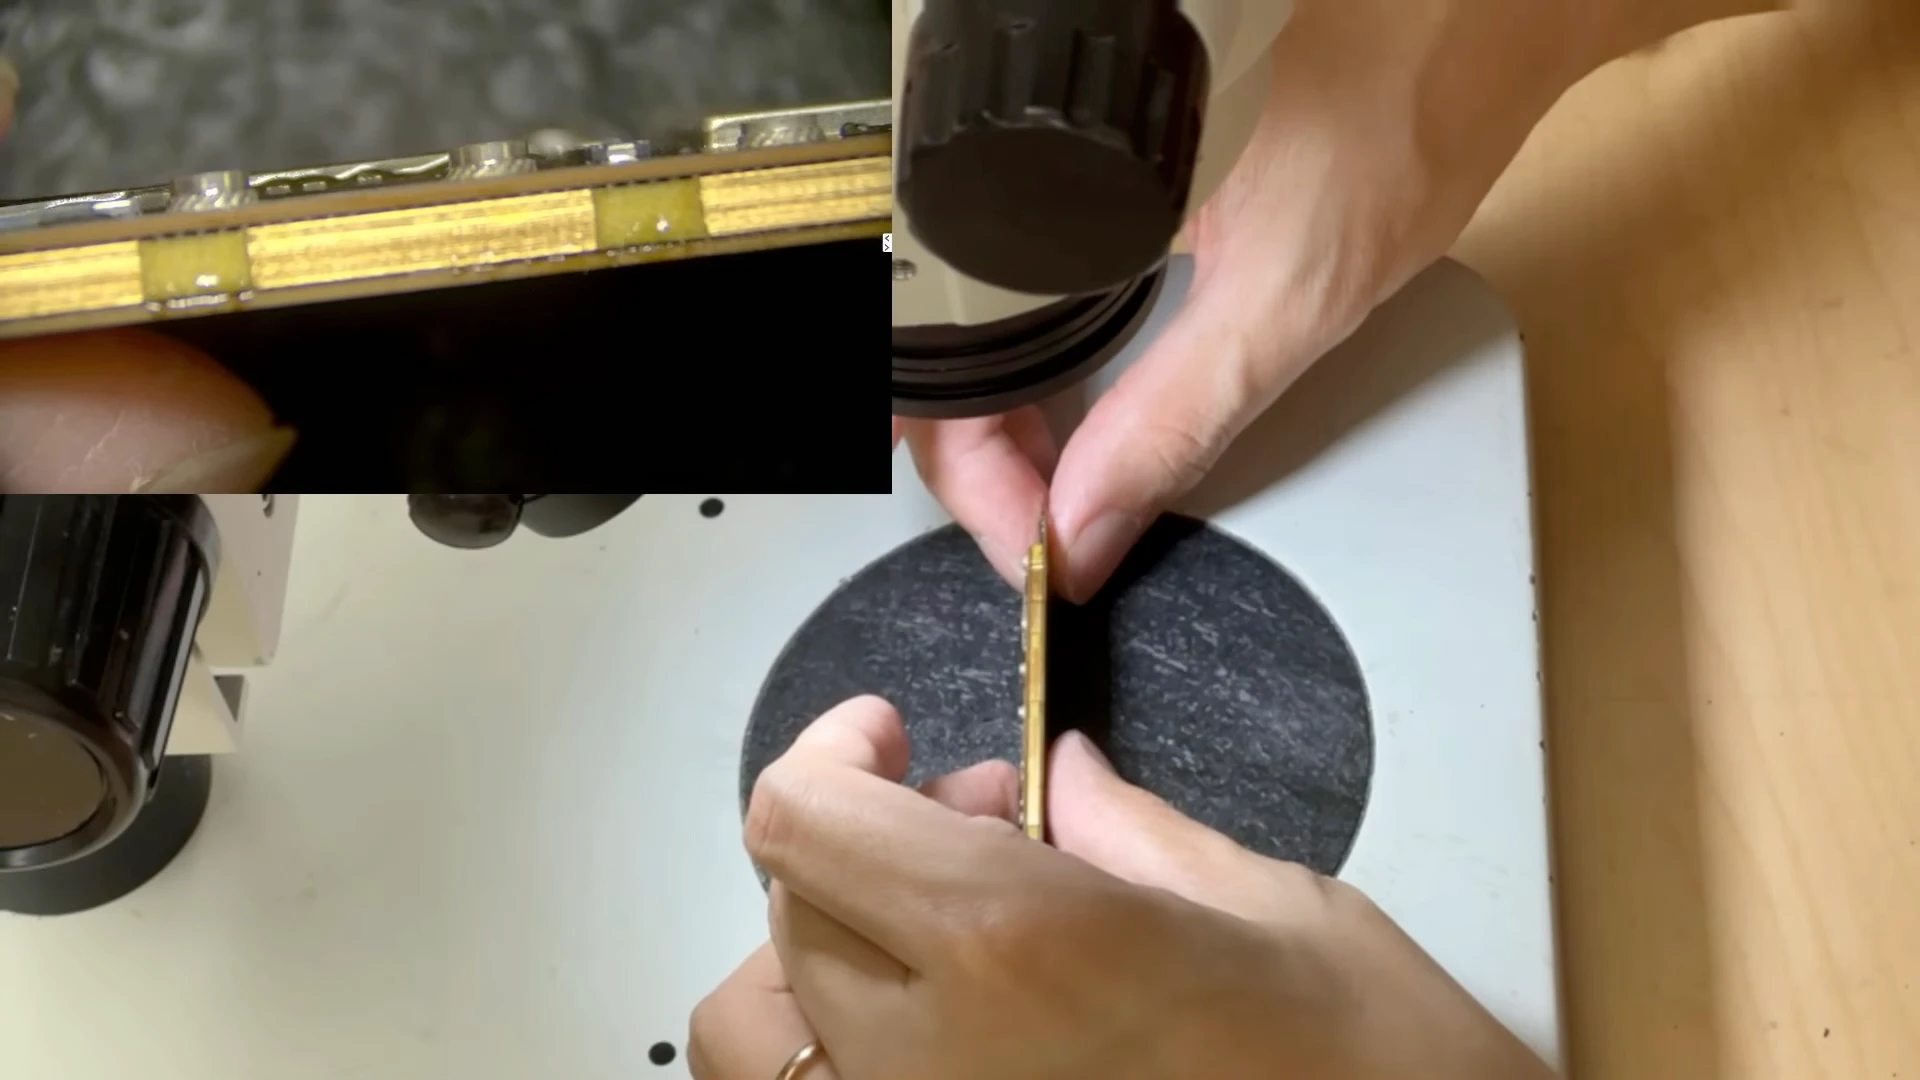
After cooling, the gap between both board layers is inspected under a microscope for uneven spacing or visible soldering problems.
The original approximately 200 mA symptom returned.
After reassembly, the original symptom returned and current remained around 200 mA. Further diagnosis was therefore required.
This result was important because it showed why CPU and motherboard diagnosis cannot be based on a single test. A temporary change in behaviour after heating, separating or reconnecting a board does not necessarily identify the actual fault.
The board needed to be separated and diagnosed again.
Confirming the Problem Is on the Upper CPU Board
After separating the sandwich board again, we tested the upper CPU board by itself.
This time, the same symptom appeared: the current stopped at approximately 200 mA and remained there.
This was an important result. Because the same fault could now be reproduced using only the upper board, we could rule out the sandwich-board connection and lower radio board as the cause of the original 200 mA condition.
After separating the board again, the upper CPU board alone reproduced the same approximately 200 mA symptom. This ruled out the sandwich-board connection as the cause of the failure.
The diagnosis could now focus on the upper CPU board.
Checking the CPU Area for Abnormal Heat
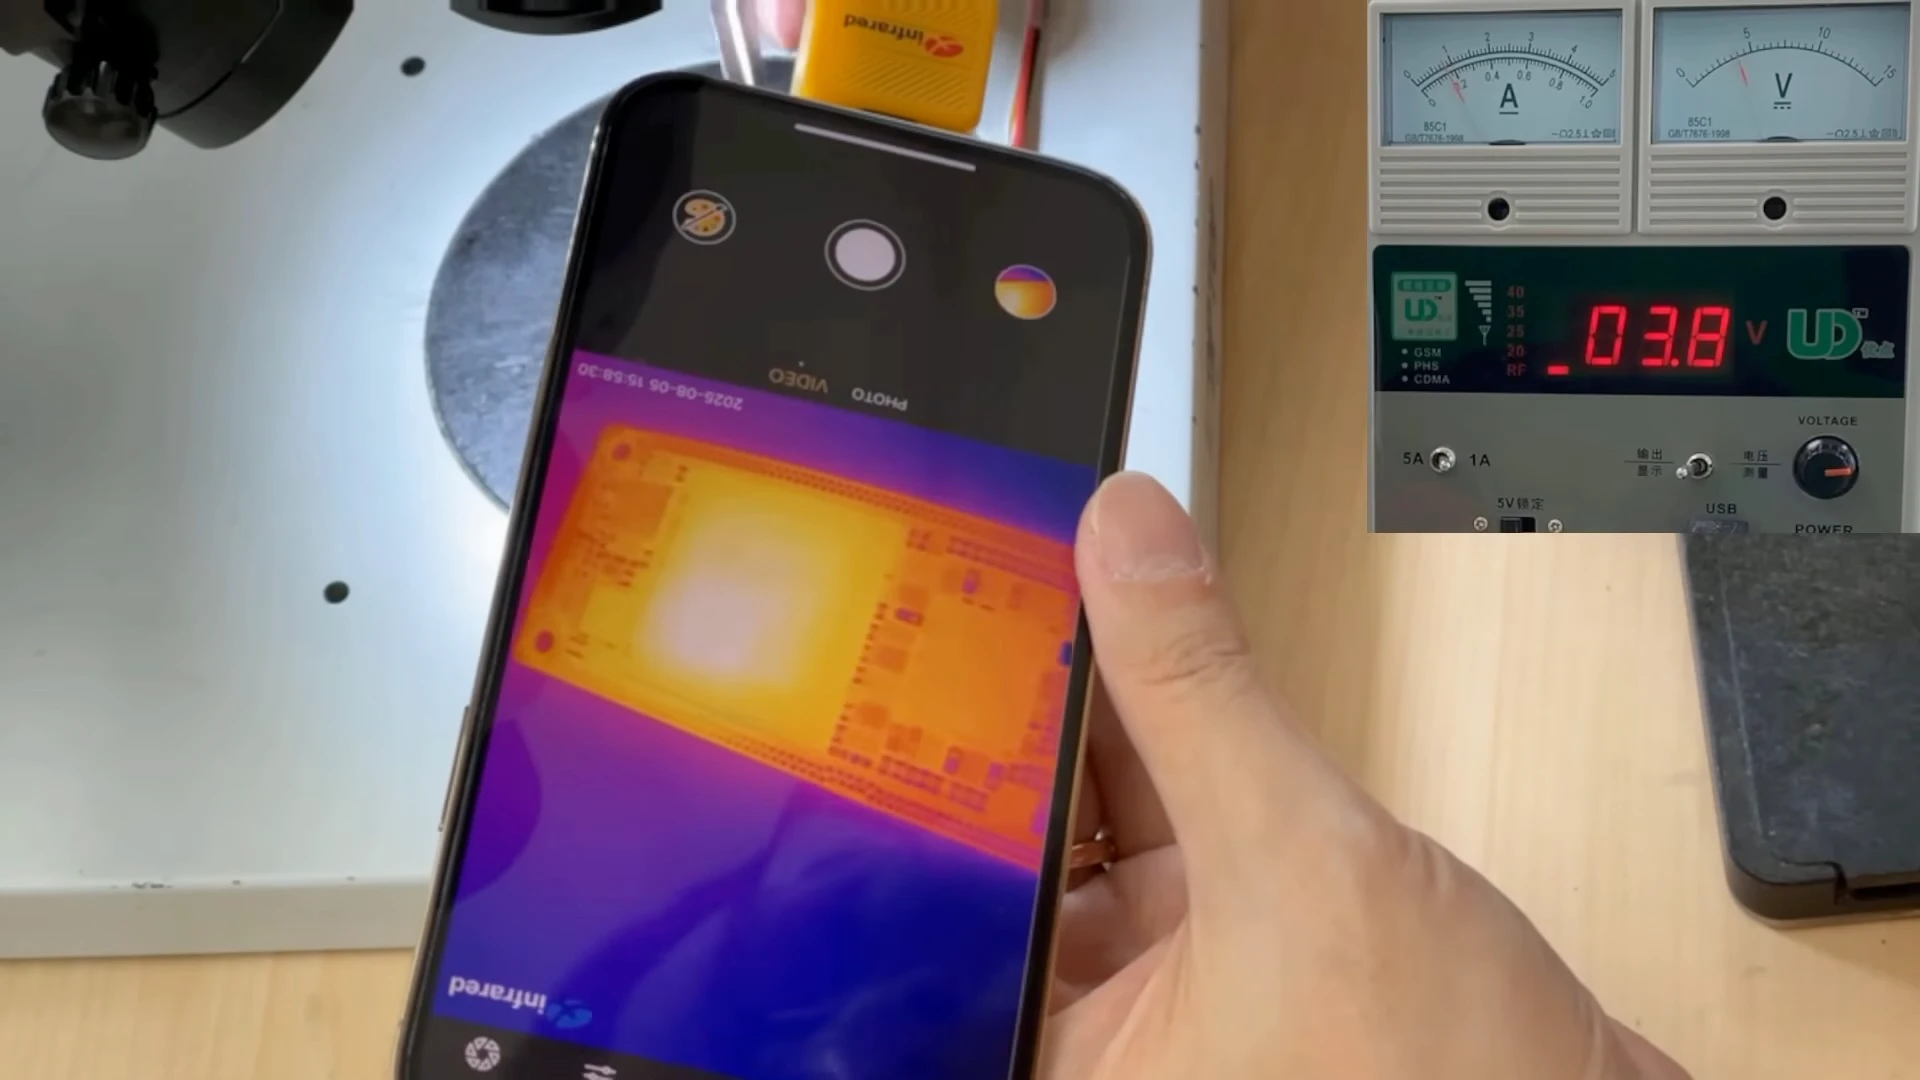
At approximately 200 mA, the motherboard was continuously consuming power, so we used a thermal camera to check where that power was being consumed.
The thermal image showed slight heating around the CPU area. However, heat in this area alone does not prove that the CPU is defective. Heat can spread through the board, and components located on the opposite side of the CPU may also contribute to what appears on the thermal image.
A thermal camera is used while the board remains around 200 mA. Slight heating is visible around the CPU area, providing another clue for further diagnosis.
We therefore removed the metal shield on the opposite side of the CPU and inspected the components underneath.
With the shield removed, the components and ICs behind the CPU area can be inspected and tested directly.
No obvious abnormal component was identified from this test, so we continued isolating the hardware required for CPU operation.
Removing the NAND to Test CPU Behaviour
The next step was to remove the original NAND flash storage.
This is an important part of our diagnostic procedure. With the NAND removed, the iPhone cannot boot into iOS normally. Instead, if the CPU and the required supporting circuits are operating correctly, the board should be able to enter DFU (Device Firmware Update) mode when connected to a computer.
Removing the NAND also allows us to perform the next diagnostic tests without writing to or erasing the customer’s original storage.
The original NAND storage is removed so CPU startup behaviour can be tested independently without modifying the customer's stored data.
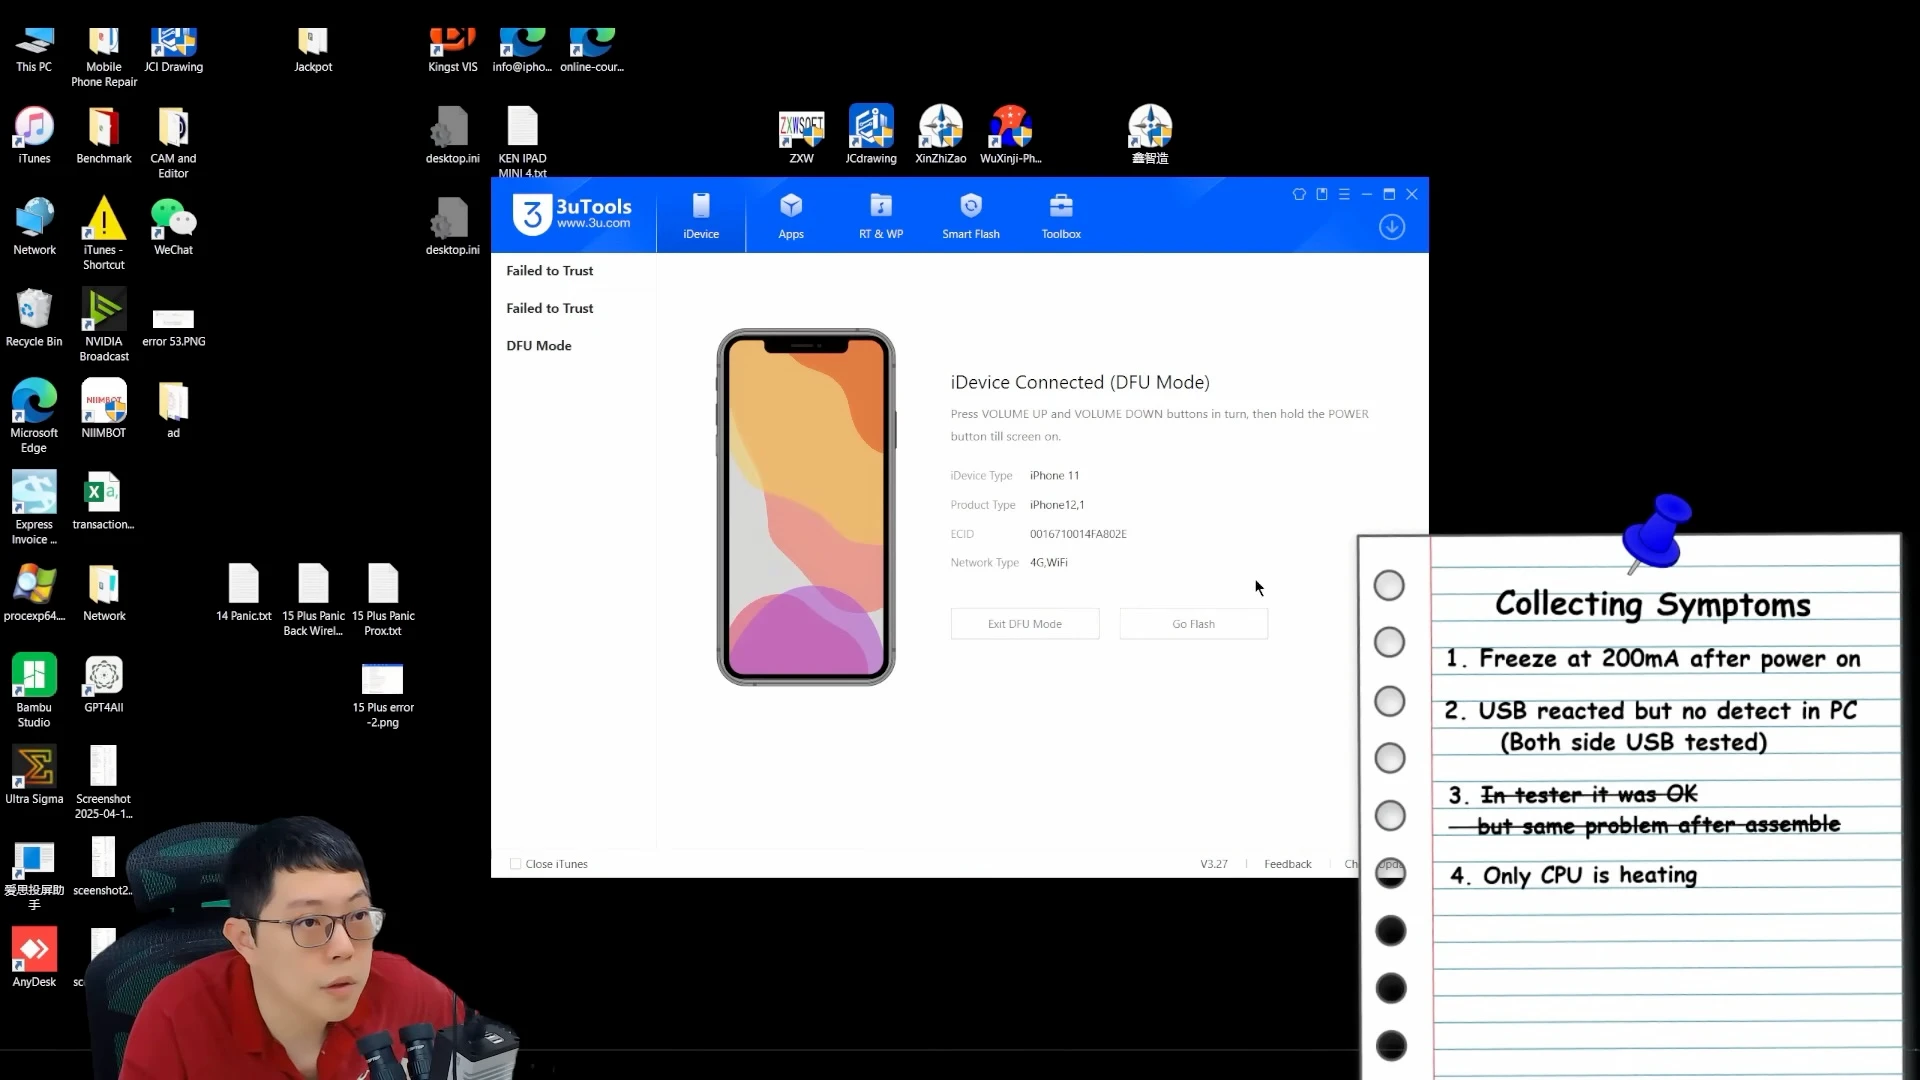
After removing the NAND and connecting the board to the computer, its behaviour changed. The computer successfully detected the iPhone 11 in DFU mode.
The computer successfully detects the NAND-less iPhone 11 in DFU mode, allowing the next stage of CPU diagnosis to continue.
Detection in DFU mode was a positive sign, but it still did not provide enough evidence to conclude that the CPU was operating correctly. We needed to see how far the device could progress through the firmware initialization process.
Using the Firmware Process as a CPU Diagnostic Test
We then started a firmware process with the NAND still removed.
We were not attempting to restore the customer’s phone at this stage. The original NAND containing the customer’s data was physically removed from the motherboard, so this test could be used purely to observe how the CPU and its supporting hardware responded.
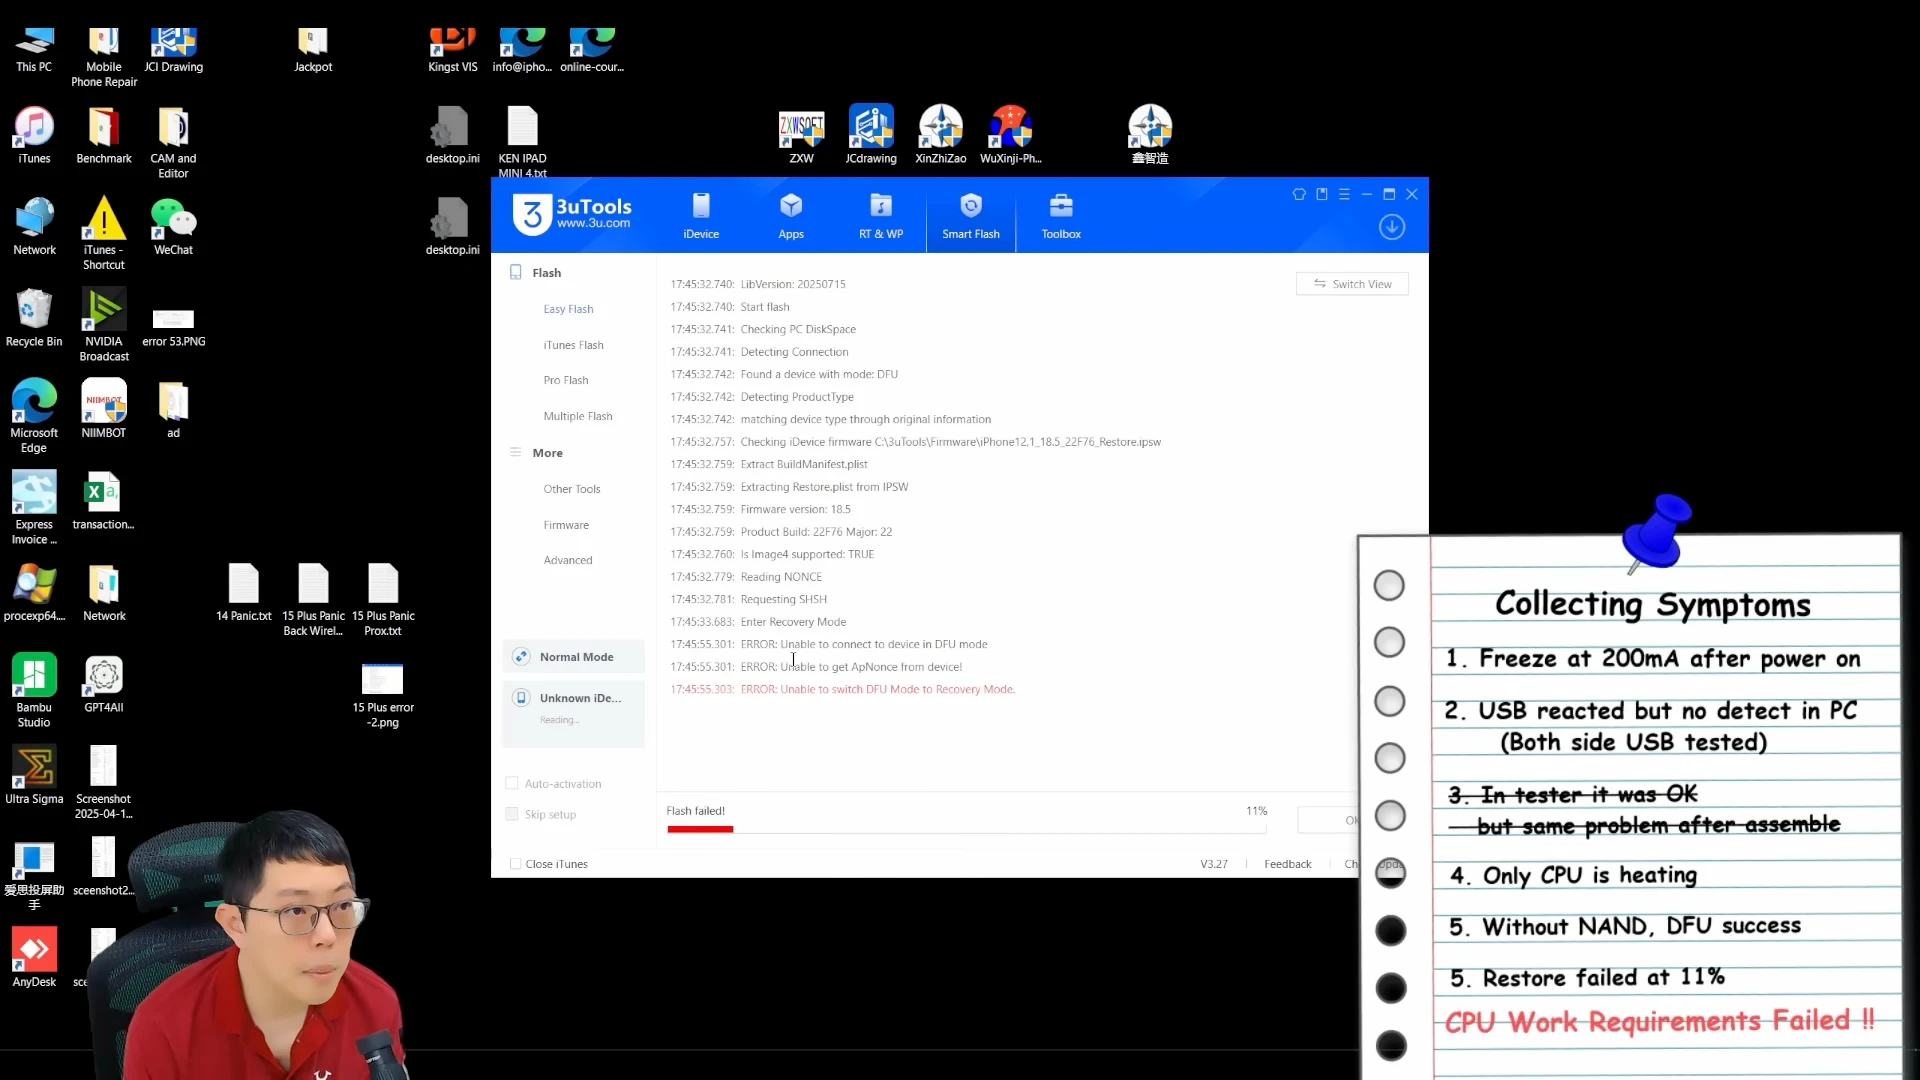
The process stopped at approximately 11%, displaying:
“ERROR: Unable to switch DFU mode to Recovery Mode.”
The diagnostic firmware test fails at 11% with “Unable to switch DFU mode to Recovery Mode.” The failure point provides important evidence about where the startup process is stopping.
The percentage alone is not what determines a CPU problem. What matters is which initialization stage the device reaches and where that process fails.
At this stage, the device should transition from DFU into Recovery Mode and load the required recovery environment, including the RAMdisk. On the iPhone 11, the RAM is integrated with the A13 CPU package.
Failure at this stage matched the abnormal CPU-related behaviour we had already observed during the earlier electrical tests.
However, other power supplies, communication lines and supporting circuits can also prevent the CPU from operating correctly. These requirements must also be considered before physically removing the CPU.
After completing these checks, the accumulated diagnostic evidence supported proceeding with CPU-level repair.
Reballing the Original A13 CPU
After the previous tests supported a CPU-level fault, we proceeded with removing the original A13 CPU from the iPhone 11 logic board.
This does not mean replacing the CPU with another one. The objective was to retain and repair the original CPU, preserving the hardware relationship required for the device and its original data.
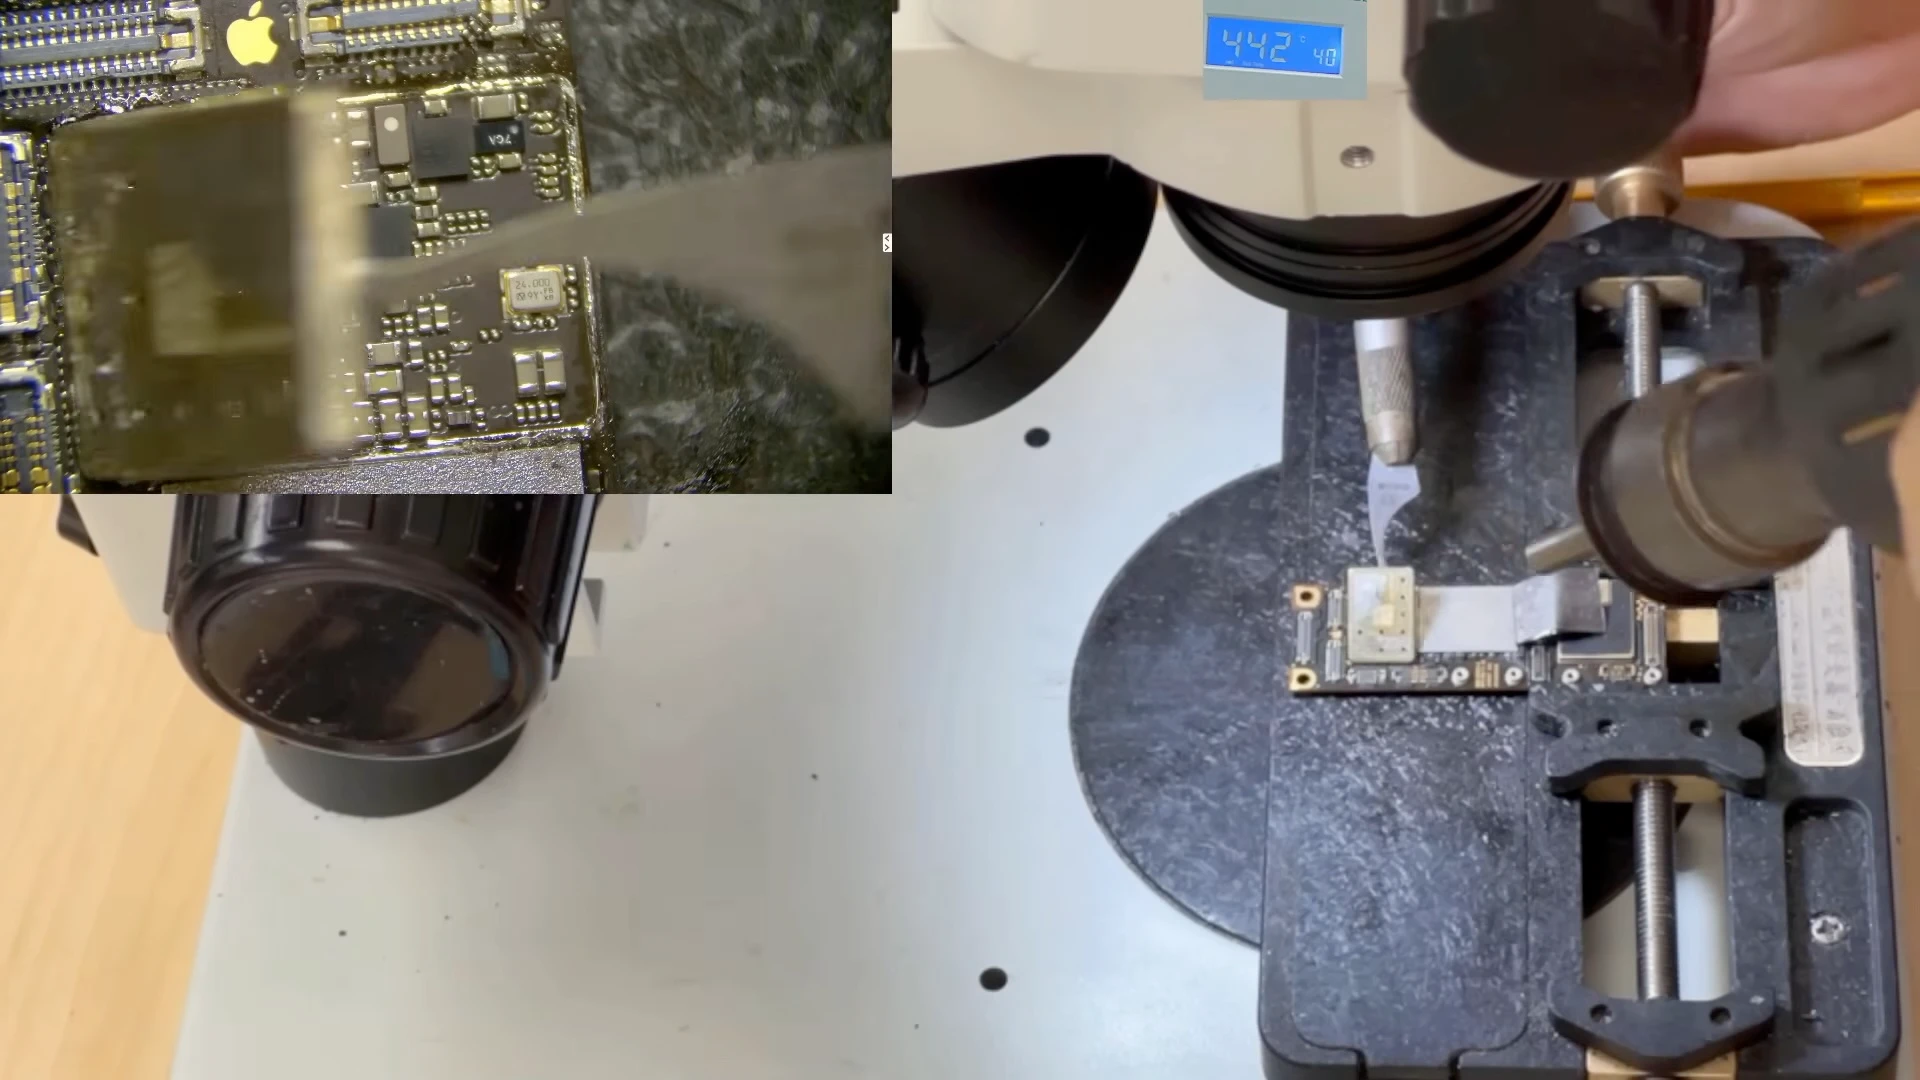
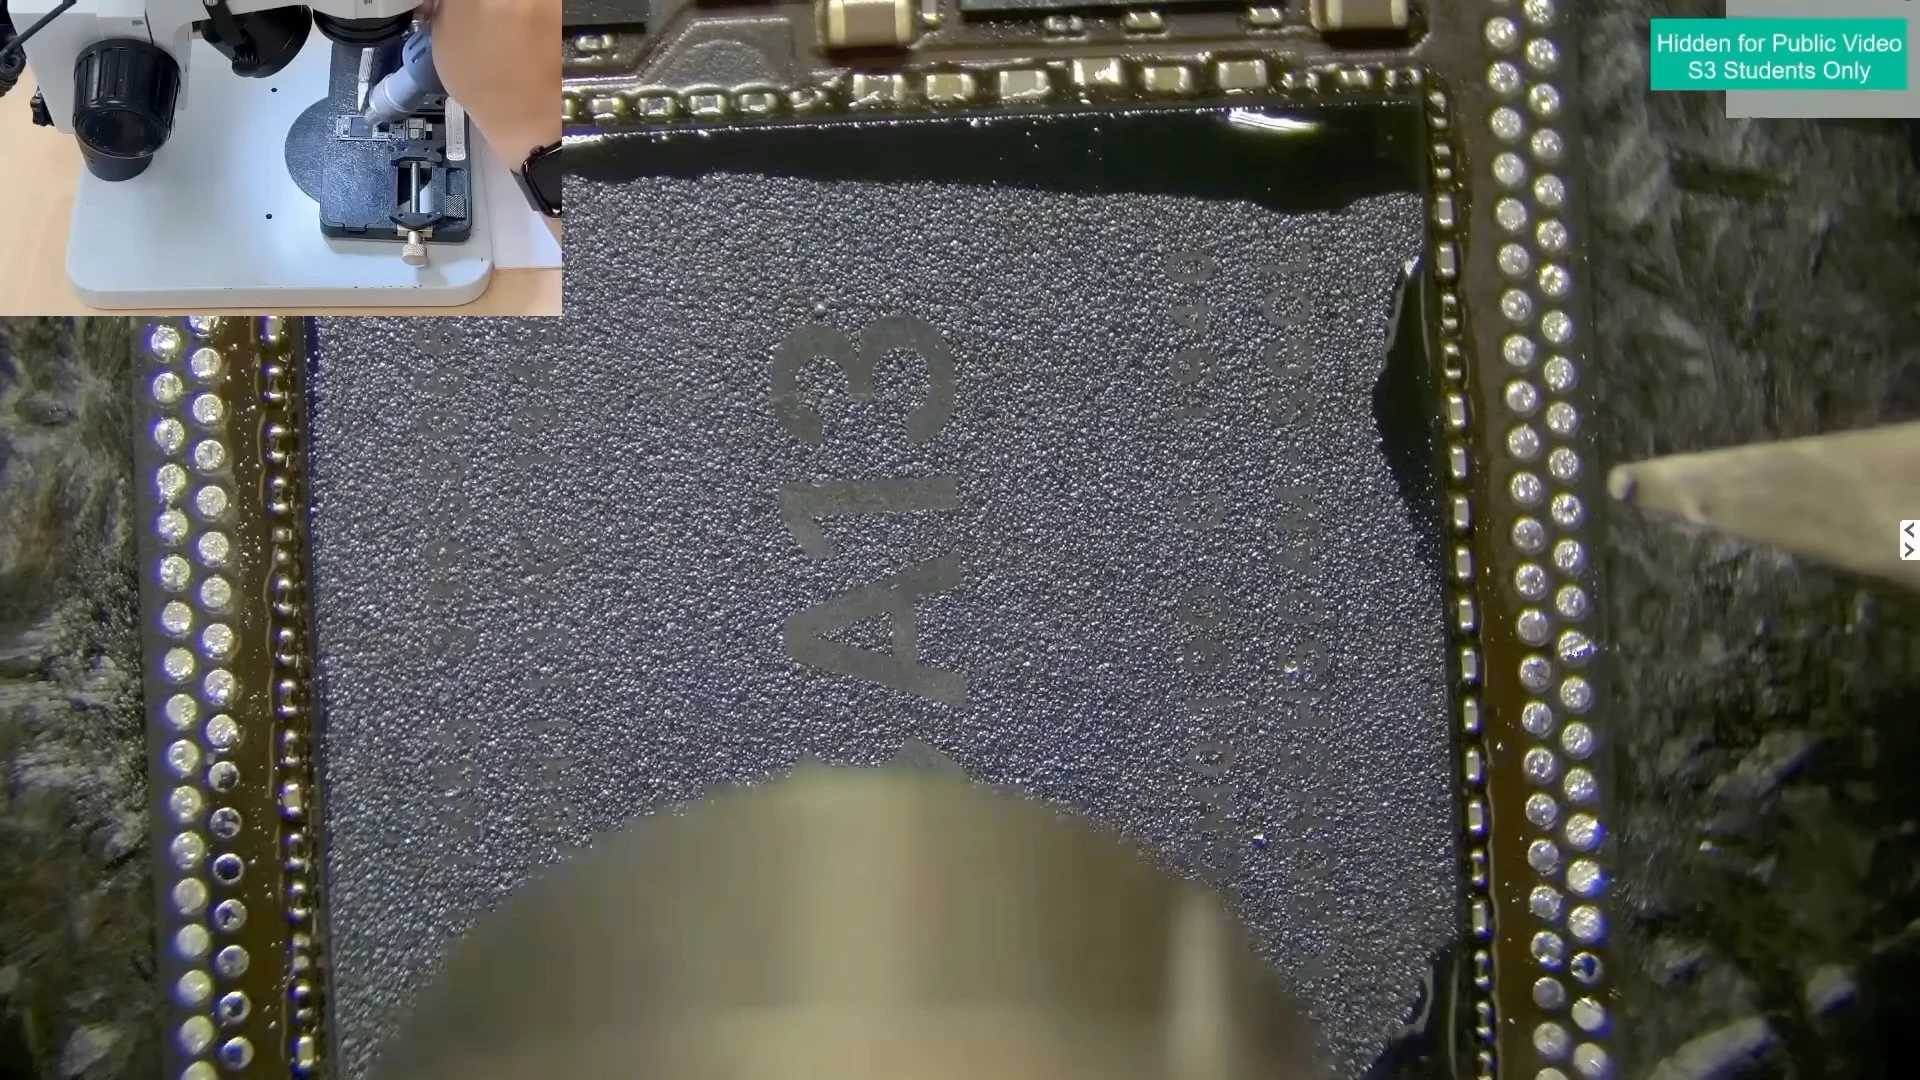
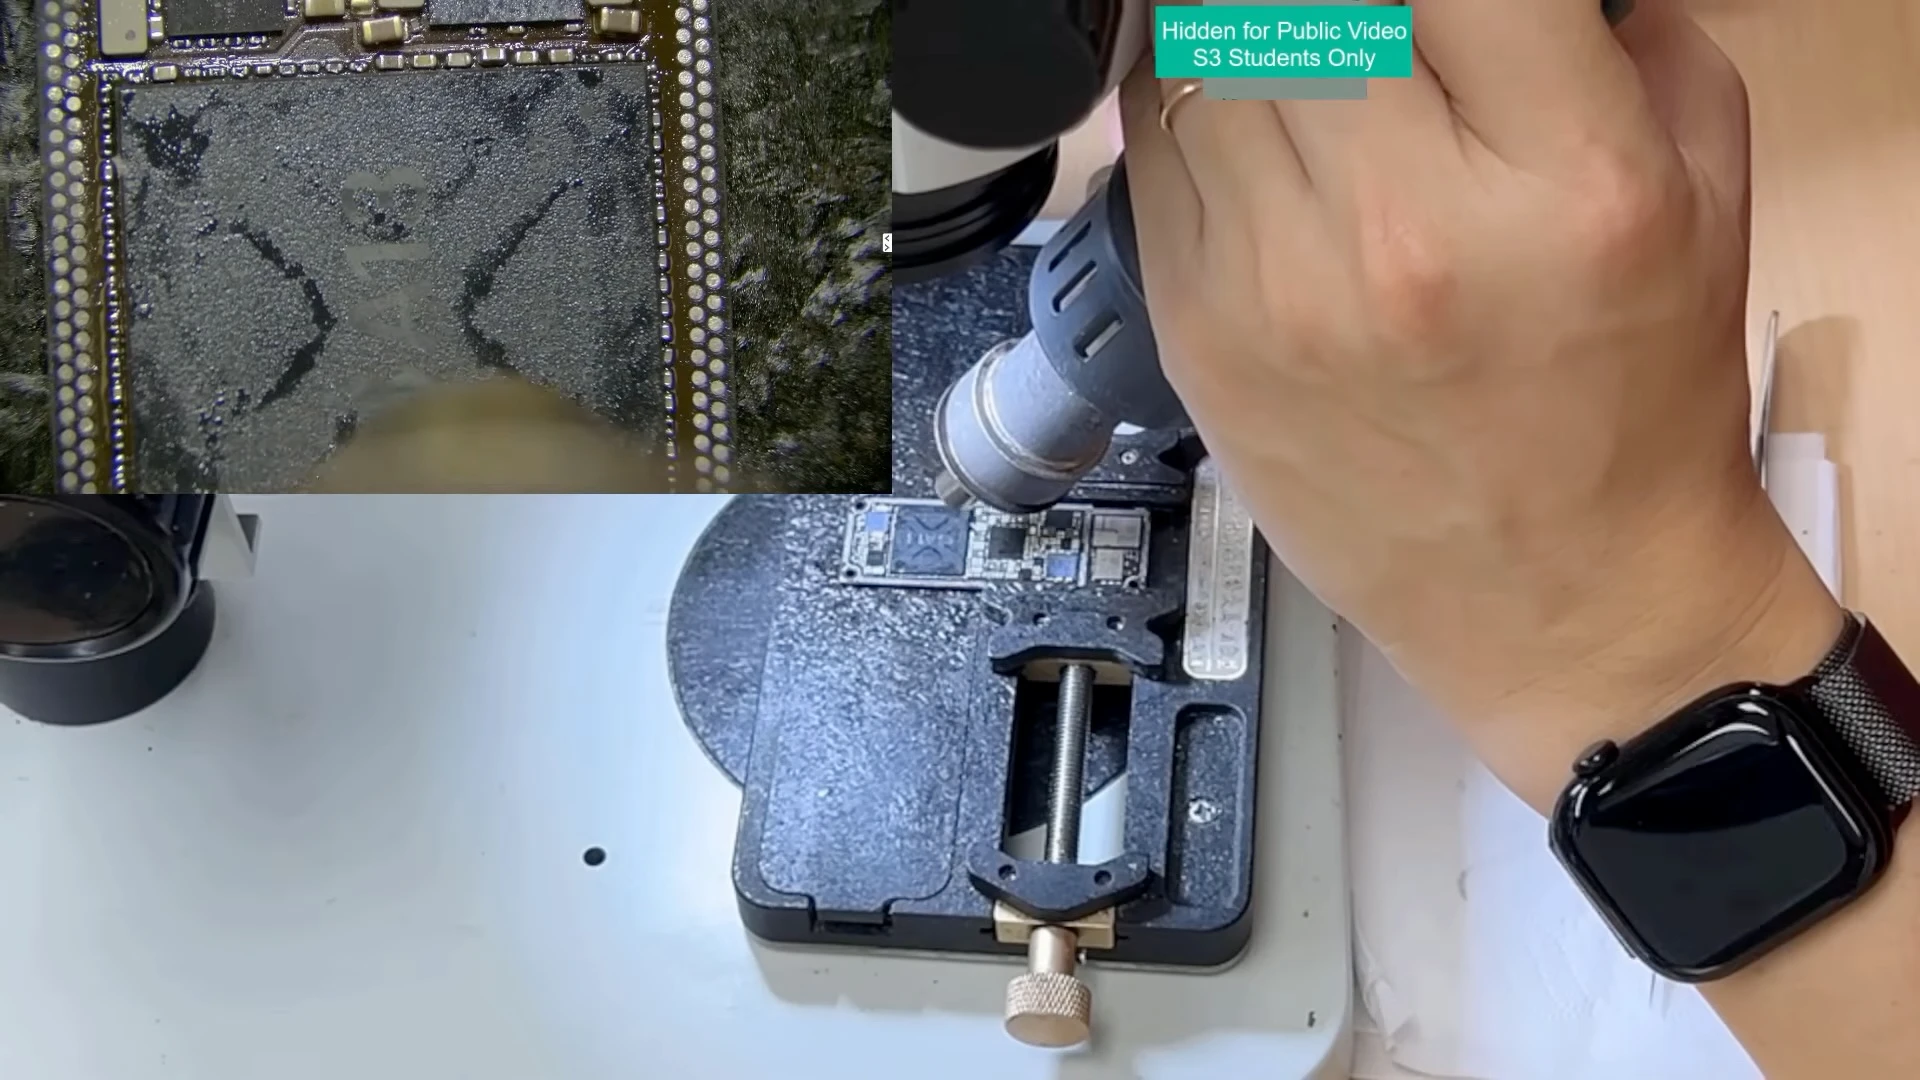
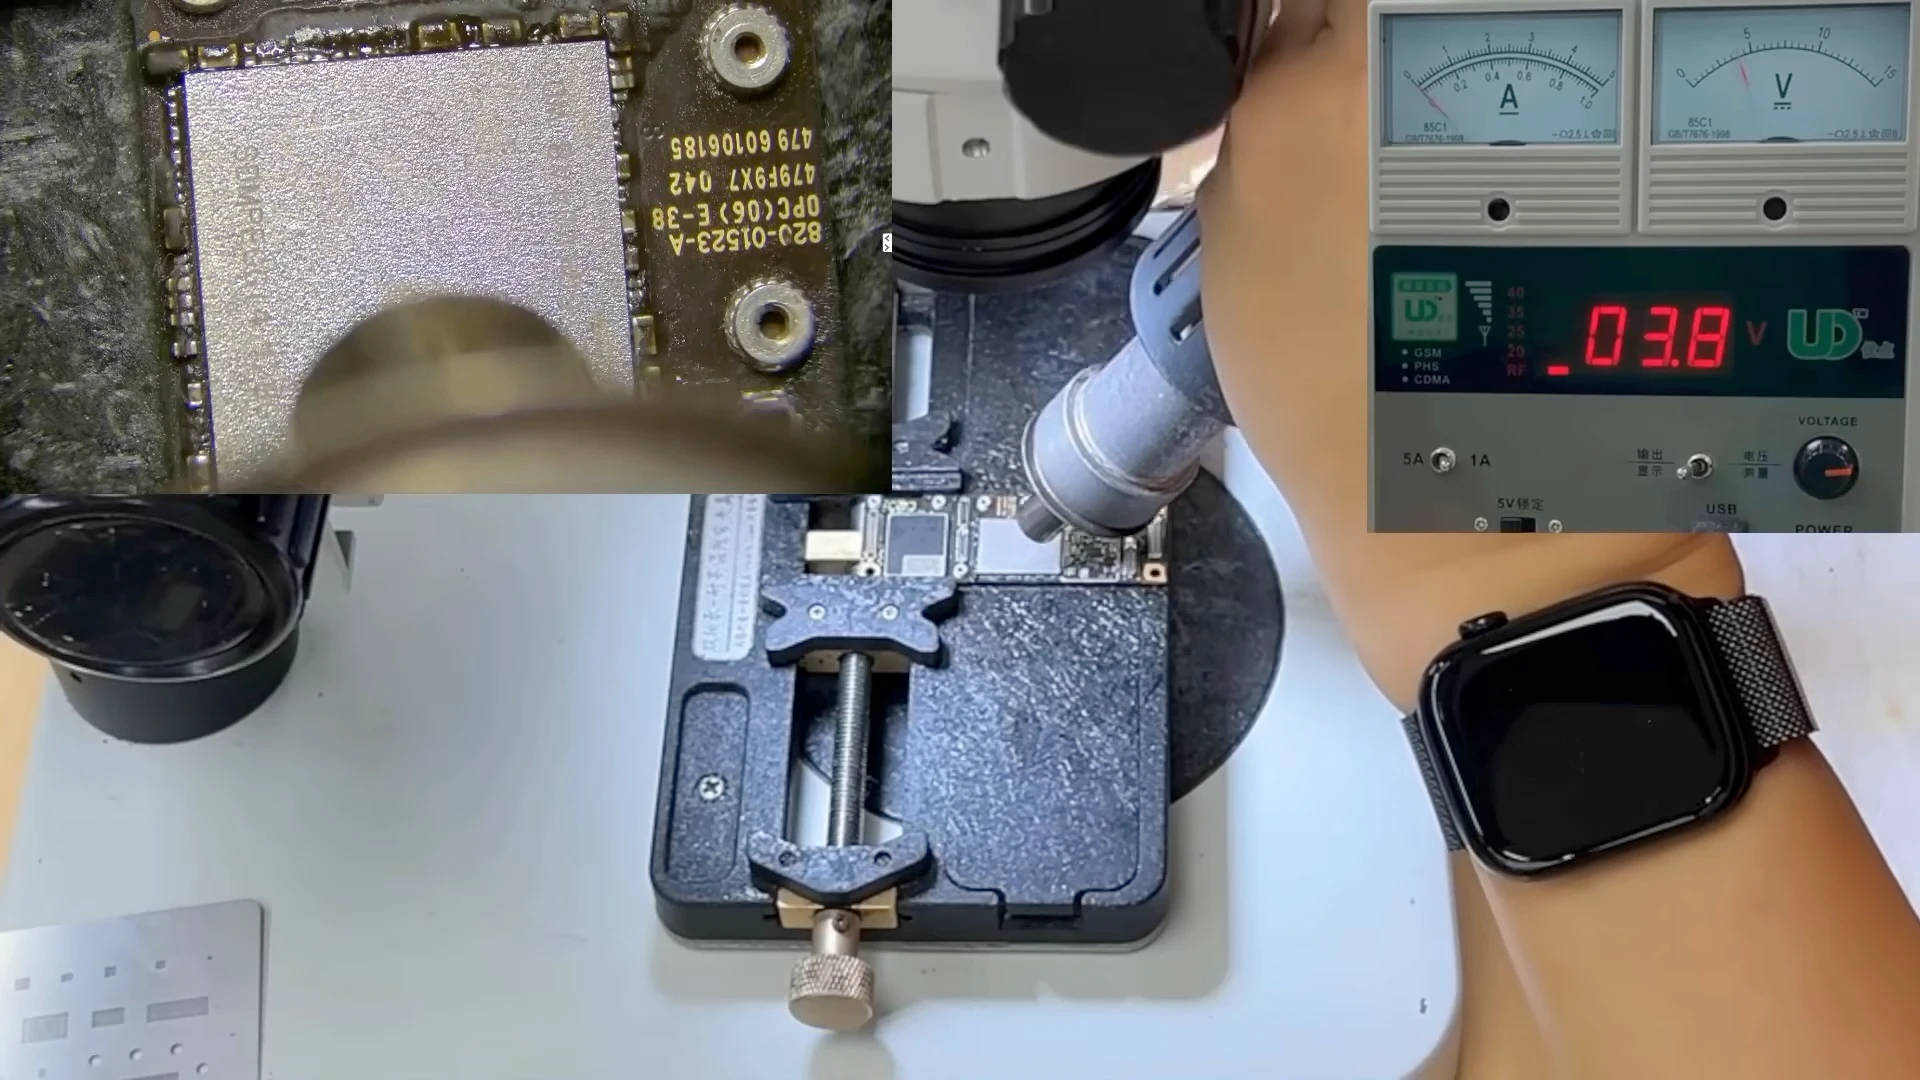
CPU removal requires careful heat control because the processor and surrounding motherboard components can be damaged by excessive heat or physical stress.
Controlled hot air is applied while preparing to lift the original A13 CPU from the logic board.
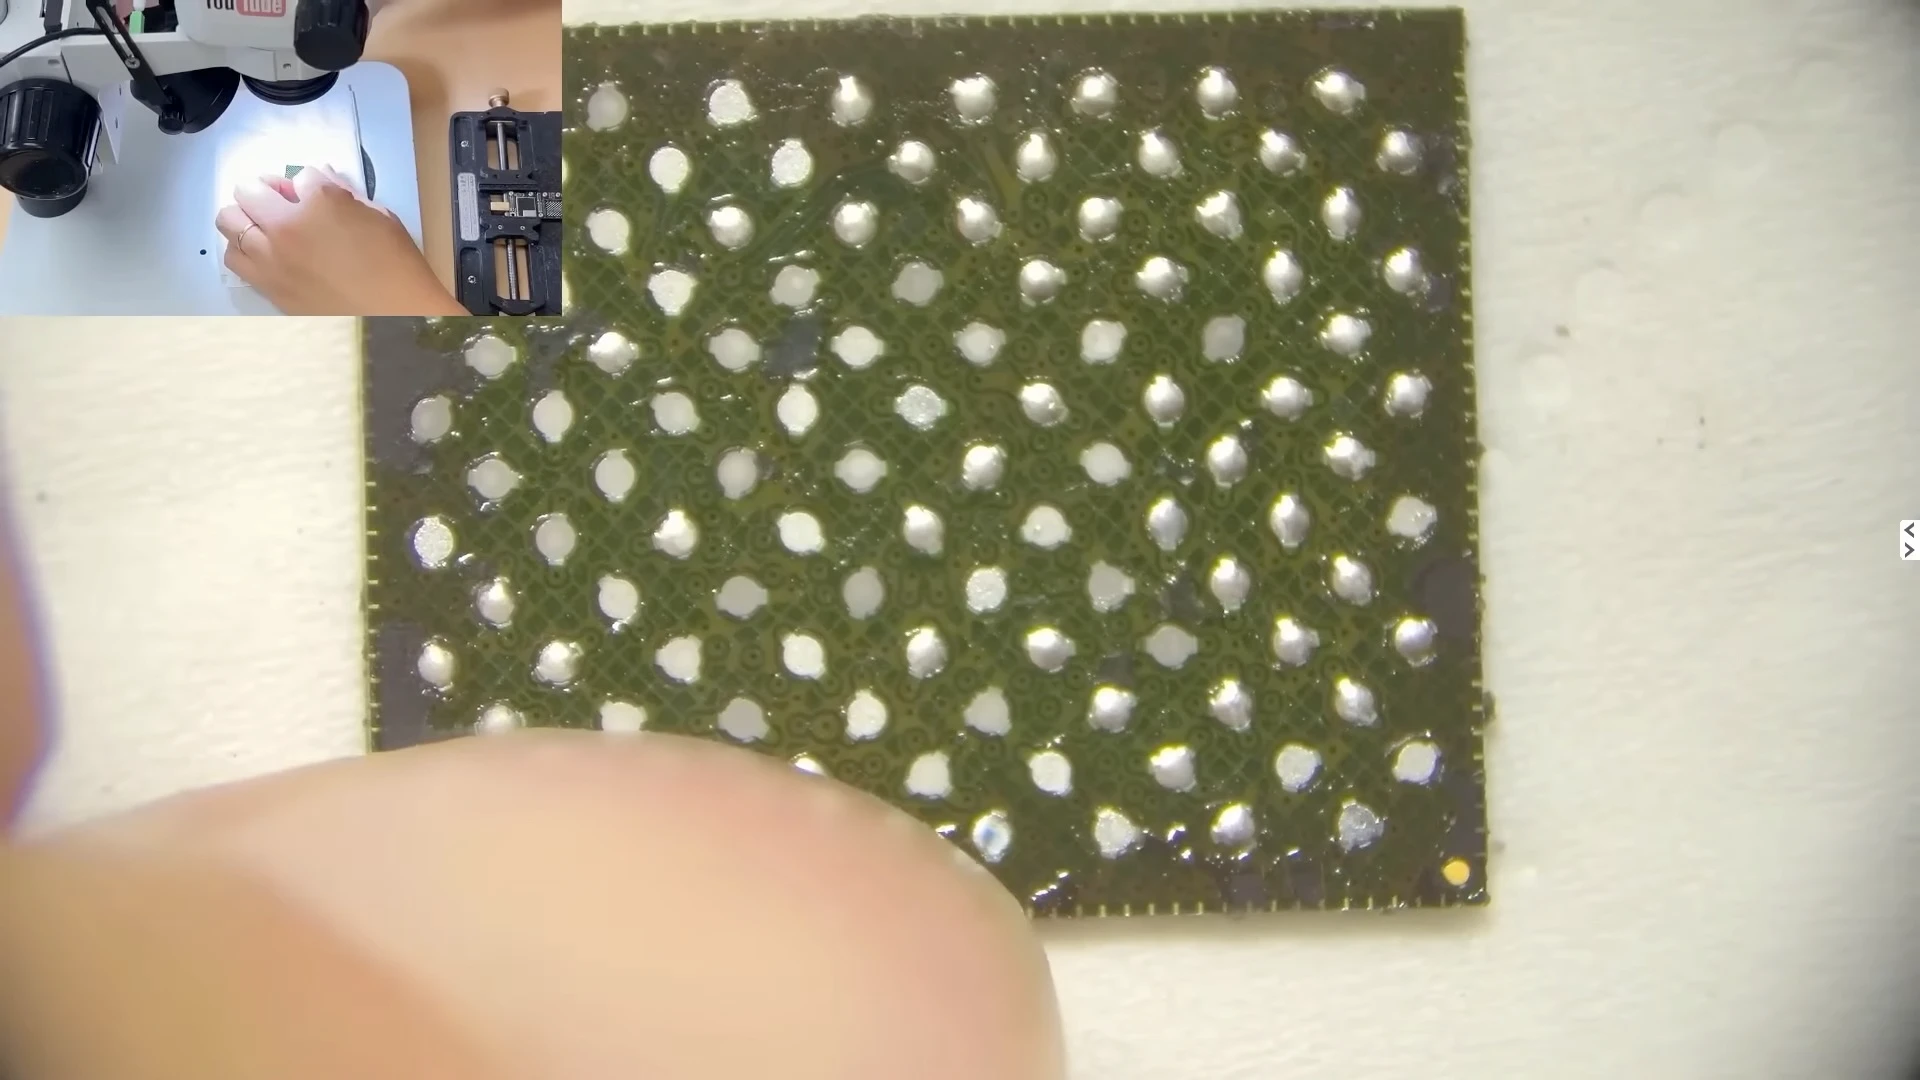
After removal, the remaining underfill and solder were carefully cleaned from both the CPU and the motherboard.
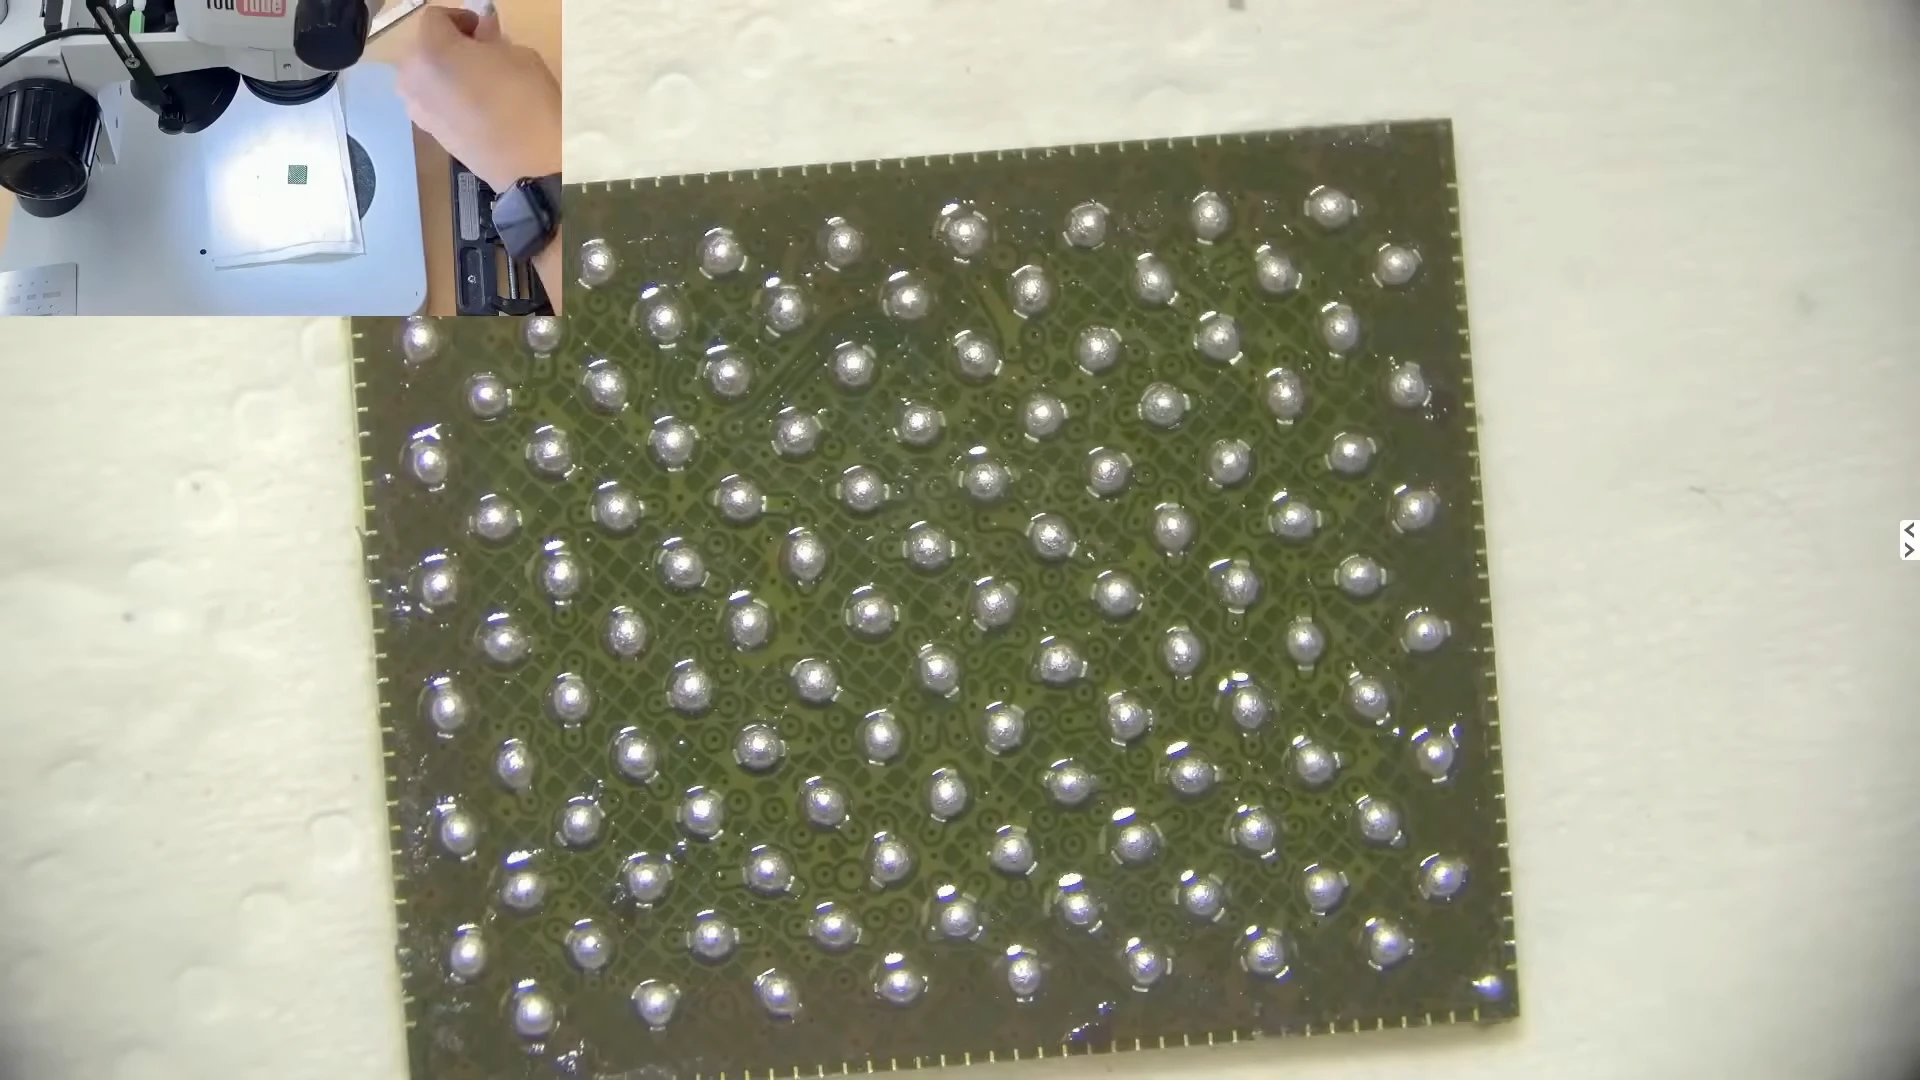
The original A13 CPU was then reballed, replacing the solder balls underneath the processor before reinstalling it onto the logic board.
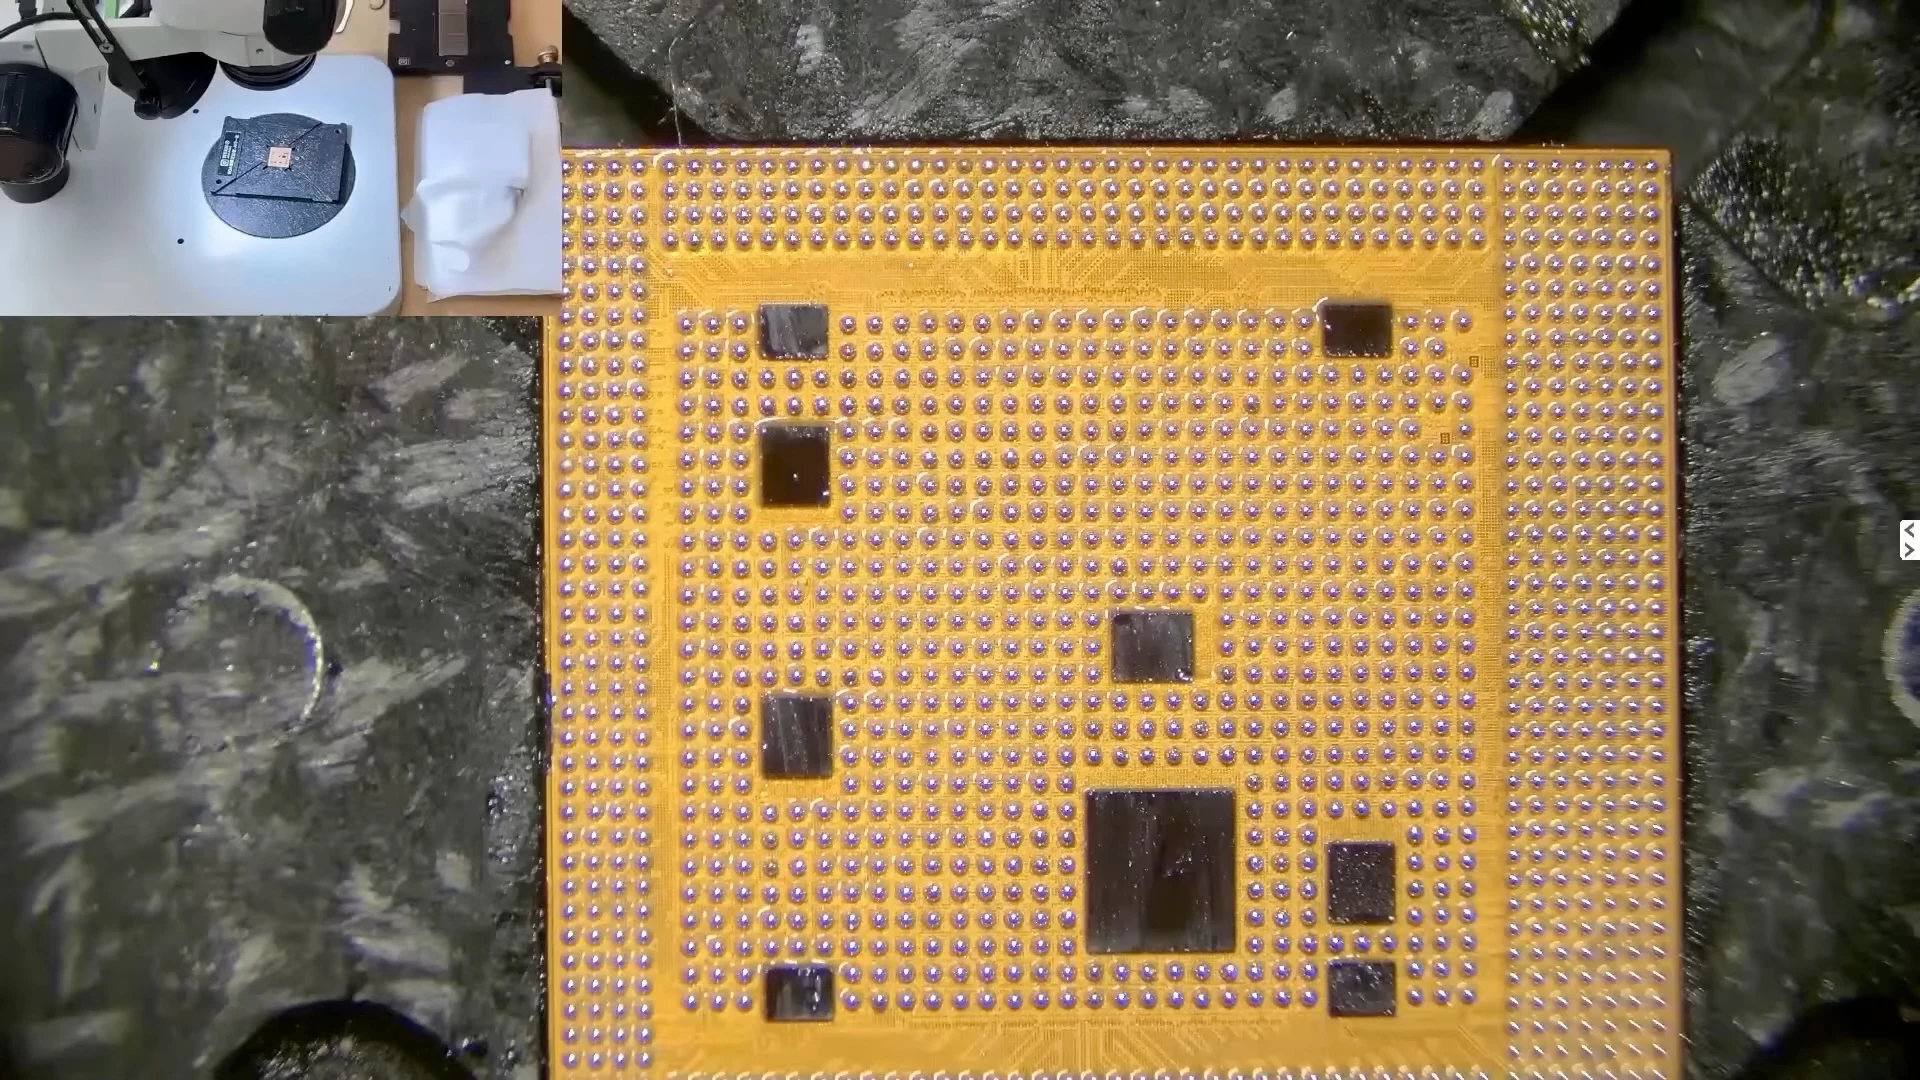
During CPU reballing, controlled heat transforms the solder paste into individual solder balls across the CPU.
The original A13 CPU after cleaning and reballing, with the new solder balls formed across the contact surface.
Once the CPU was correctly positioned, controlled heat was applied to solder it back onto the motherboard.
Controlled hot air is applied to solder the reballed A13 CPU back onto the motherboard.
At this point, we did not immediately reinstall the NAND or reassemble the iPhone. We first repeated the same diagnostic procedure used before the CPU repair.
Testing the CPU Again Before Reinstalling the NAND
With the original CPU reinstalled and the NAND still removed, we powered the board on again.
This time, the DC power supply remained at approximately 80 mA, which is the expected response for this stage of our NAND-less DFU test
After CPU reballing, the NAND-less board now holds around 80 mA after power-on—a normal response for this stage of our DFU diagnostic procedure.
After connecting the board to the computer, the iPhone was again detected in DFU mode.
We then repeated the same firmware diagnostic test that had previously failed at approximately 11%.
This time, the result was different.
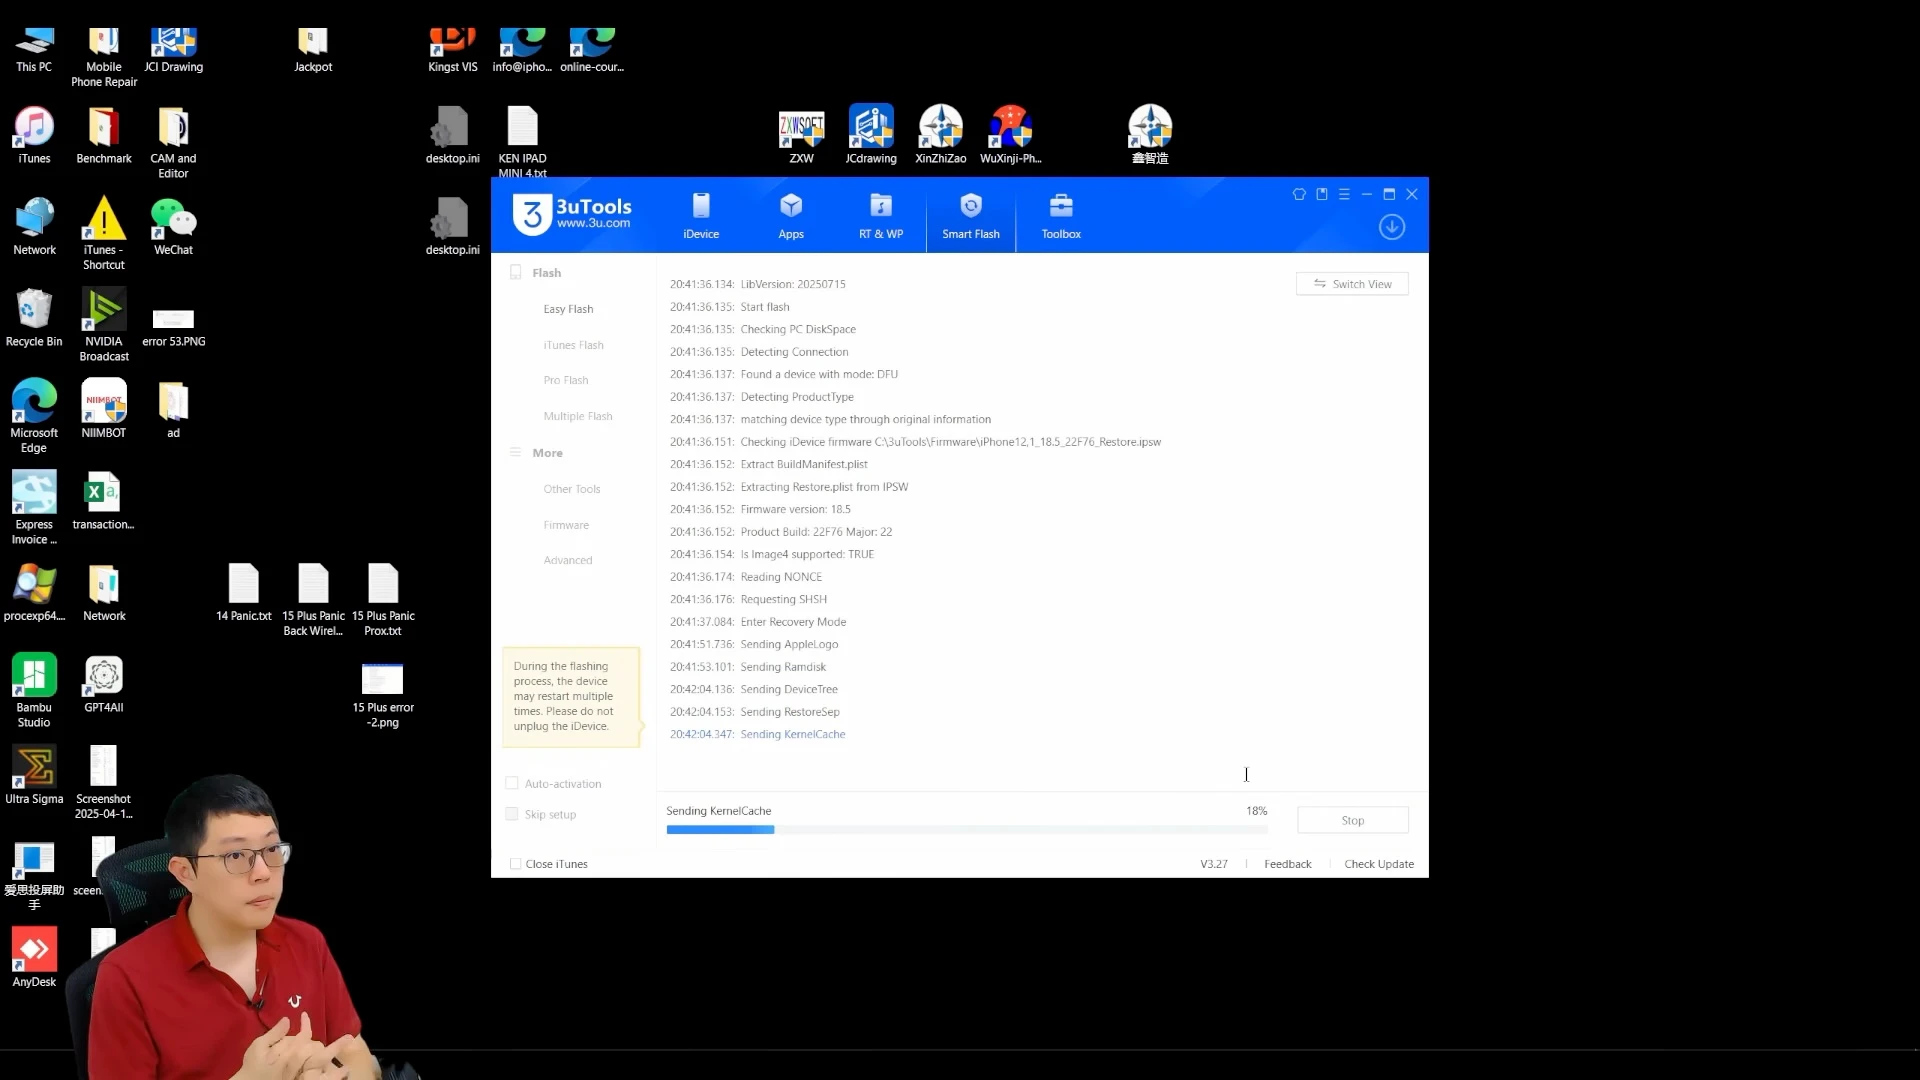
The device successfully progressed through the stages that had previously failed. It entered Recovery Mode and successfully passed the Apple logo and RAMdisk loading stages before reaching approximately 18%, where the process stopped because the NAND was not installed.
The diagnostic firmware process now progresses to 18%. Recovery Mode, Apple logo and RAMdisk stages pass successfully, providing the expected benchmark response in our CPU diagnostic procedure.
For this diagnostic procedure, reaching this point is the expected result for an iPhone 11 motherboard operating without its NAND storage.
The important comparison was therefore:
Before CPU reballing: the process failed at approximately 11% while attempting to transition from DFU to Recovery Mode.
After CPU reballing: the same board passed the previous failure point, successfully loaded the required recovery stages and reached our expected NAND-related stopping point at approximately 18%.
This before-and-after result provided the confirmation we needed that the CPU-level repair had corrected the fault.
Only after obtaining this expected response did we proceed with reinstalling the customer’s original NAND.
Reinstalling the Original NAND and Testing the iPhone
Once the CPU passed our diagnostic test, we could proceed with reinstalling the customer’s original NAND flash storage.
The NAND was cleaned and reballed before being soldered back onto the logic board. Keeping the original NAND was essential because it contained the customer’s encrypted data.
The customer’s original NAND storage is inspected before cleaning and reballing.
The original NAND after cleaning and reballing, ready to be installed back onto the logic board.
The NAND mounting area on the motherboard was cleaned and prepared before the original storage chip was carefully positioned and soldered back into place.
The customer's original NAND is positioned and soldered back onto the repaired logic board.
First Boot After the CPU Repair
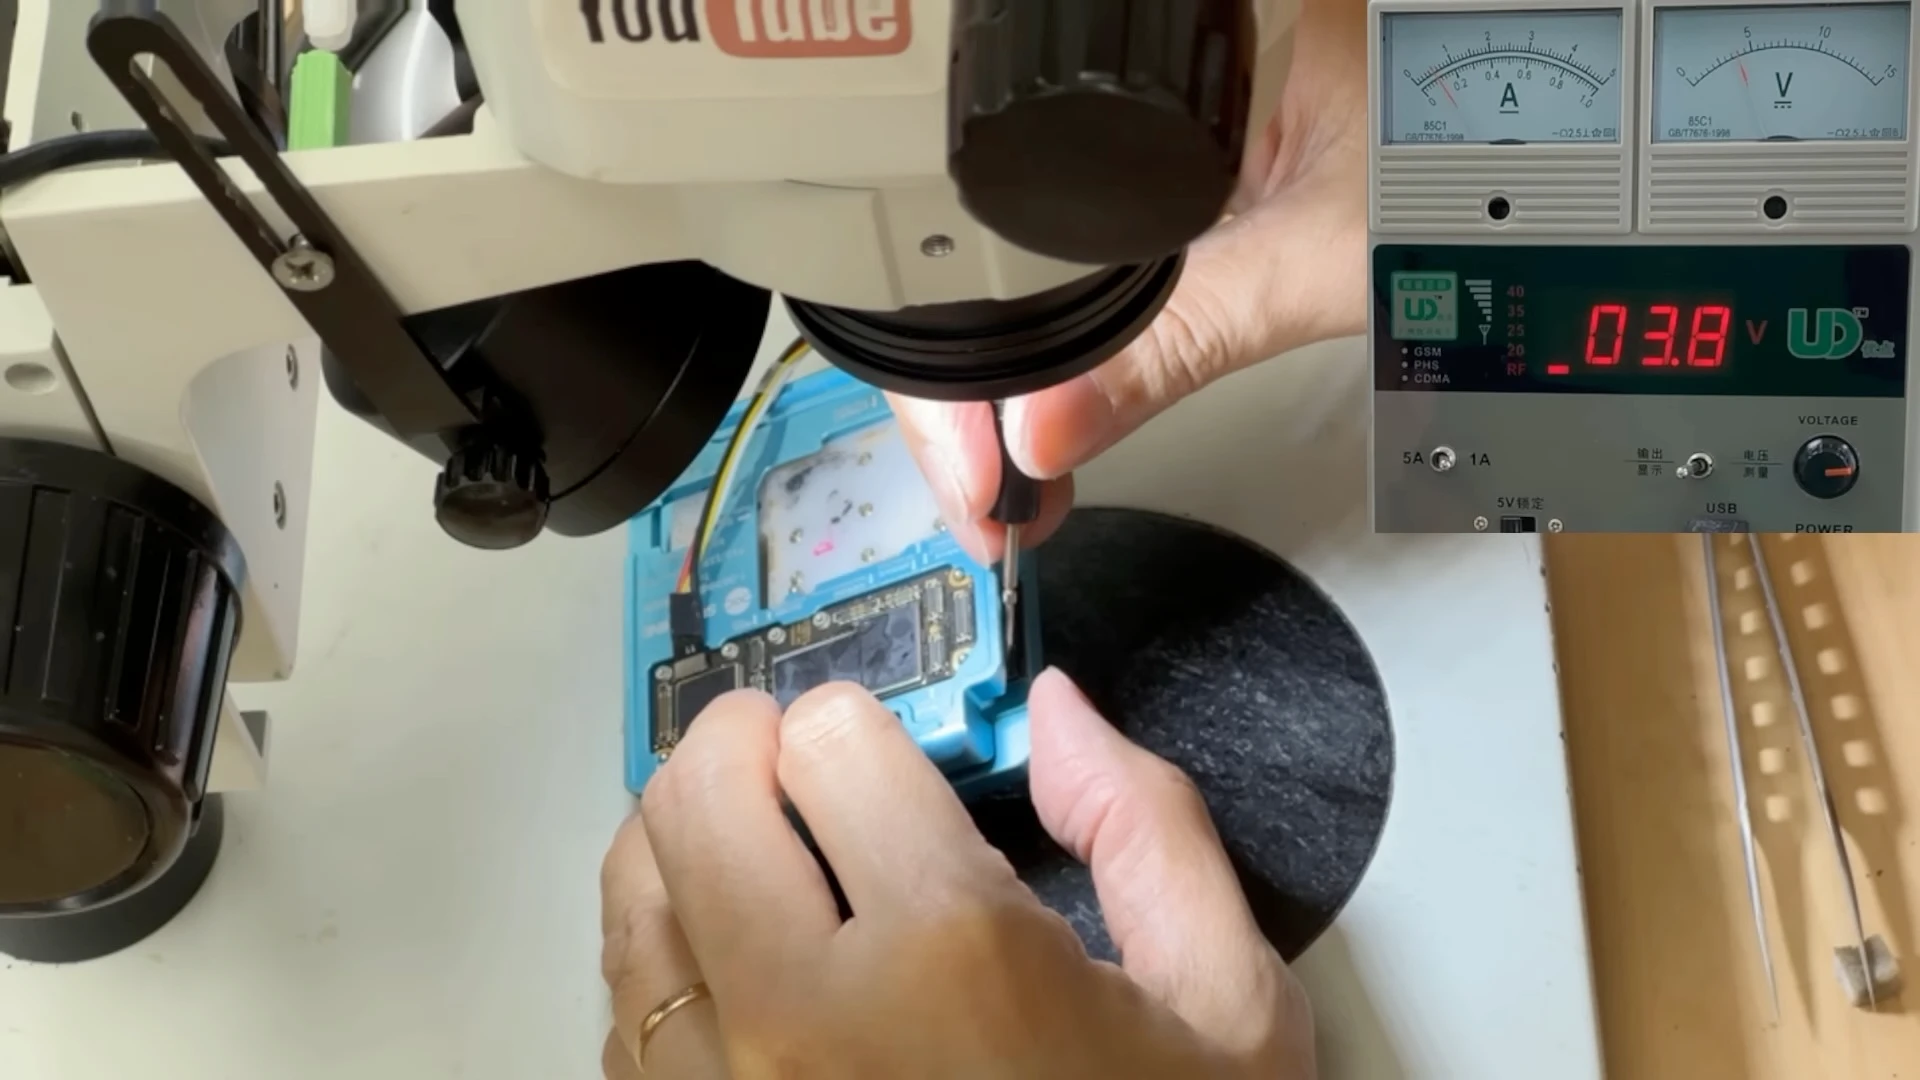
Before permanently joining the upper and lower logic board layers again, we placed both boards into the sandwich-board tester and connected a display.
This allowed us to perform a complete boot test before final motherboard assembly.
Both board layers are placed in the tester and connected to a display for the first complete boot test after CPU and NAND installation.
The result was successful: the iPhone booted into iOS.
The iPhone successfully boots into iOS after the original CPU was reballed and the original NAND reinstalled.
This was the final confirmation that the original CPU, NAND and required motherboard circuits were working together correctly again.
The sandwich board was then reballed and permanently reassembled. After completing the remaining tests, the logic board was installed back into the iPhone.
Repair Completed With the Original Data Preserved
After final reassembly, the iPhone powered on normally and reached the passcode screen.
After final reassembly, the iPhone powers on normally to the passcode screen with the customer's original data preserved.
Most importantly, the repair was completed using the customer’s original A13 CPU and original NAND storage. No CPU replacement was performed, and the customer’s existing data remained accessible after entering the original passcode.
This case demonstrates why we do not begin a repair simply because an iPhone has previously been diagnosed with a “CPU problem.”
The original symptom did eventually lead us to CPU-level repair, but only after multiple tests had eliminated other possible causes and produced repeatable evidence supporting that decision.
CPU repair should be the result of a diagnosis, not an assumption made at the beginning of one.
Watch the Full iPhone 11 CPU Repair
This repair case was recorded from diagnosis through to the completed repair.
In the video, you can see how we traced the original 200 mA startup symptom, separated and tested the sandwich logic board, isolated the CPU-related fault, removed the NAND for further diagnosis, reballed the original A13 CPU, and repeated the same tests before reinstalling the customer’s original NAND.
The final result was an iPhone 11 that powered on normally with the original data preserved.
Should You Repair an iPhone With a CPU Problem?
If another repair shop has told you that your iPhone has a CPU problem, it does not necessarily mean the CPU is permanently damaged or that the phone cannot be repaired.
The first step should be to confirm the diagnosis.
As demonstrated in this repair case, several motherboard faults can prevent the CPU from operating correctly and produce symptoms that appear to be CPU-related. Proper diagnosis may require checking power rails, communication lines, current response and other supporting circuits before CPU-level work is considered.
If the original CPU is still functional and the problem is related to its solder connections, CPU reballing may be a possible repair option.
For more severely damaged motherboards, another option may involve transferring the original CPU together with other required components to a compatible donor board. This is a different procedure and is particularly relevant when recovering data from a motherboard that cannot reasonably be repaired in its original condition.
We will cover this type of CPU transfer and donor-board repair in a separate article.
The important point is that “CPU problem” is a diagnosis category, not automatically a reason to replace the CPU or give up on the device.
The appropriate repair method depends on what the diagnosis actually finds.
FAQ
Can an iPhone CPU be repaired?
Yes, in some cases. If the original CPU is still functional but has a solder connection problem, CPU reballing may restore the connection. The motherboard should be properly diagnosed before CPU-level repair is attempted.
Can an iPhone CPU be replaced?
An iPhone CPU cannot simply be replaced with another CPU like a normal motherboard component. It is part of Apple’s hardware security architecture and works together with other paired components. In certain cases, the original CPU and other required components can instead be transferred to a compatible donor motherboard.
Will iPhone CPU repair erase my data?
CPU reballing uses the original CPU and does not intentionally erase the NAND storage. In the repair case shown in this article, the original CPU and NAND were retained and the iPhone booted with the customer’s existing data intact. However, data preservation always depends on the condition of the original hardware.
How do you know if an iPhone CPU has a problem?
We do not rely on a single symptom. Diagnosis can involve analysing DC power supply response, checking required power rails and communication lines, isolating sections of the motherboard, testing DFU behaviour and observing where the startup or firmware process stops.
Does a CPU problem mean the CPU itself is damaged?
No. The CPU depends on multiple power supplies, signals and supporting circuits to operate. A failure elsewhere on the motherboard can prevent the CPU from working correctly and create symptoms that appear to be a CPU fault.
How much does iPhone CPU repair cost?
The cost depends on the actual motherboard damage and what we find during diagnosis. We need to confirm the cause of the CPU-related problem before we can recommend the appropriate repair method and provide a quotation.
If your priority is data recovery, our diagnostic process will not intentionally erase, reset or restore the iPhone in a way that would remove your data.
You can check our iPhone Data Recovery Service page for typical pricing, diagnosis and recovery time, courier options, and what happens after we successfully get the device to power on.
Can data be recovered if the iPhone CPU is damaged?
It depends on the extent of the damage. Because iPhone data is protected by hardware-based encryption, simply installing another CPU will not make the original data readable.
In some cases, advanced board-level repair or transferring the original CPU together with other required components to a donor motherboard may provide a path to data recovery.
If recovering your data is the main priority, read our iPhone Data Recovery Service page for information about pricing, diagnosis and recovery time, courier options, and the available recovery options after we successfully get the device to power on.
Don't let "data's gone" be the last word.
Send us a photo or description — we’ll assess it and get back to you.