NOTICE: Please make an appointment via WhatsApp or call the office before walking in. We respond during working hours.
Menu
iPhone Service Malaysia
201303050224
Can Data Be Recovered from a Water-Damaged iPhone?
Water damage doesn’t always mean your photos, videos, and important files are lost forever. Whether data can be recovered depends on which parts of the iPhone have been damaged and how the device is handled after the incident.
In many cases, the original motherboard can still be repaired, allowing the iPhone to power on and the data to remain intact. However, every water-damaged iPhone is different, and choosing the right repair approach is critical.
In this article, we’ll explain how data recovery works after water damage and share a real repair case involving a severely water-damaged iPhone to demonstrate why careful diagnosis always comes before major motherboard repair.
Table of Contents
How Water Damage Affects an iPhone
Water damage can affect every iPhone differently. The severity depends on several factors, including:
How much liquid entered the device.
How long the phone remained wet.
Whether it was powered on or charged after the incident.
Which components or circuits were affected.
Common symptoms of a water-damaged iPhone include:
Won’t turn on
Stuck on the Apple logo
Black screen
No charging
Random restarts
No display or no backlight
The good news is that water damage does not always mean your photos and data are lost. With proper diagnosis, many iPhones can still be repaired or recovered without immediately resorting to the most invasive repair methods.
Is Data Recovery Different from iPhone Repair?
Yes. Although the two services are closely related, they have very different goals.
A standard iPhone repair focuses on restoring the device to normal working condition so it can be used again.
Data recovery has a different objective. The priority is to retrieve important photos, videos, contacts, messages, and other personal files while maximizing the chance of preserving the original data.
Because the goal is different, the repair strategy may also be different. In some cases, the phone only needs to function long enough for the data to be successfully recovered, rather than being fully restored for everyday use.
This is why every data recovery case begins with a careful diagnosis before deciding on the most appropriate repair approach.
Why Choosing the Right Repair Method Matters
There is no single repair method for every water-damaged iPhone. The best approach depends on the condition of the motherboard after a thorough diagnosis.
In some cases, the original motherboard can be repaired, allowing the iPhone to power on while preserving the customer’s original data. In more severe cases, advanced procedures such as CPU transfer may become necessary.
Because a CPU transfer is one of the most complex procedures in iPhone motherboard repair, we believe it should only be considered when diagnosis shows there is no better alternative. Whenever possible, our goal is to repair the original motherboard first and avoid unnecessary invasive work.
The following repair case demonstrates how careful diagnosis allowed us to recover a customer’s data without immediately resorting to CPU removal.
Real Repair Case: Recovering Data from a Severely Water-Damaged iPhone
Initial Inspection
The customer brought in an iPhone that had suffered severe water damage and could no longer power on. Before any repair work began, we carried out a visual inspection of the motherboard.
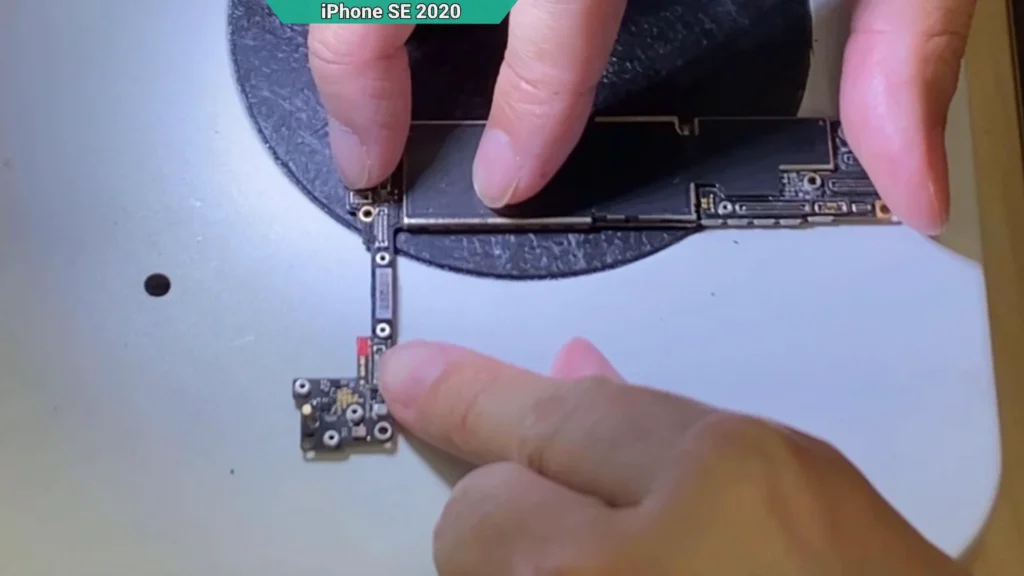
One of the first signs confirming liquid exposure was the Liquid Contact Indicator (LCI). Originally white, the indicator had turned red, showing that liquid had entered the device. While this doesn’t tell us exactly which components are damaged, it confirms that further internal inspection is necessary.
The Liquid Contact Indicator (LCI) has turned red, confirming that liquid entered the iPhone. Further diagnosis is required to determine the extent of the internal damage.
Corrosion Found Across Multiple Areas of the Motherboard
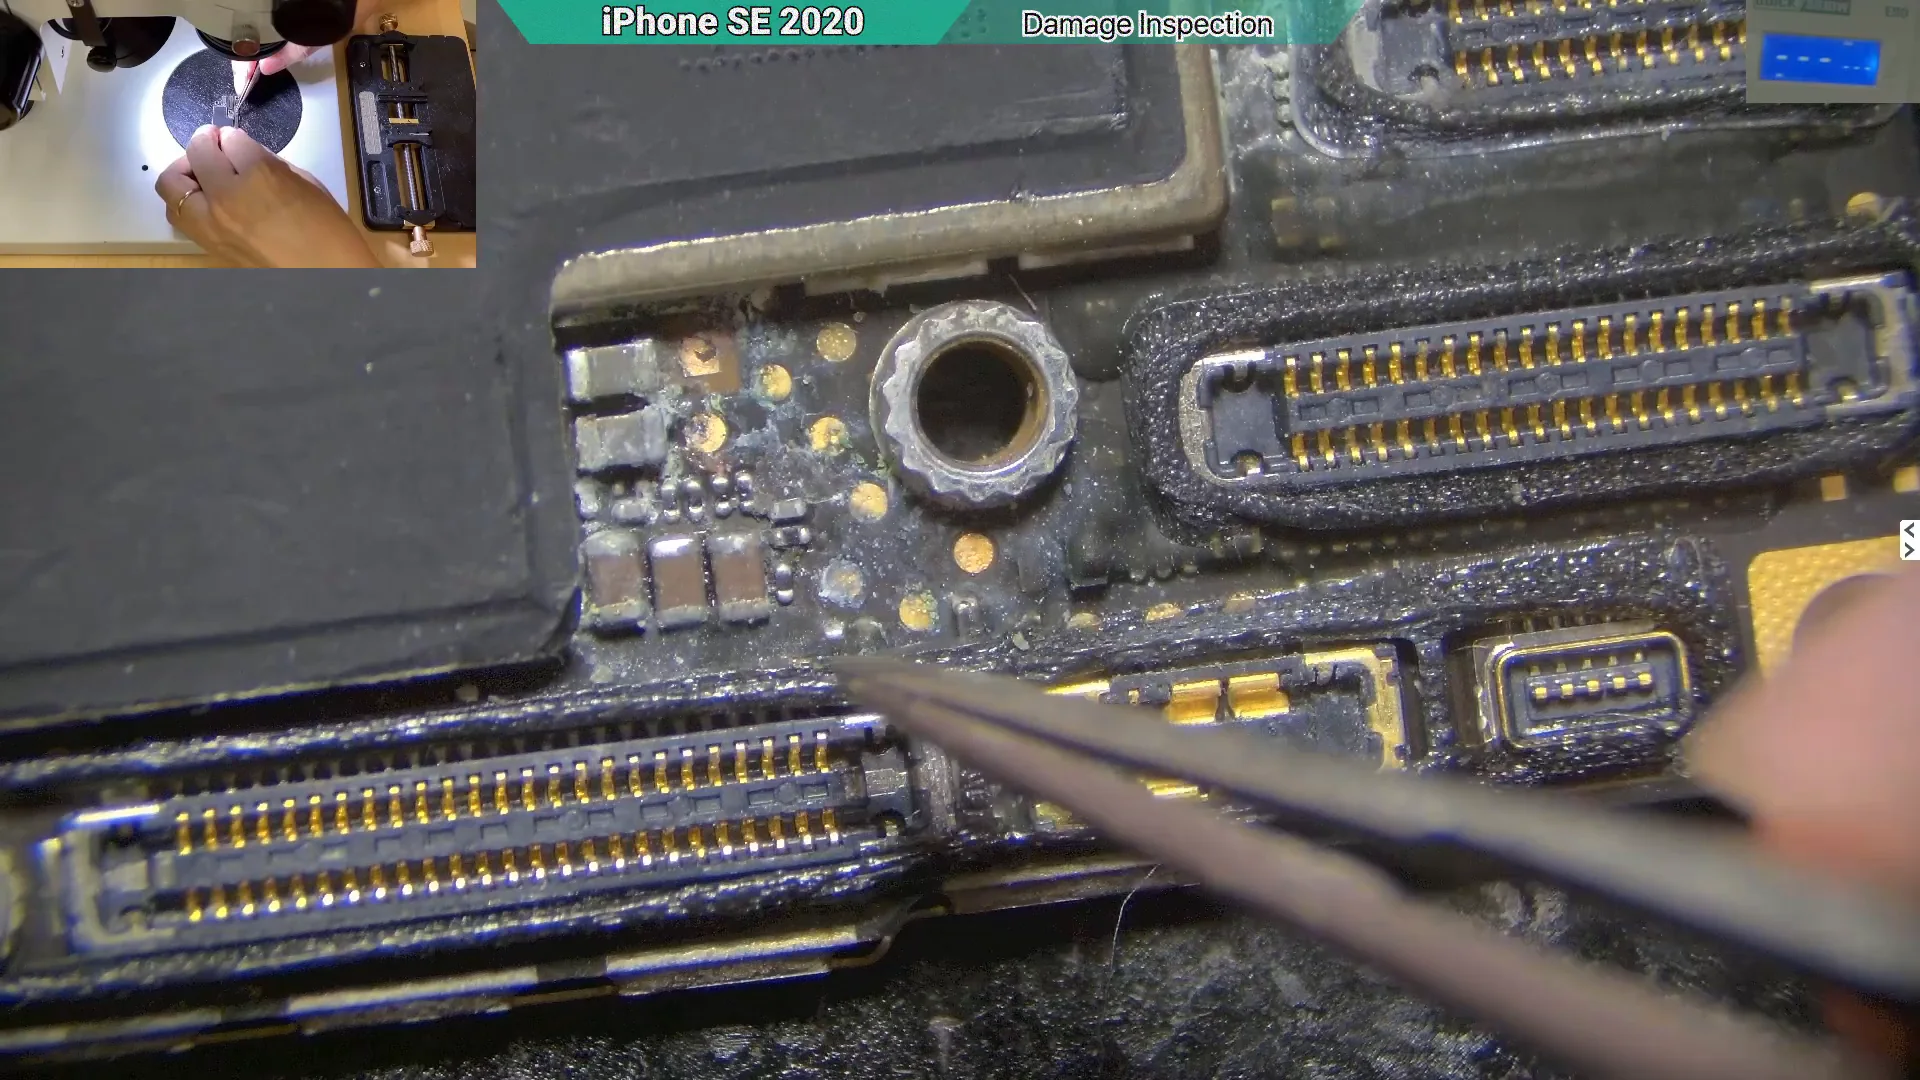
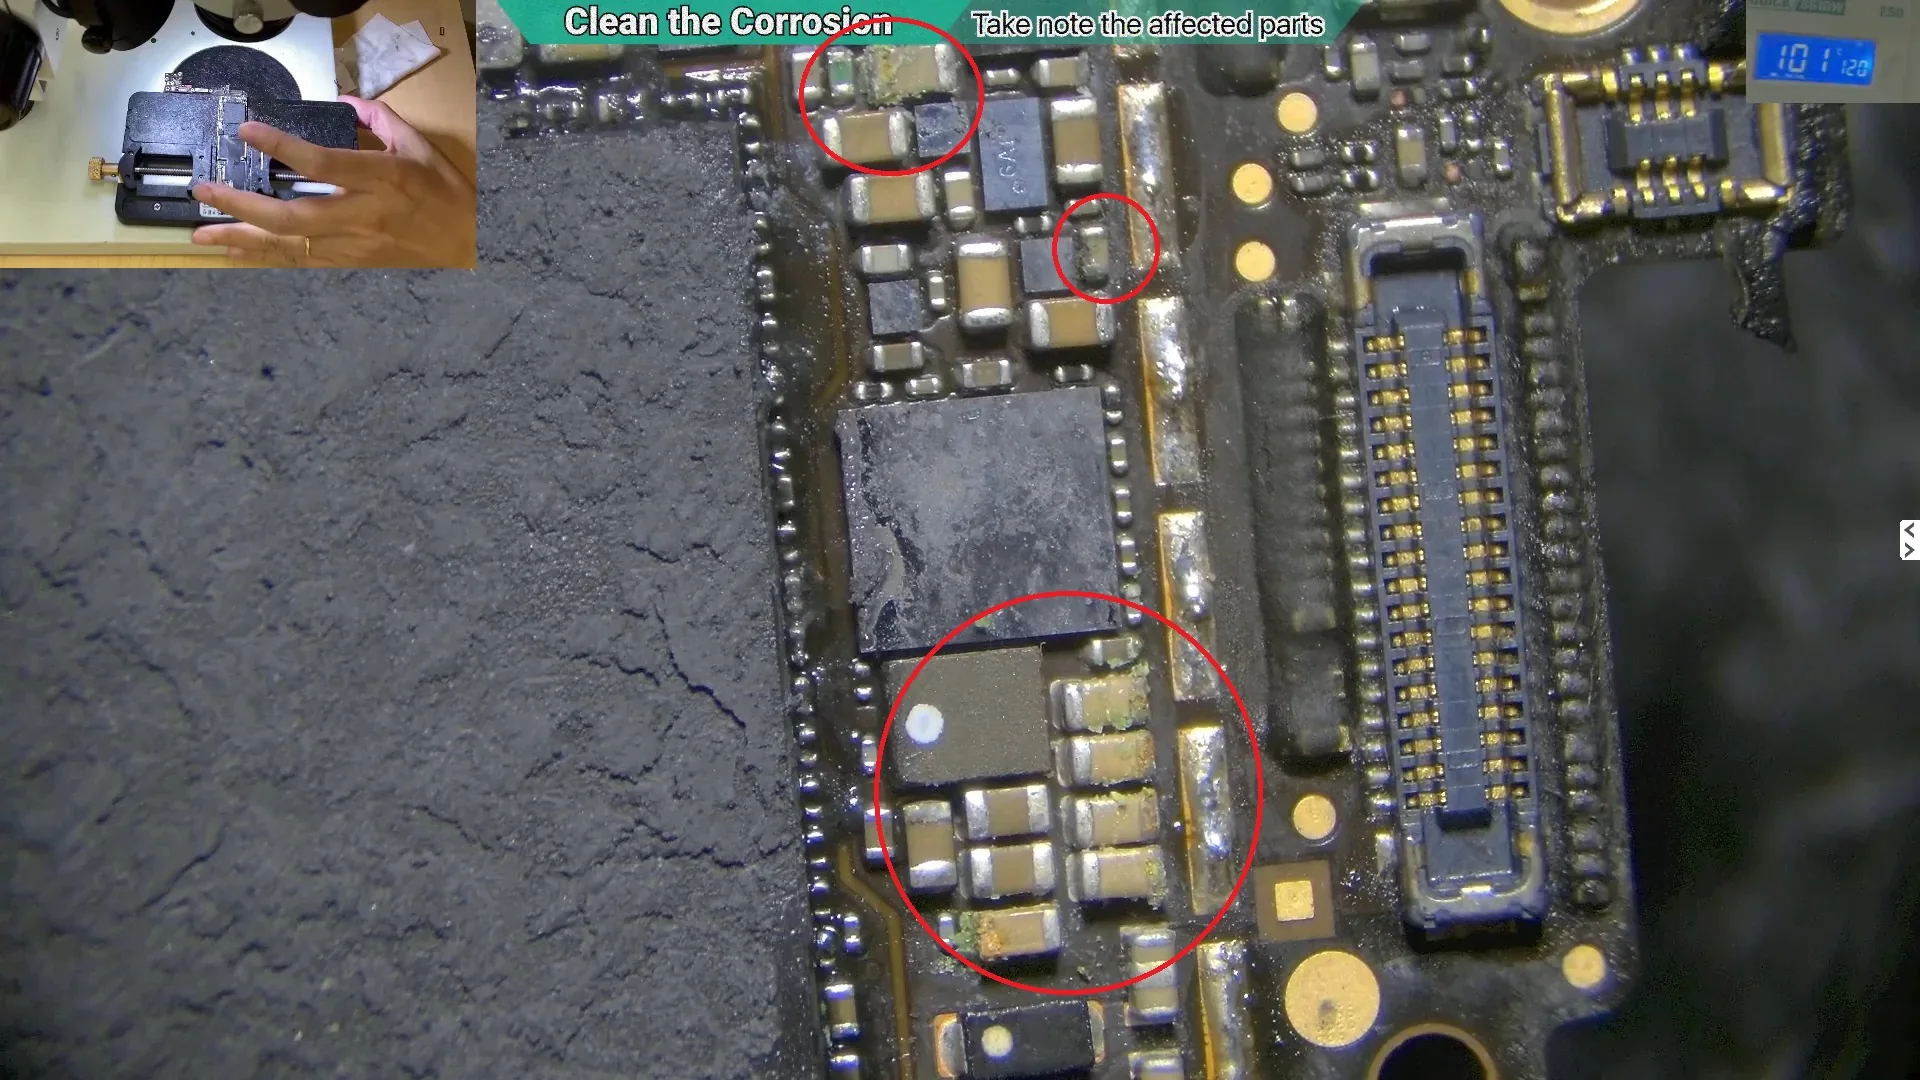
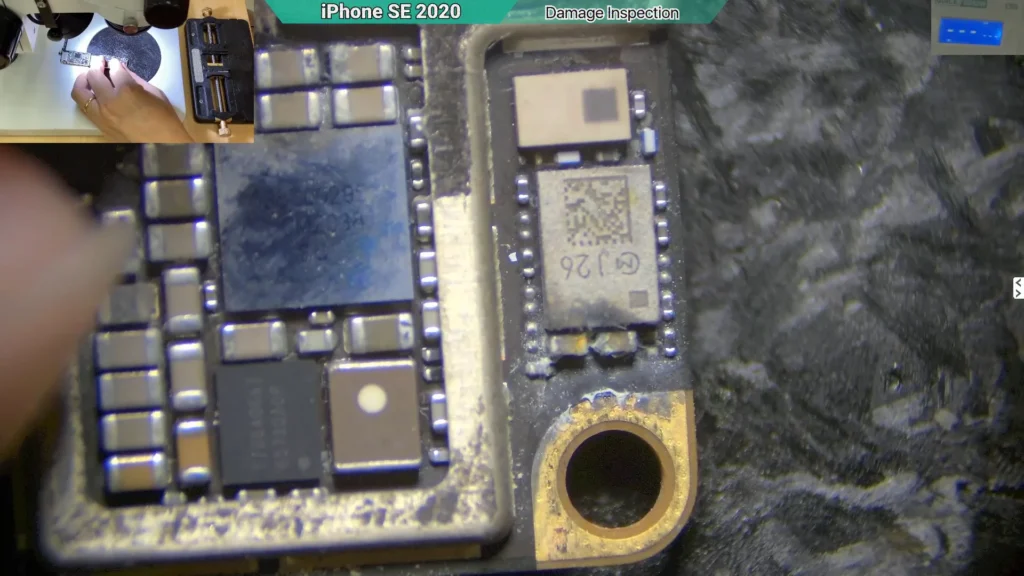
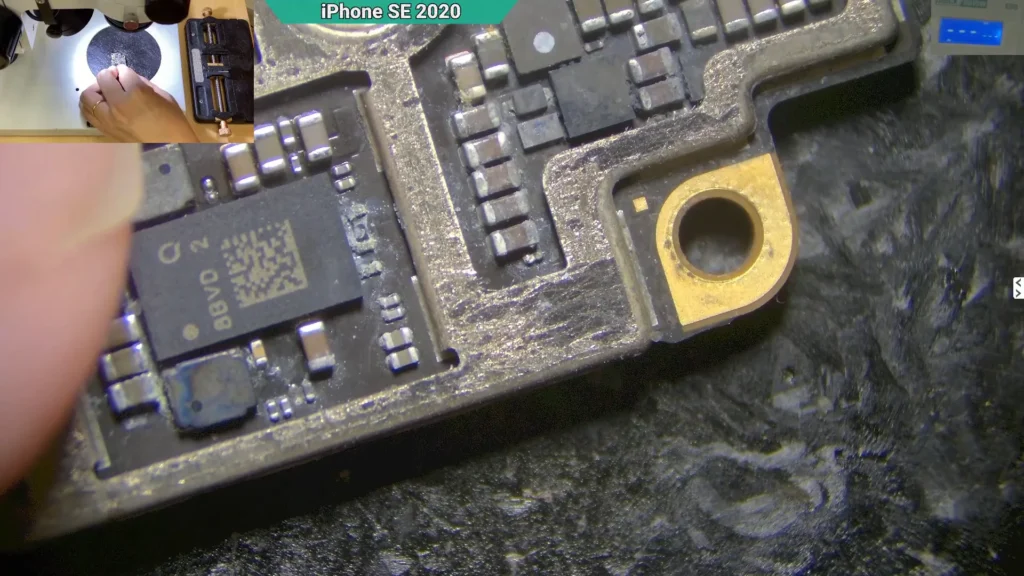
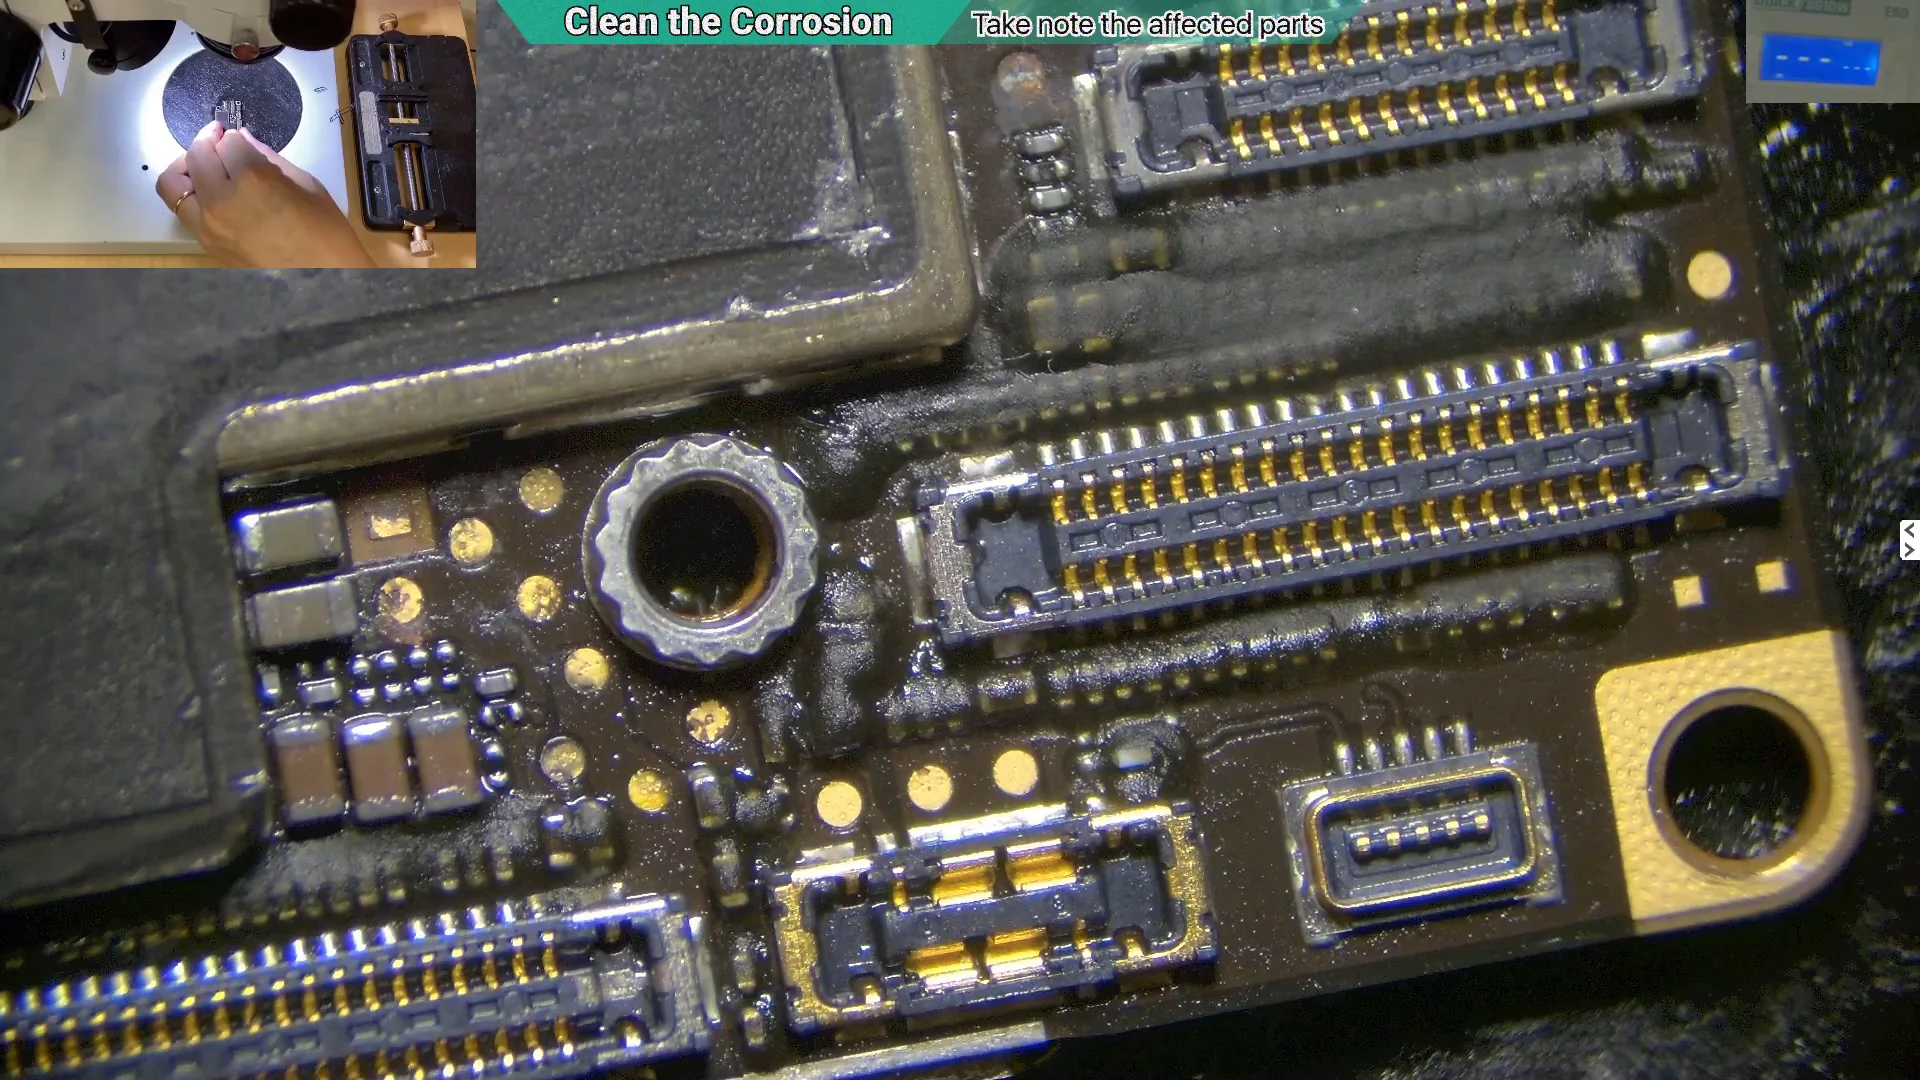
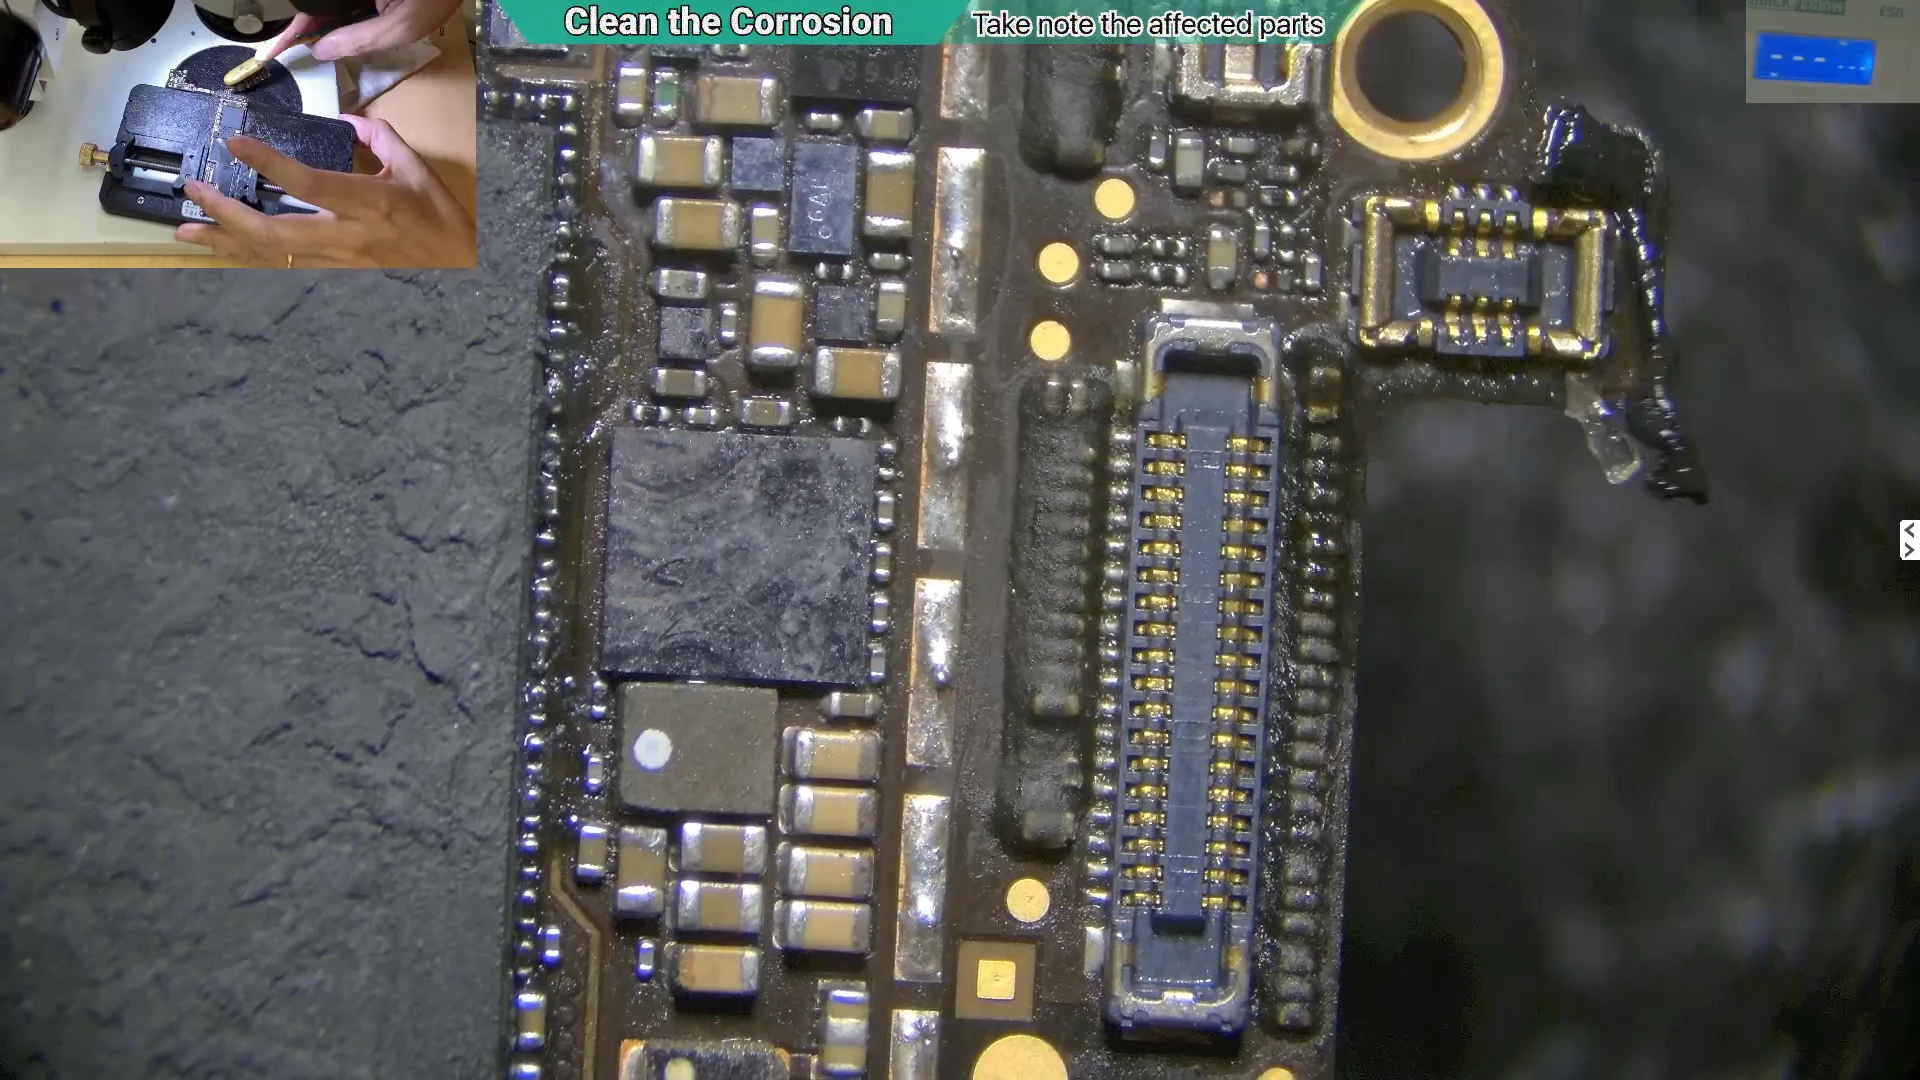
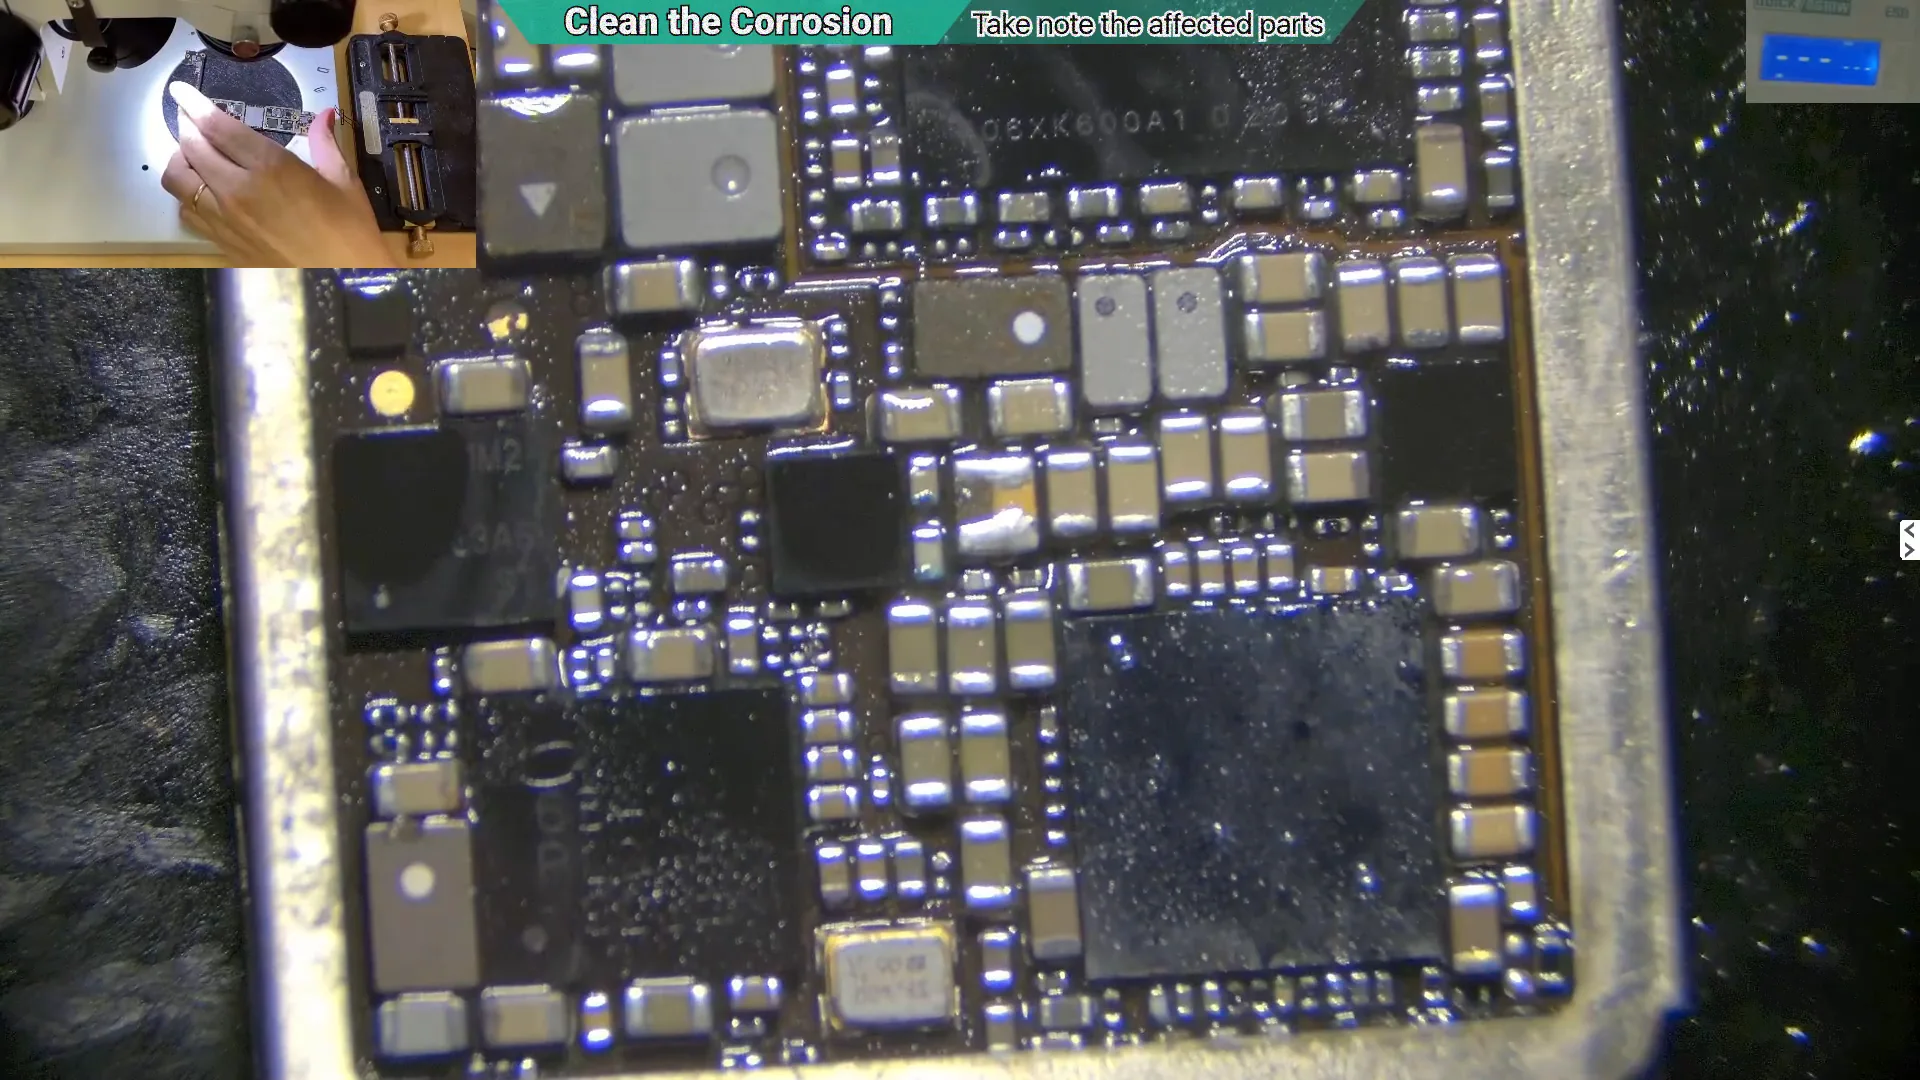
Found corrosion in several areas of the motherboard.
Water had reached multiple circuits, affecting different parts of the board.
At this stage, it is impossible to determine which damaged area is actually causing the failure.
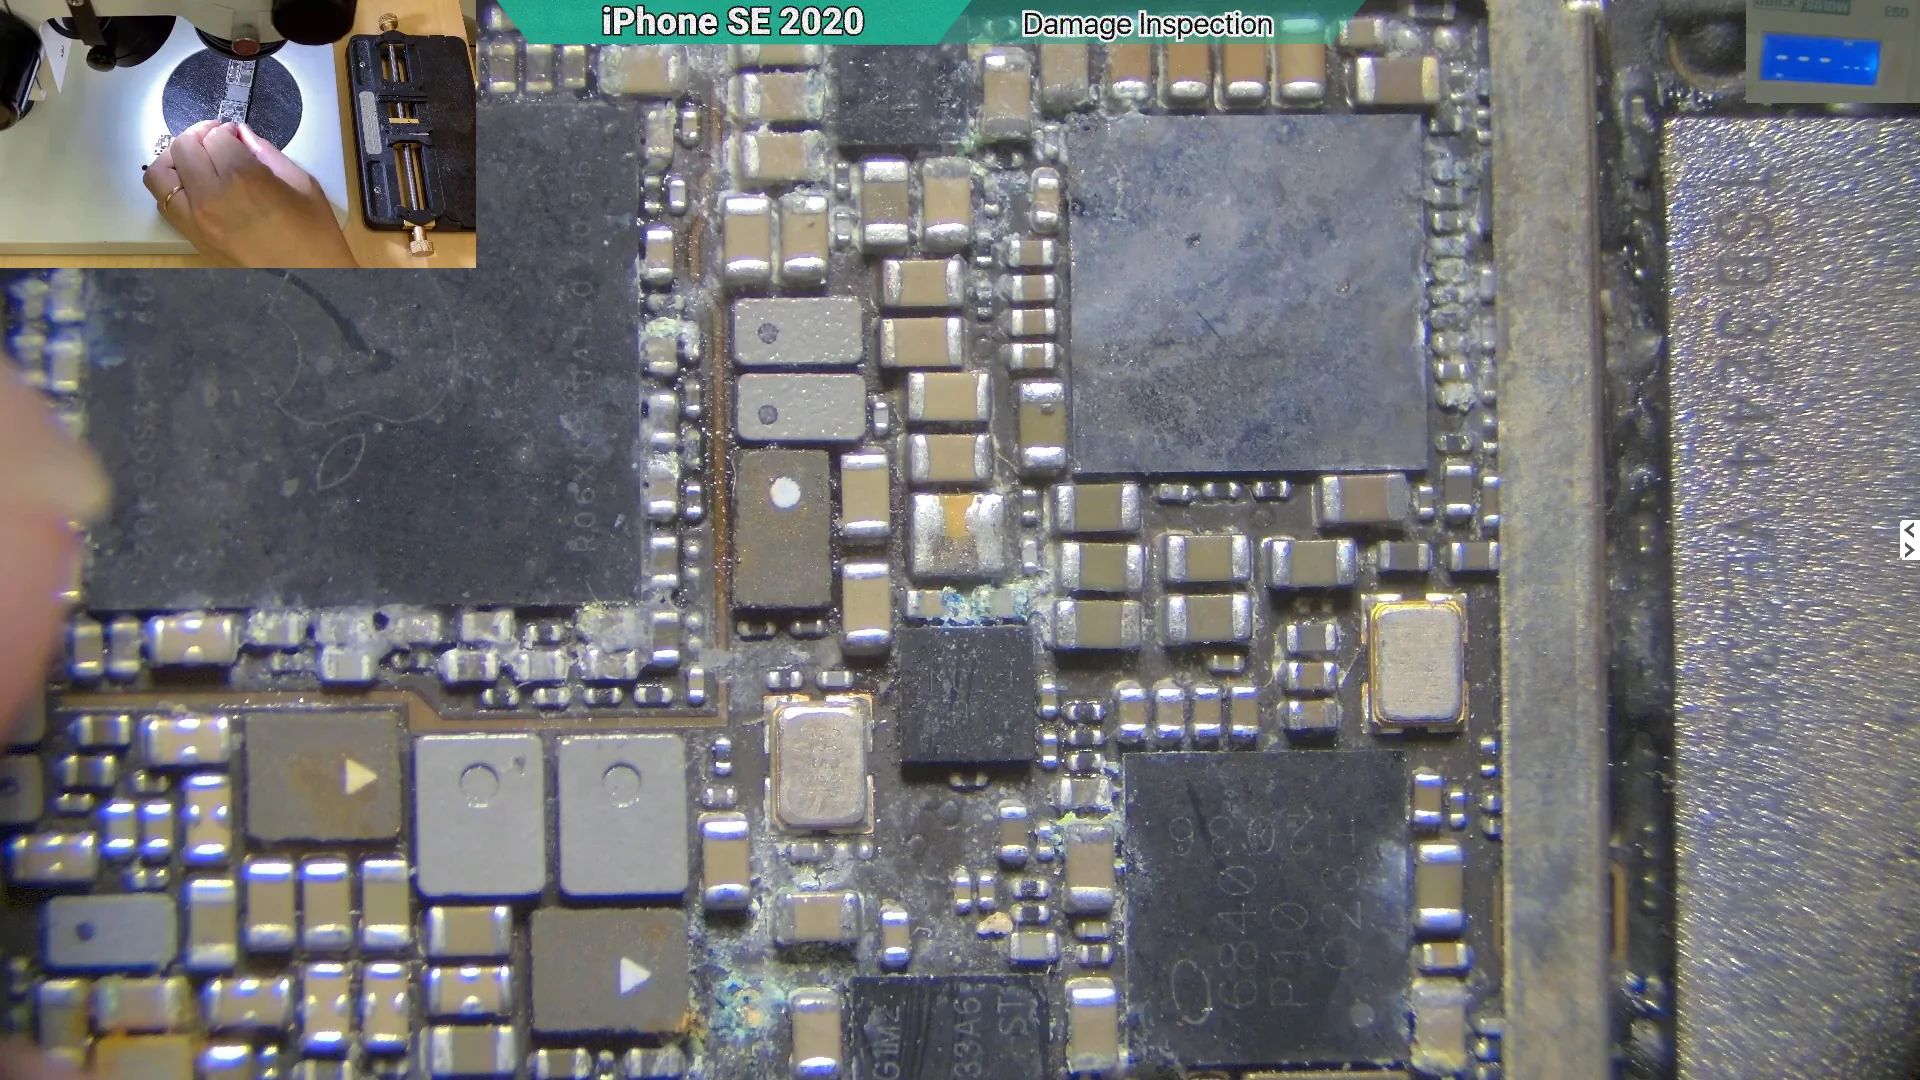
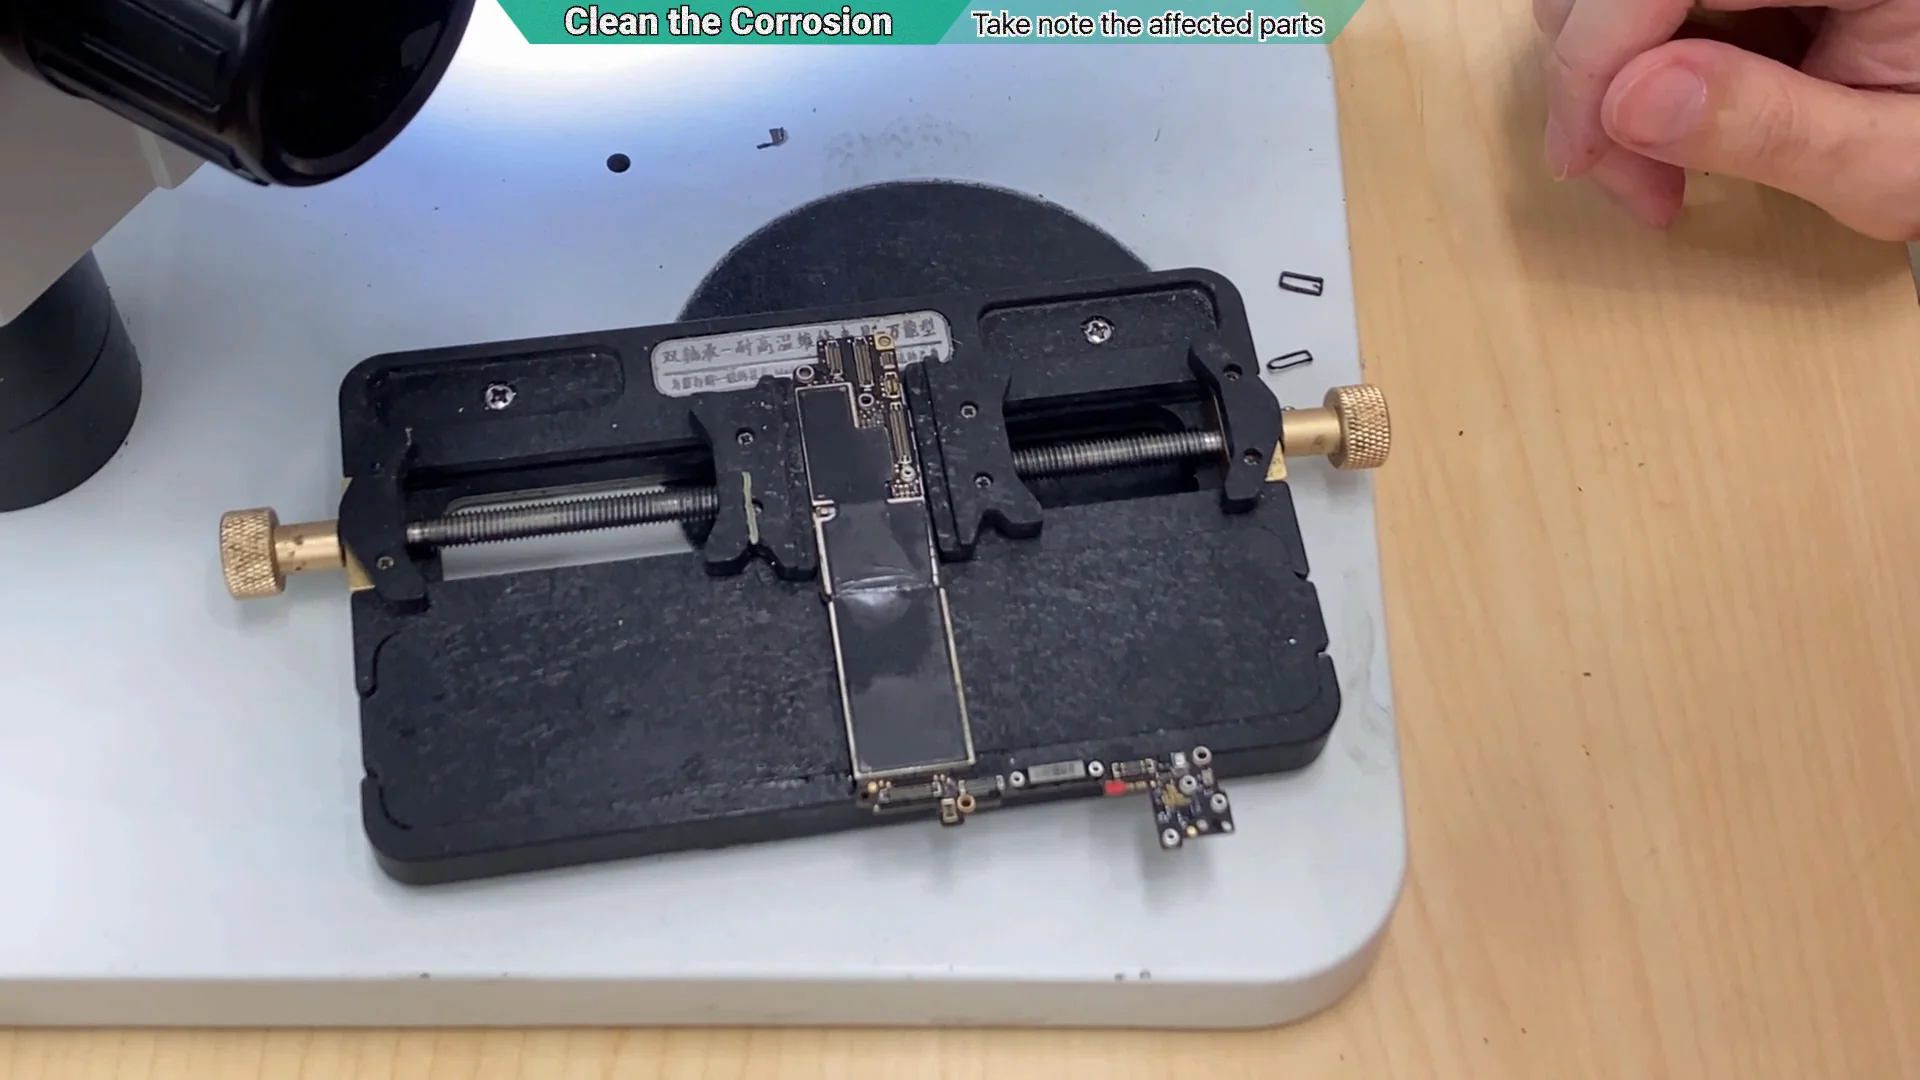
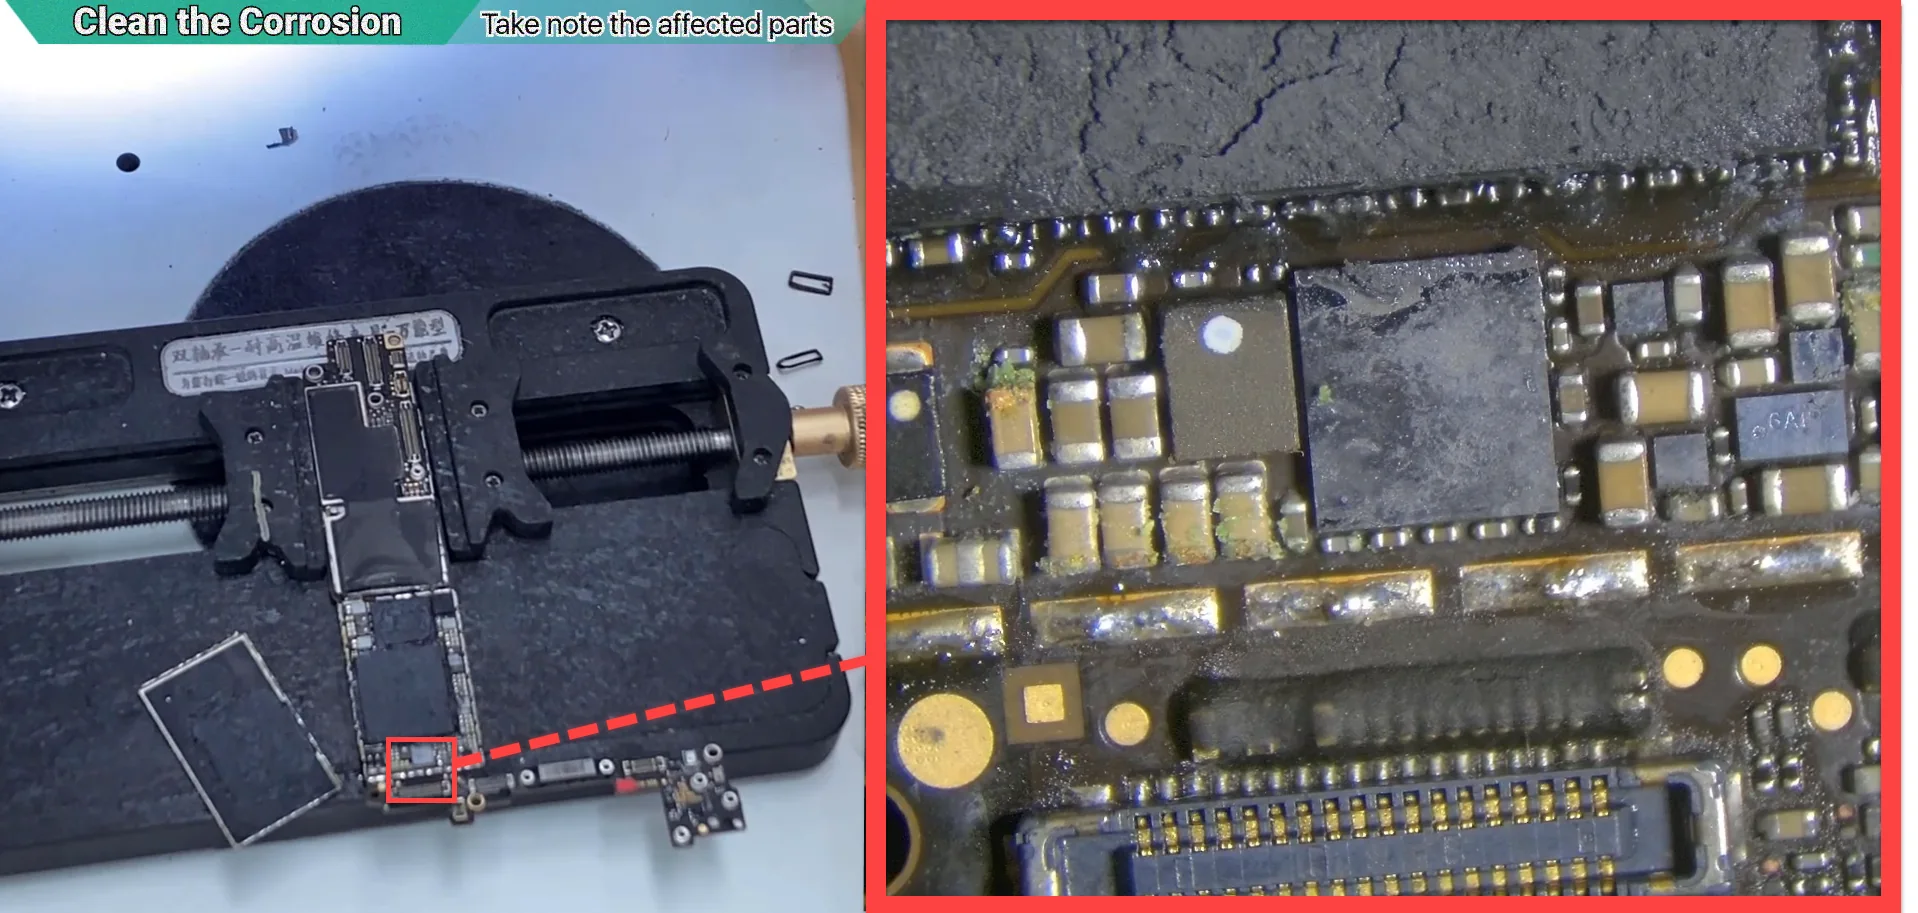
Each affected area was carefully documented before cleaning, as some signs of corrosion may no longer be visible afterward.
This is also one reason data recovery after a previous repair attempt is often more challenging. If the motherboard has already been cleaned or repaired, important evidence of the original water damage may have been removed, making diagnosis more time-consuming and increasing the complexity of the repair.
Documenting the Affected Areas Before Cleaning
Figure 1. Battery Connector Area
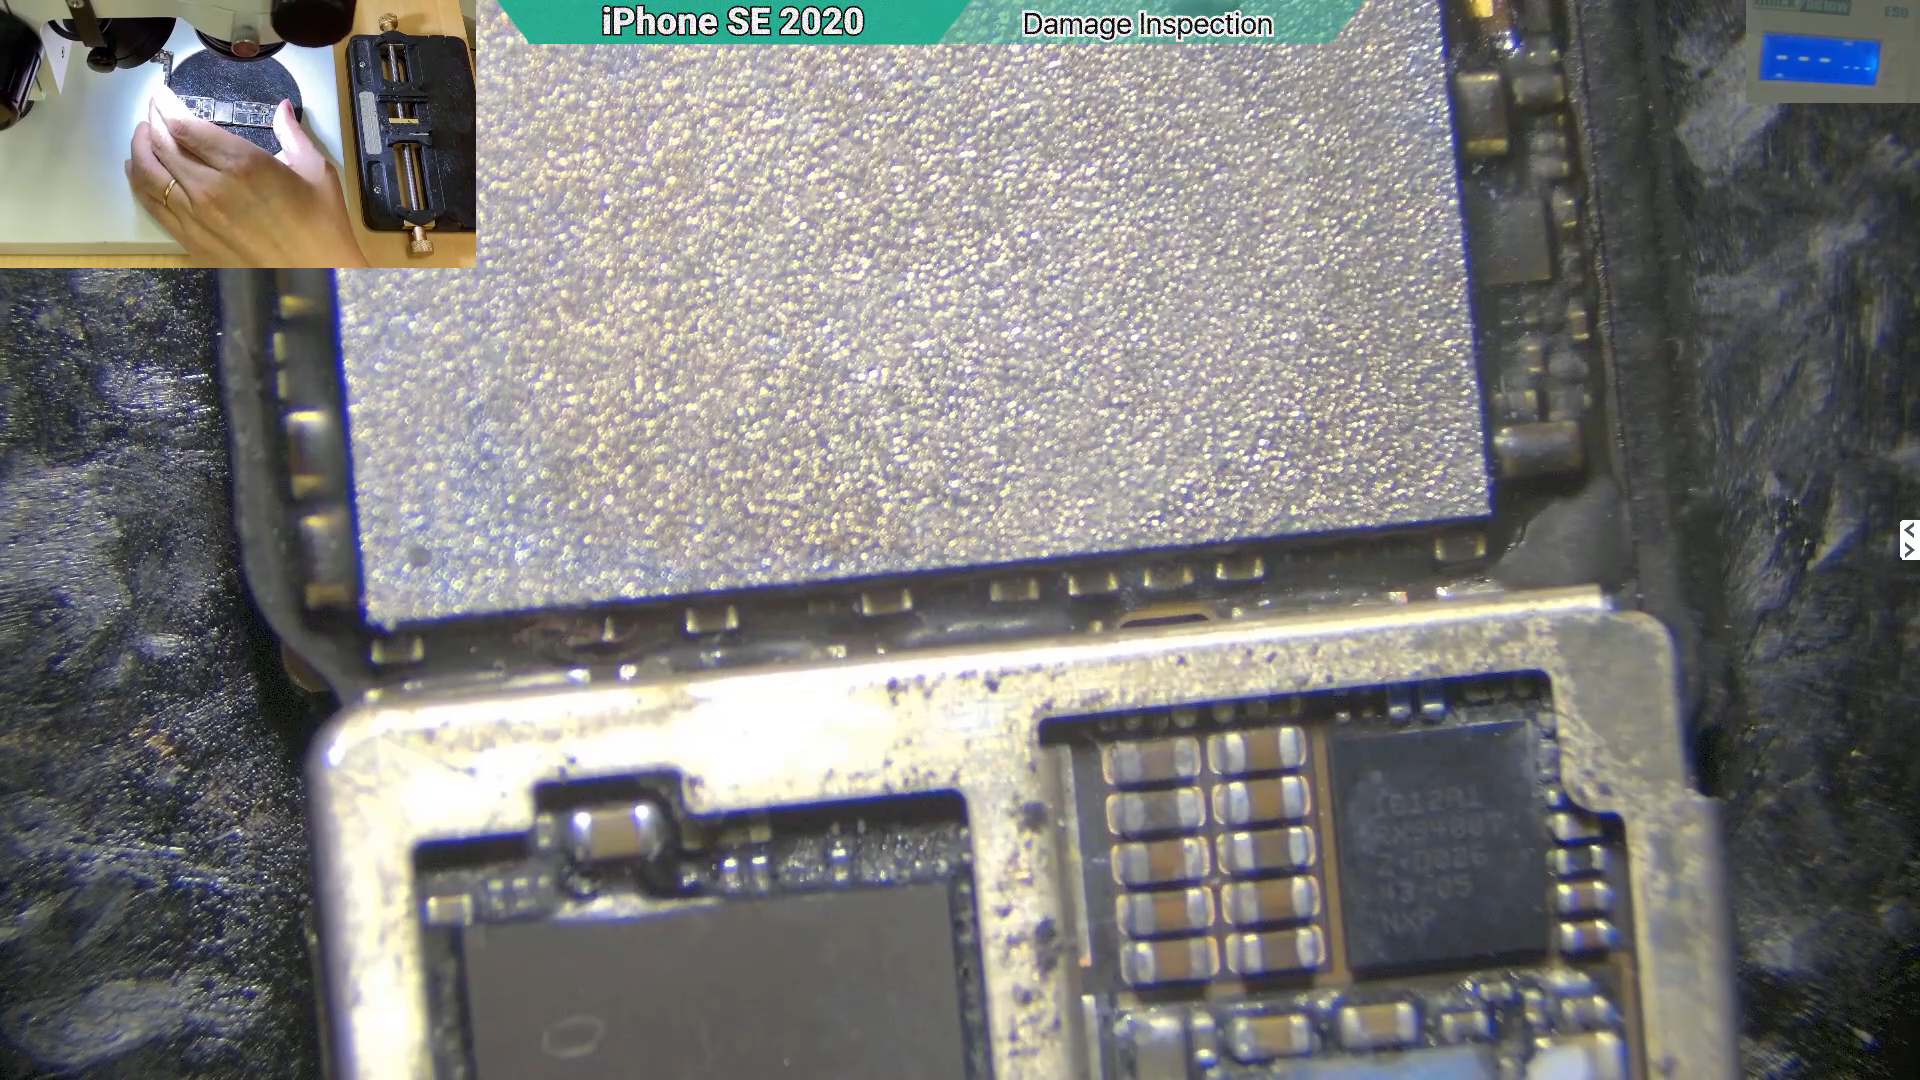
Figure 2. NAND (Storage flash drive) and USB circuit
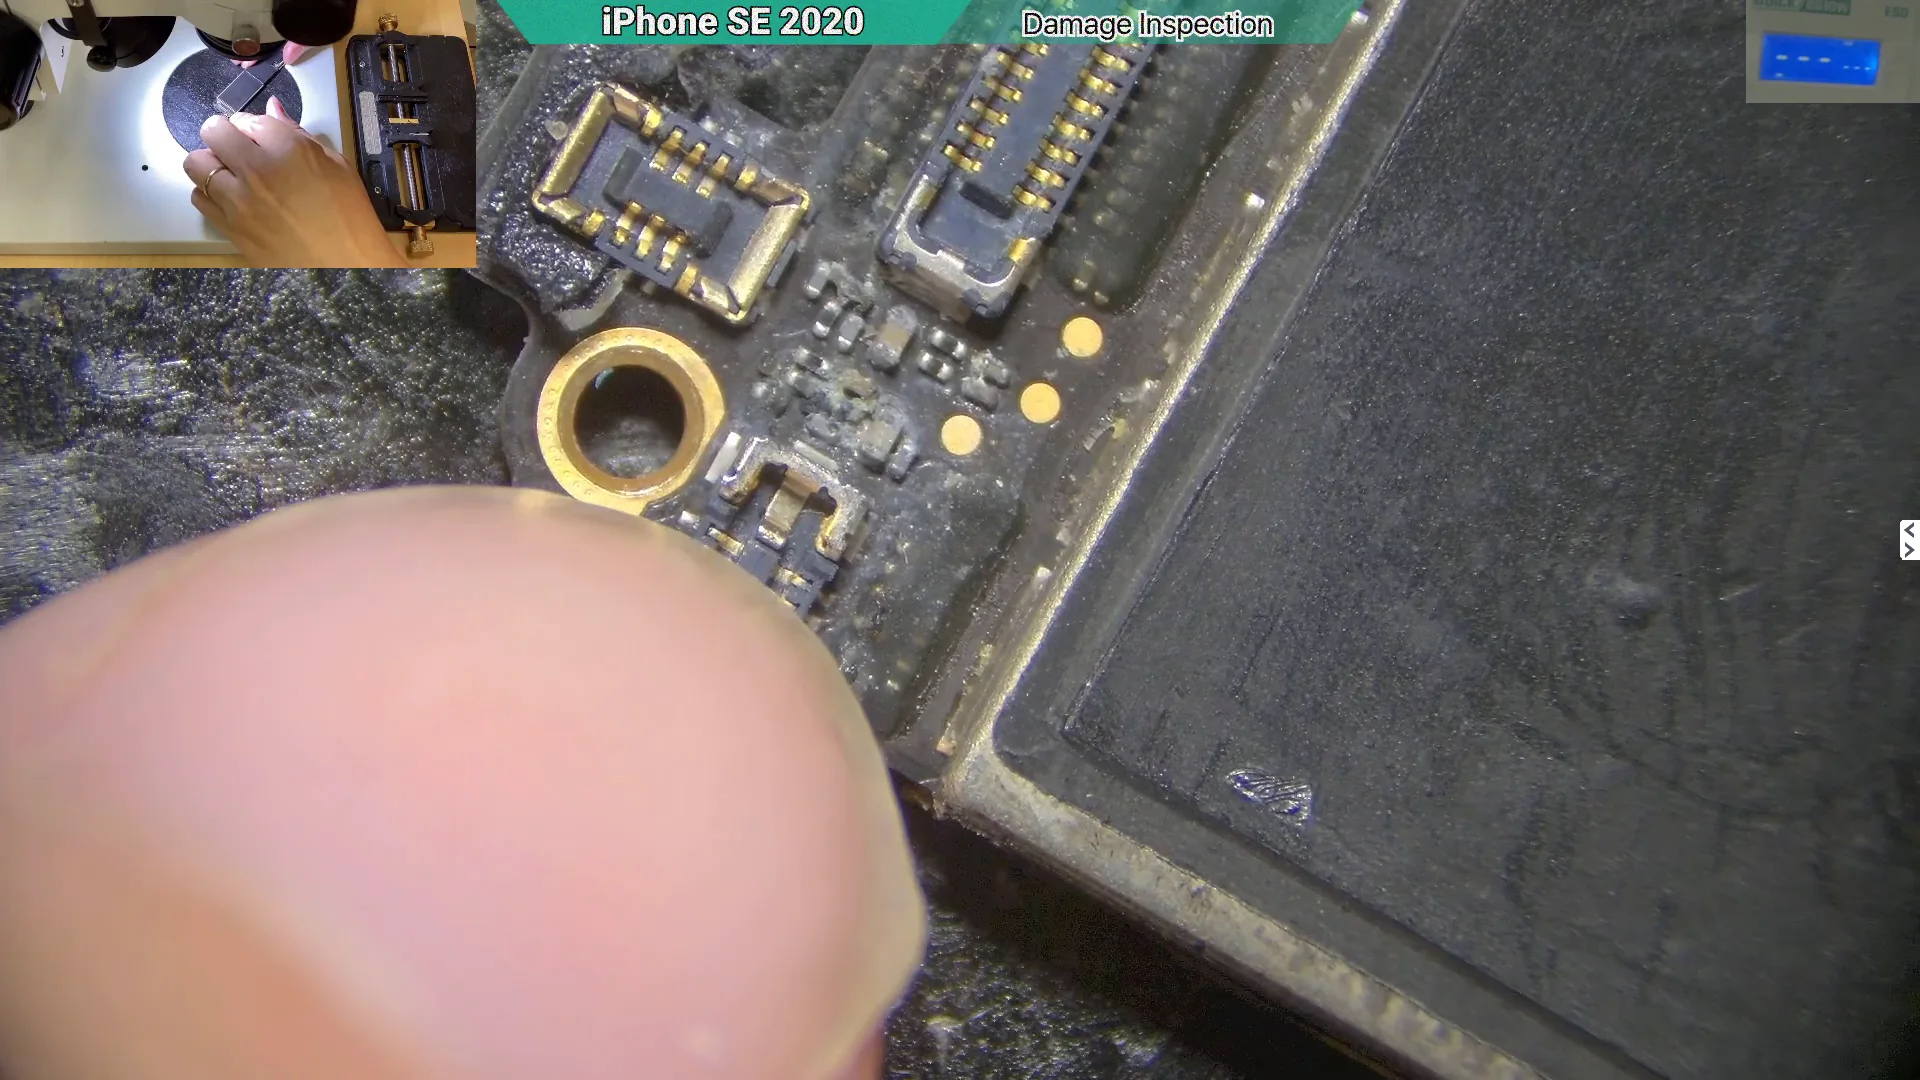
Figure 3. Ear Speaker Connector Area
Figure 4. PMU (Main Power IC)
Removing the Motherboard Shield for Further Inspection
Before removing the protective shield, only surface corrosion was visible. A complete inspection required access to the components hidden beneath the shield.
After the shield was removed, additional corrosion was found beneath the protected area. Hidden damage like this is common in water-damaged iPhones and reinforces why a thorough inspection is essential before diagnosing the fault.
Figure 5. Ultra Sonic Cleaner won’t be effective if the shield is still on.
Not Every Damaged Component Requires Immediate Repair
Figure 6. Although this IC showed obvious burn marks, it was not related to the data recovery process. Rather than replacing every damaged component immediately, we first identified which circuits were preventing the iPhone from powering on.
The Backlight Circuit Was Essential for Data Recovery
Figure 7. Corrosion was found around the backlight circuit, which is responsible for illuminating the display. Restoring this circuit was essential because the iPhone screen needed to function normally, allowing us to unlock the device and follow the on-screen prompts required before a computer could access the customer's data.
Motherboard After Cleaning
The same area shown in Figure 1 after corrosion removal.
The same area shown in Figure 5 after cleaning. With the corrosion removed, the condition of the surrounding components could be evaluated more reliably.
The same area shown in Figure 4 after cleaning. The motherboard was now ready for systematic electrical diagnosis to identify the actual cause of failure.
Diagnosing the Motherboard
After cleaning, the motherboard was ready for electrical diagnosis. At this stage, we did not expect the iPhone to power on immediately because the device had suffered extensive water damage affecting multiple circuits.
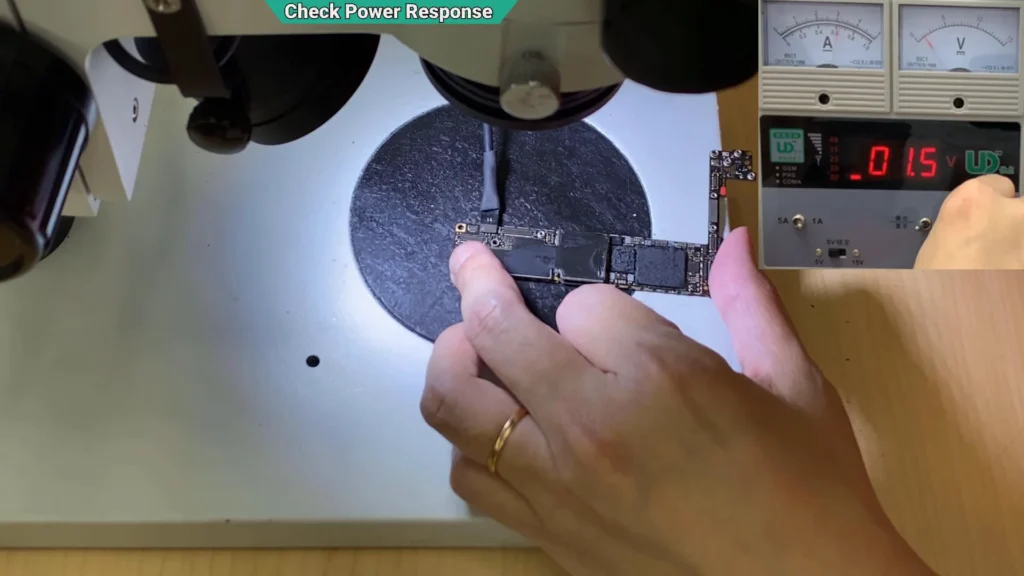
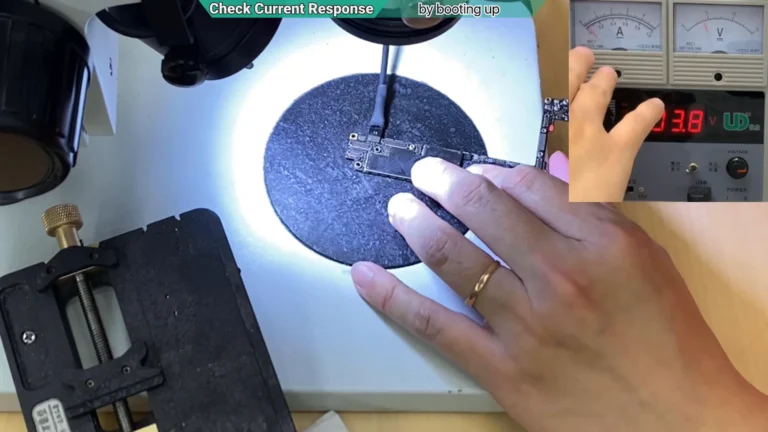
To begin testing, the motherboard was connected to a DC power supply. Instead of applying the full battery voltage instantly, the voltage was increased gradually from 0 V toward the normal battery voltage of approximately 3.7 V while monitoring the current draw.
The motherboard was tested using a DC power supply while the voltage was increased gradually from 0 V. Applying voltage slowly helps prevent additional damage and allows abnormal current draw to be observed safely before reaching full battery voltage.
As the voltage was increased gradually, the motherboard began drawing a small amount of current even at low voltage. The current continued to increase as the voltage was raised and had already reached a significant level by approximately 1.5 V. This indicated an abnormal load on one of the main power rails, consistent with the extensive water damage observed during the earlier inspection. Because the main power rail distributes power to multiple circuits across the motherboard, a fault on this rail can prevent the iPhone from powering on normally.
To pinpoint the exact location of the fault, we next used a thermal camera to identify components generating abnormal heat on the main power rail.
Identifying and Repairing the Main Power Rail
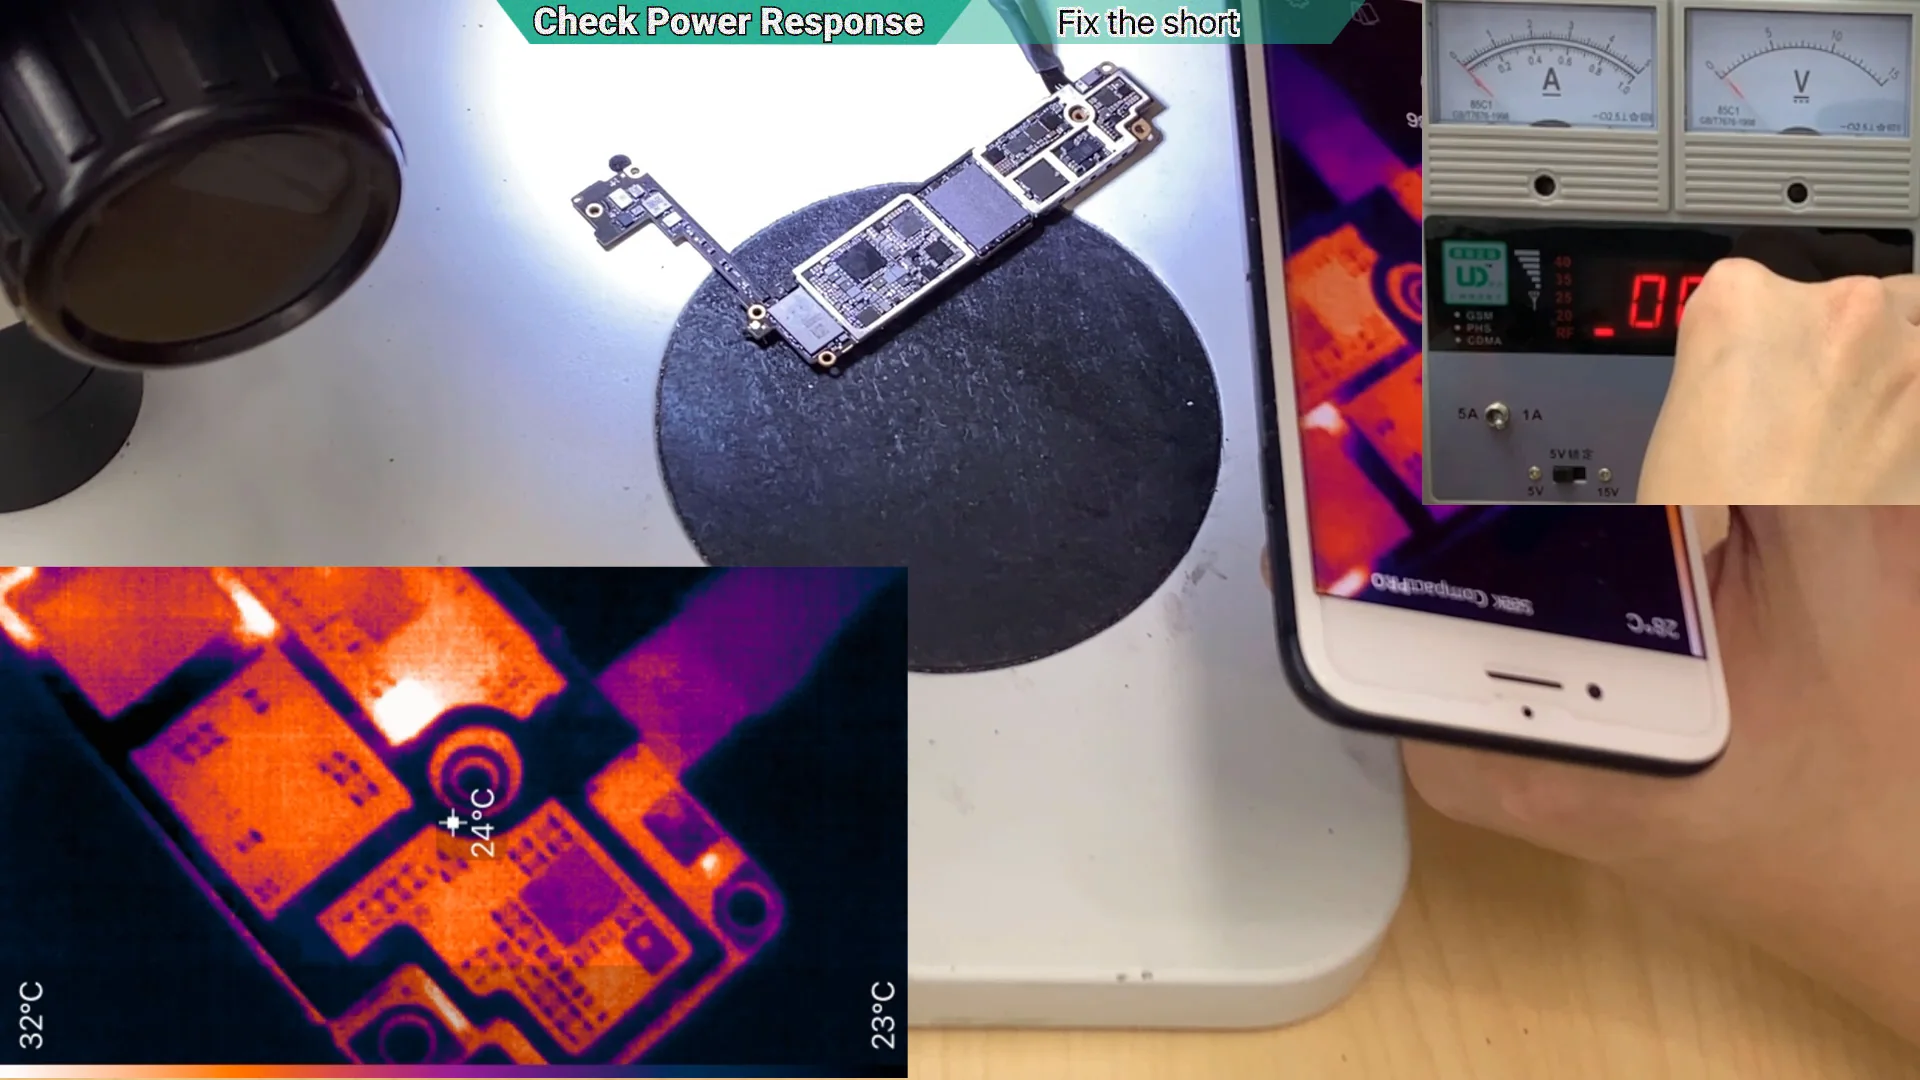
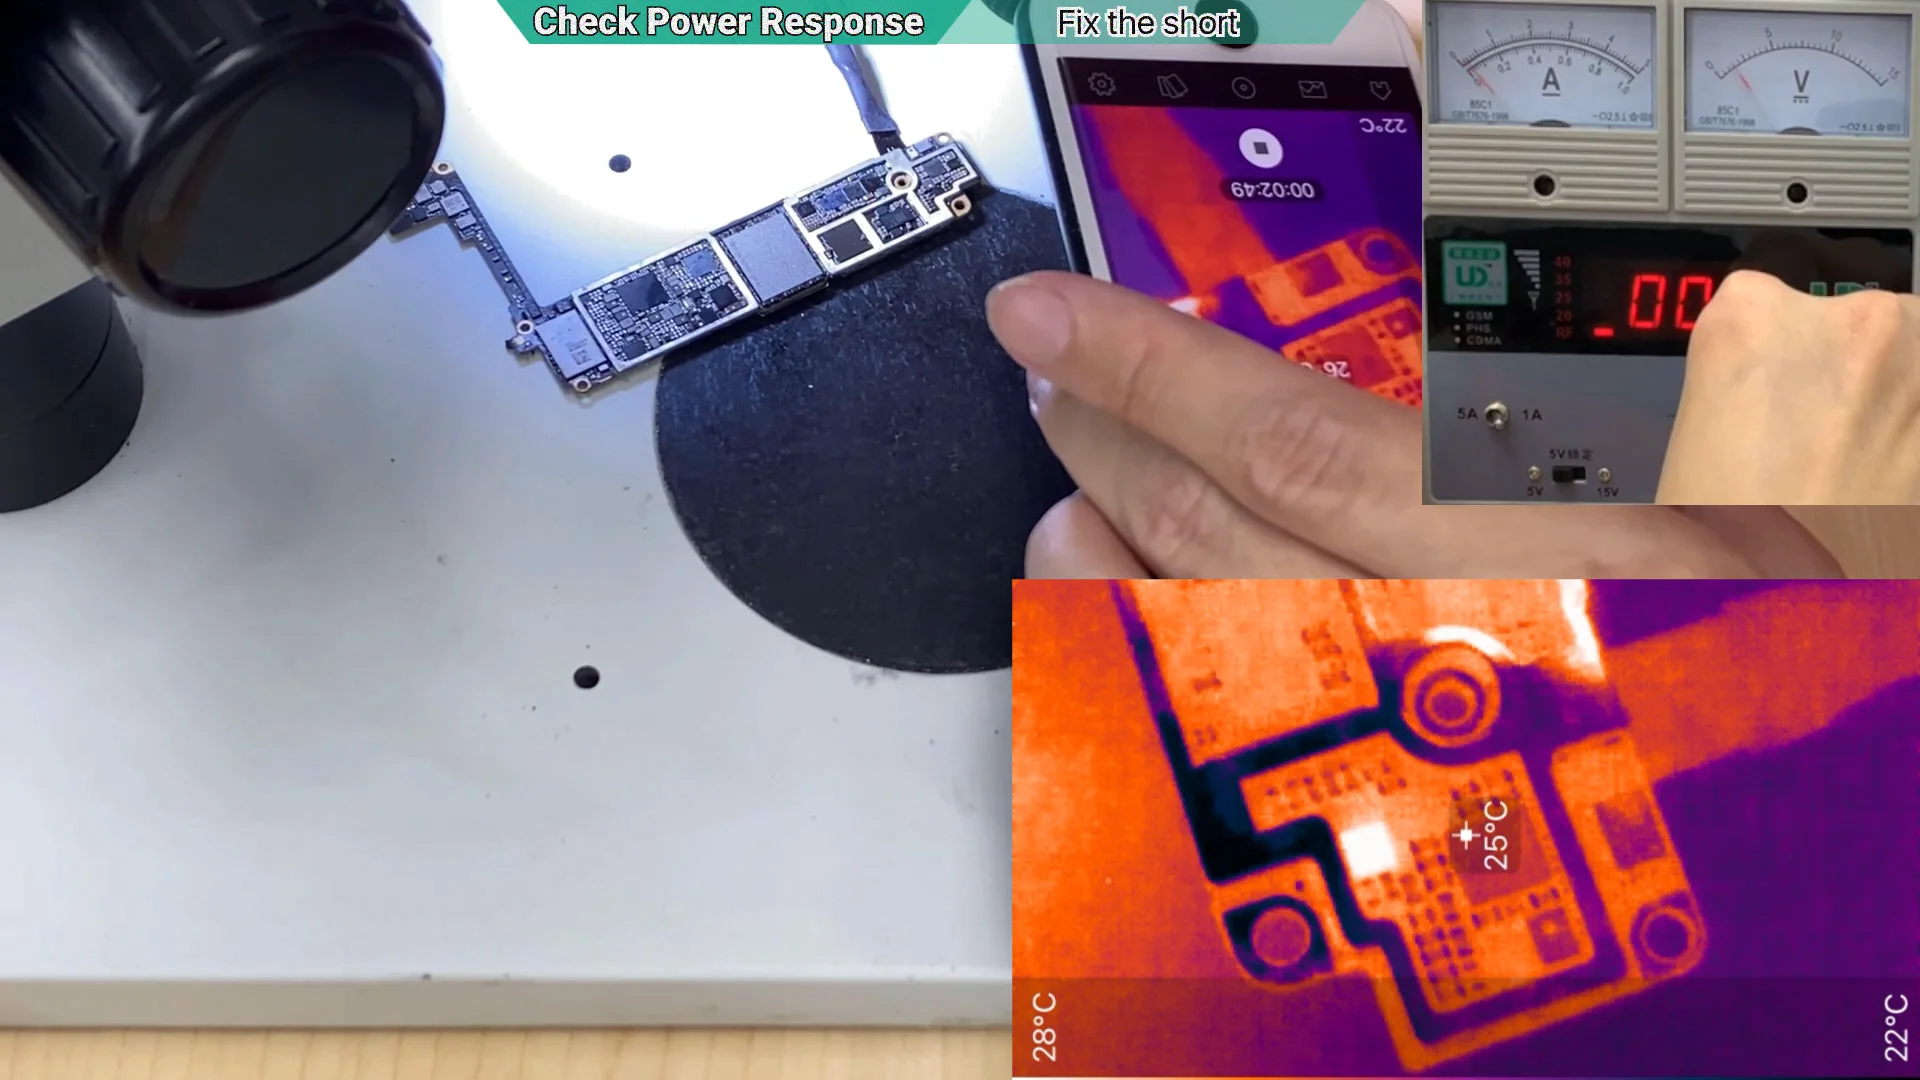
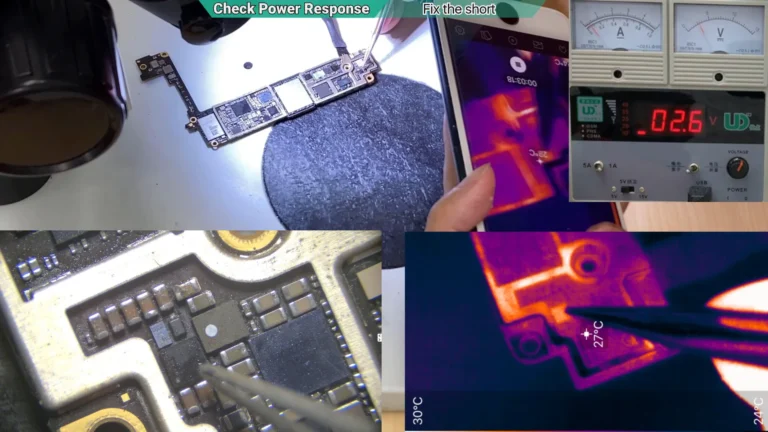
To pinpoint the exact location of the fault, a thermal camera was used while carefully applying power to the motherboard. Components with excessive current draw generate heat, allowing damaged areas on the main power rail to be located quickly. In this case, multiple hotspots were detected, indicating that more than one area had been affected by the water damage.
Several of these hotspots corresponded to areas where corrosion had been documented before cleaning (see Figures 1–3), confirming that the initial visual inspection had correctly identified regions requiring further investigation.
Figure 8. Several overheating components were found on the main power rail. Some corresponded to areas where corrosion had been documented before cleaning (see Figure 6), confirming the extent of the water damage.
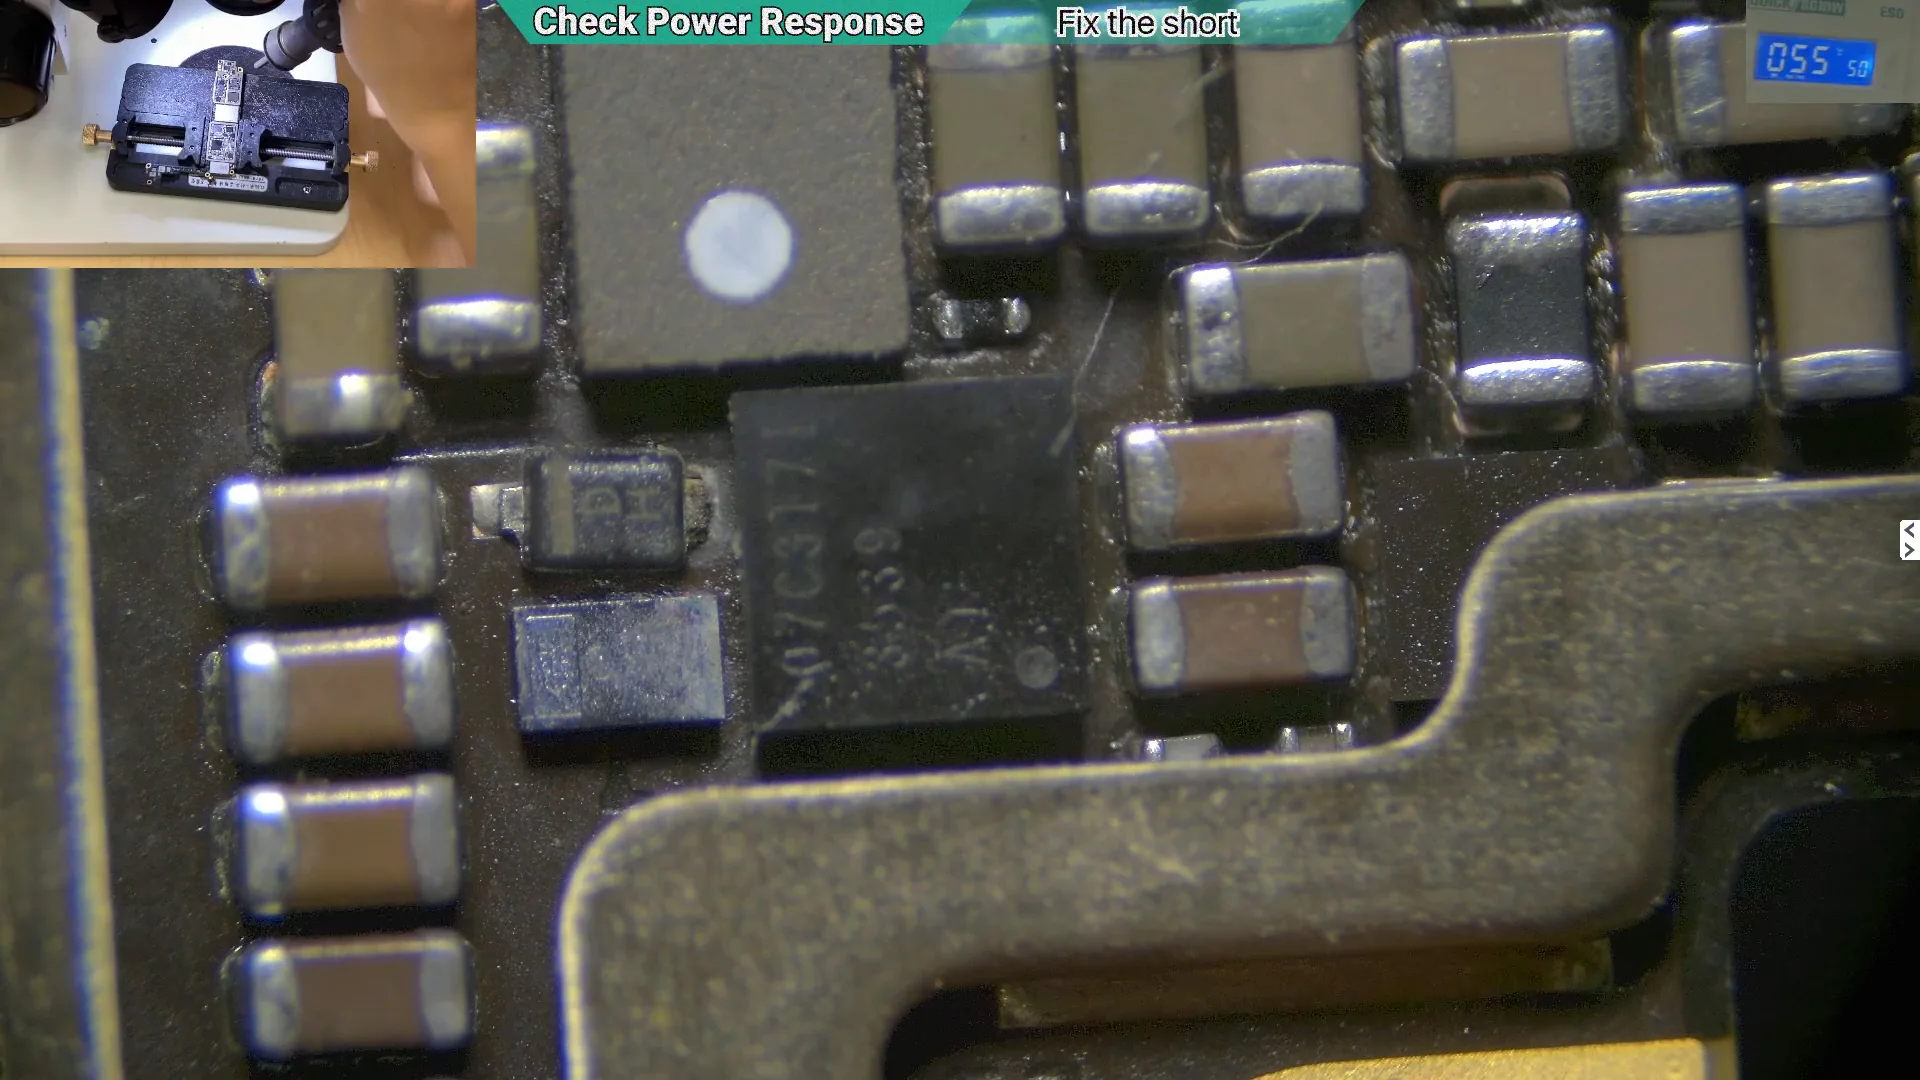
Figure 9. The backlight IC shown in Figure 7 was identified as one of the overheating components. It was removed for further testing to determine whether it was causing the abnormal load on the main power rail. The following images show the removal of this and other suspected shorted components.
Figure 10. This component is Backlight IC and it was heating (See figure 9).
Removing the Overheated Components
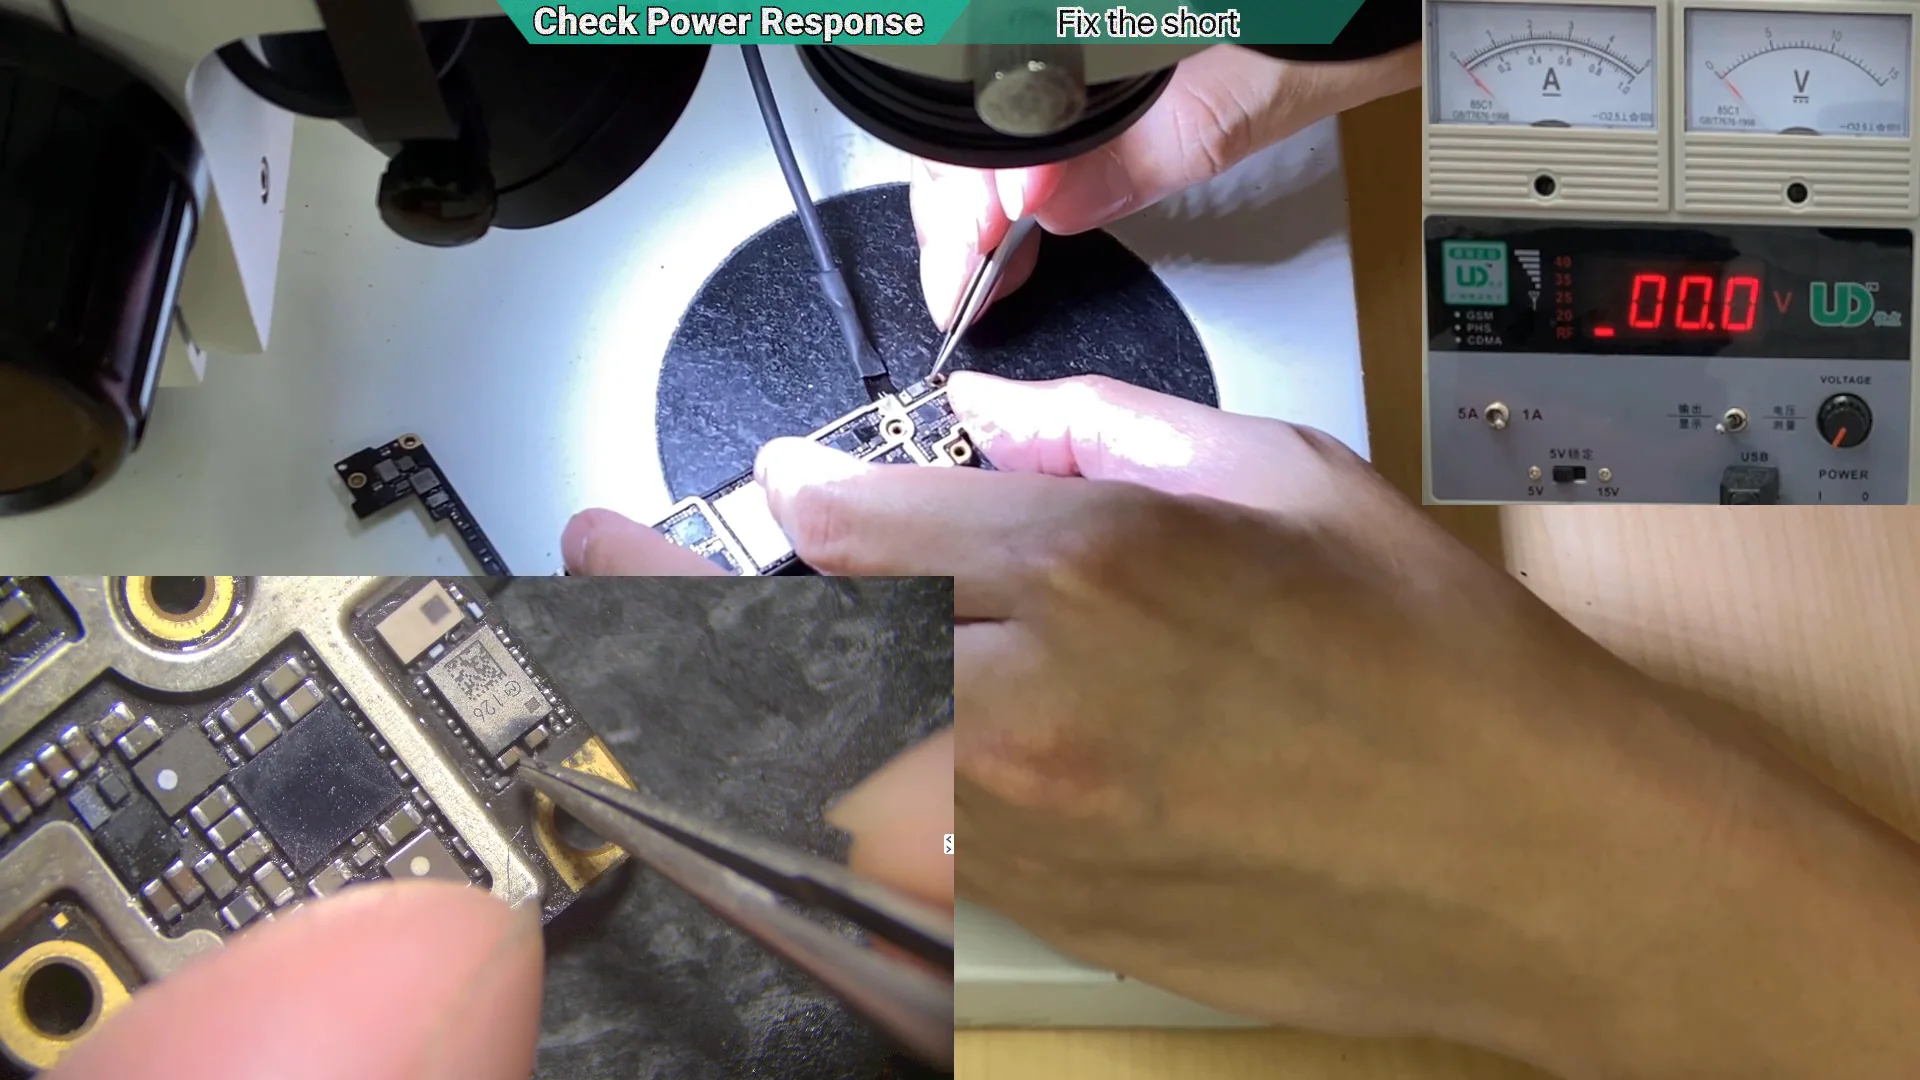
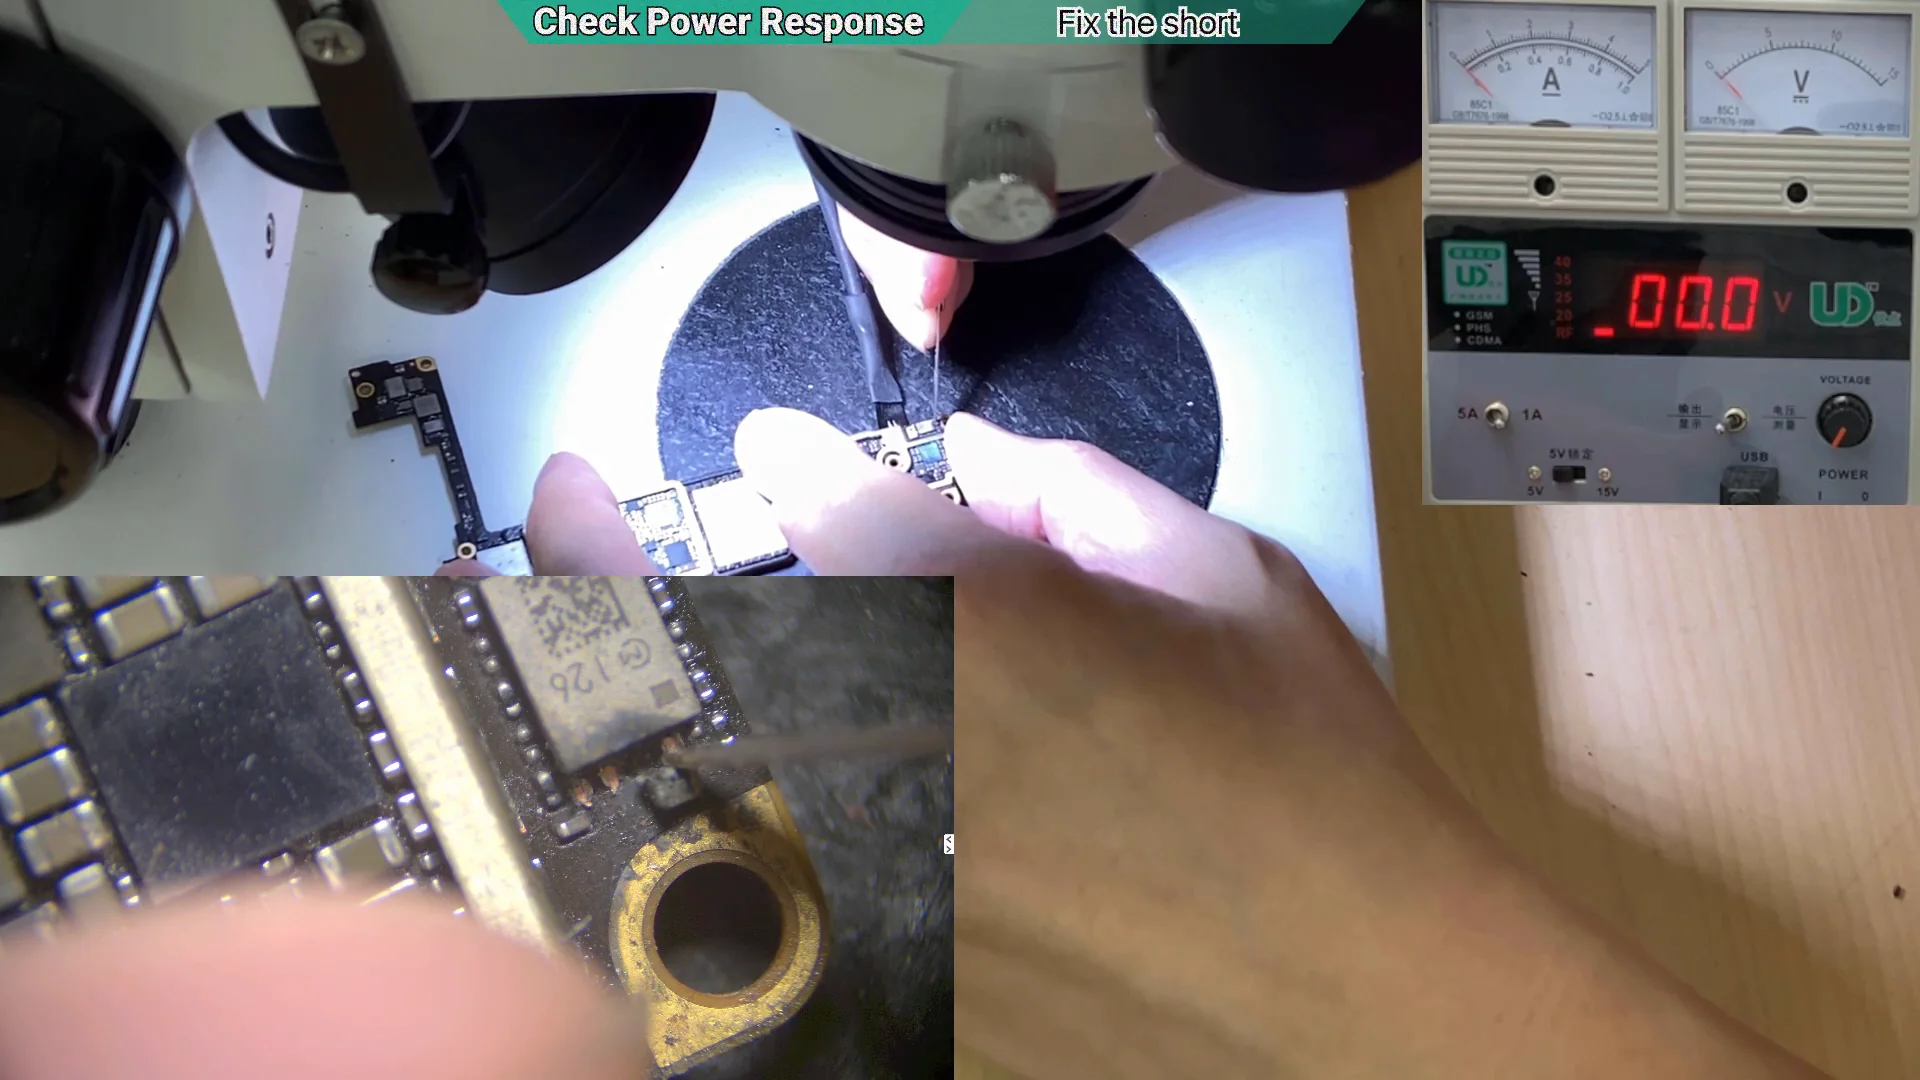
Each overheating component identified during the thermal camera inspection was removed individually for further testing. This process helps confirm whether a component is responsible for the abnormal load on the main power rail or is simply heating because of another fault elsewhere on the circuit.
This capacitor was another component identified during the thermal camera inspection (see Figures 6, 8). It was removed to determine whether it was contributing to the abnormal load on the main power rail.
After removing the capacitor, additional testing was performed to determine whether the abnormal load on the main power rail had changed before proceeding with further repairs.
Following the thermal camera inspection shown in Figure 9, the overheated backlight IC was selected for removal and further testing. This helped determine whether it was contributing to the abnormal load on the main power rail.
After the backlight IC was removed, extensive corrosion and burn damage were found underneath. This confirmed that the damage extended beyond the surface of the motherboard and required further repair.
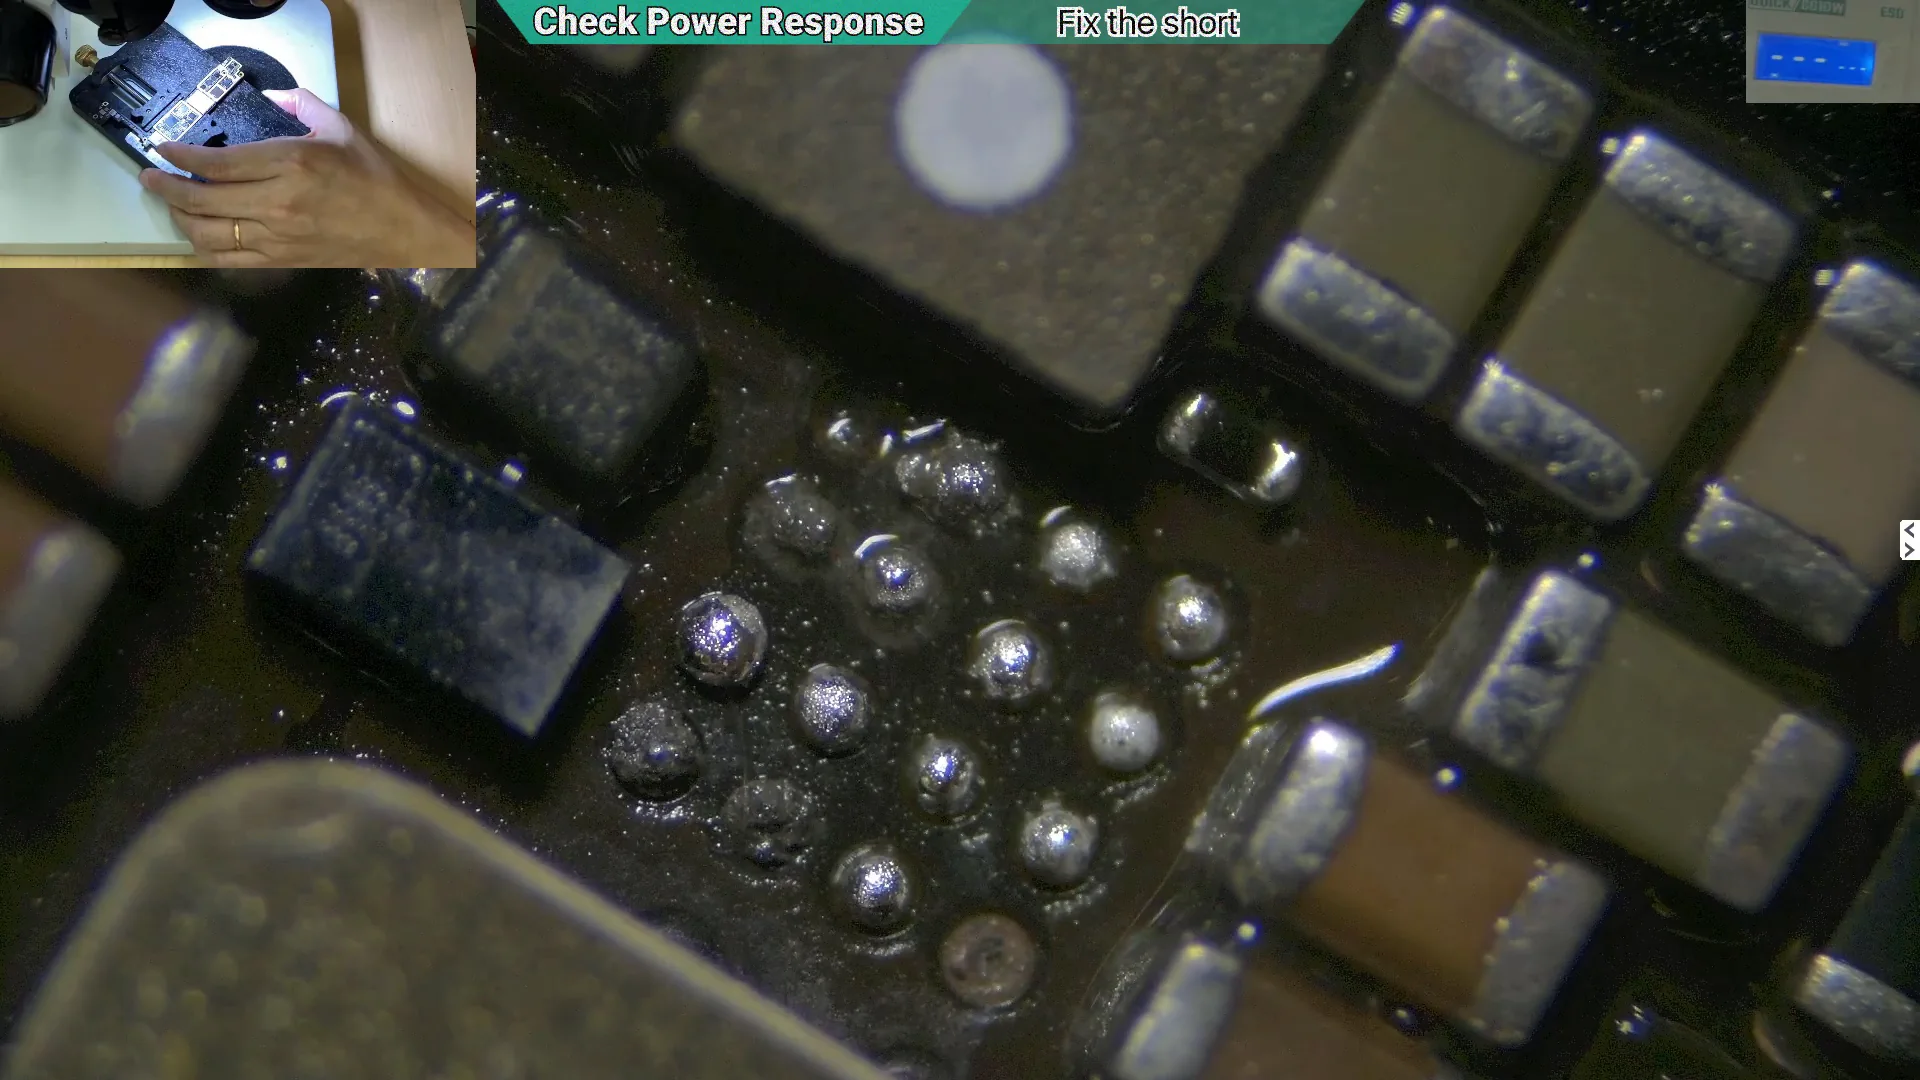
After cleaning the affected area, the remaining burn marks became more visible. Additional inspection was required to determine whether the copper pads beneath the IC were still intact.
After carefully removing the burned material, two solder pads were confirmed to be completely destroyed. These damaged connections would need to be rebuilt before a replacement backlight IC could be installed.
Testing the Motherboard After Repairing the Main Power Rail
After removing the faulty components and repairing the damaged areas, the motherboard was connected to the DC power supply again for another test. This time, the excessive current draw on the main power rail had disappeared. As the voltage was increased to the normal battery voltage of approximately 3.7 V, the motherboard settled at a small standby current of around 10 mA. Although this indicated that a minor current leak was still present, it was no longer preventing the motherboard from attempting to boot. With the major fault resolved, we could continue diagnosing the remaining issue.
After repairing the damaged components, the excessive current draw was eliminated. At approximately 3.7 V, the motherboard showed only a small standby current of around 10 mA, confirming that the main power rail was no longer overloaded.
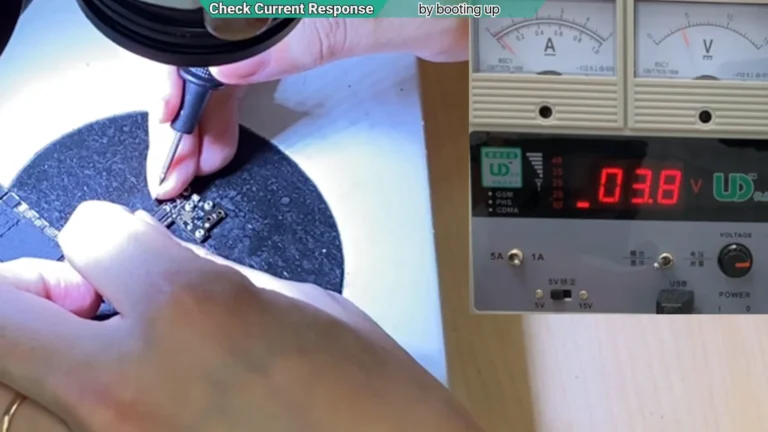
With the main power rail restored, the next step was to determine whether the motherboard could begin the normal boot process. Using the DC power supply, the power button was pressed to observe how the motherboard responded.
When the power button was pressed, the current repeatedly increased to approximately 20 mA before returning to 10 mA. This indicated that the motherboard was responding to the power button, but the boot process was not progressing normally.
Although the iPhone still did not boot, this current pattern provided valuable diagnostic information. The response confirmed that the PMU (Power Management Unit) was functioning and reacting to the power button. However, the CPU had not begun the normal boot sequence, indicating that another fault was preventing the motherboard from starting successfully.
Rather than immediately concluding that the CPU was faulty, further diagnosis was required. The next step was to remove the NAND flash memory and observe how the motherboard responded without it.
Removing the NAND to Verify the Boot Process
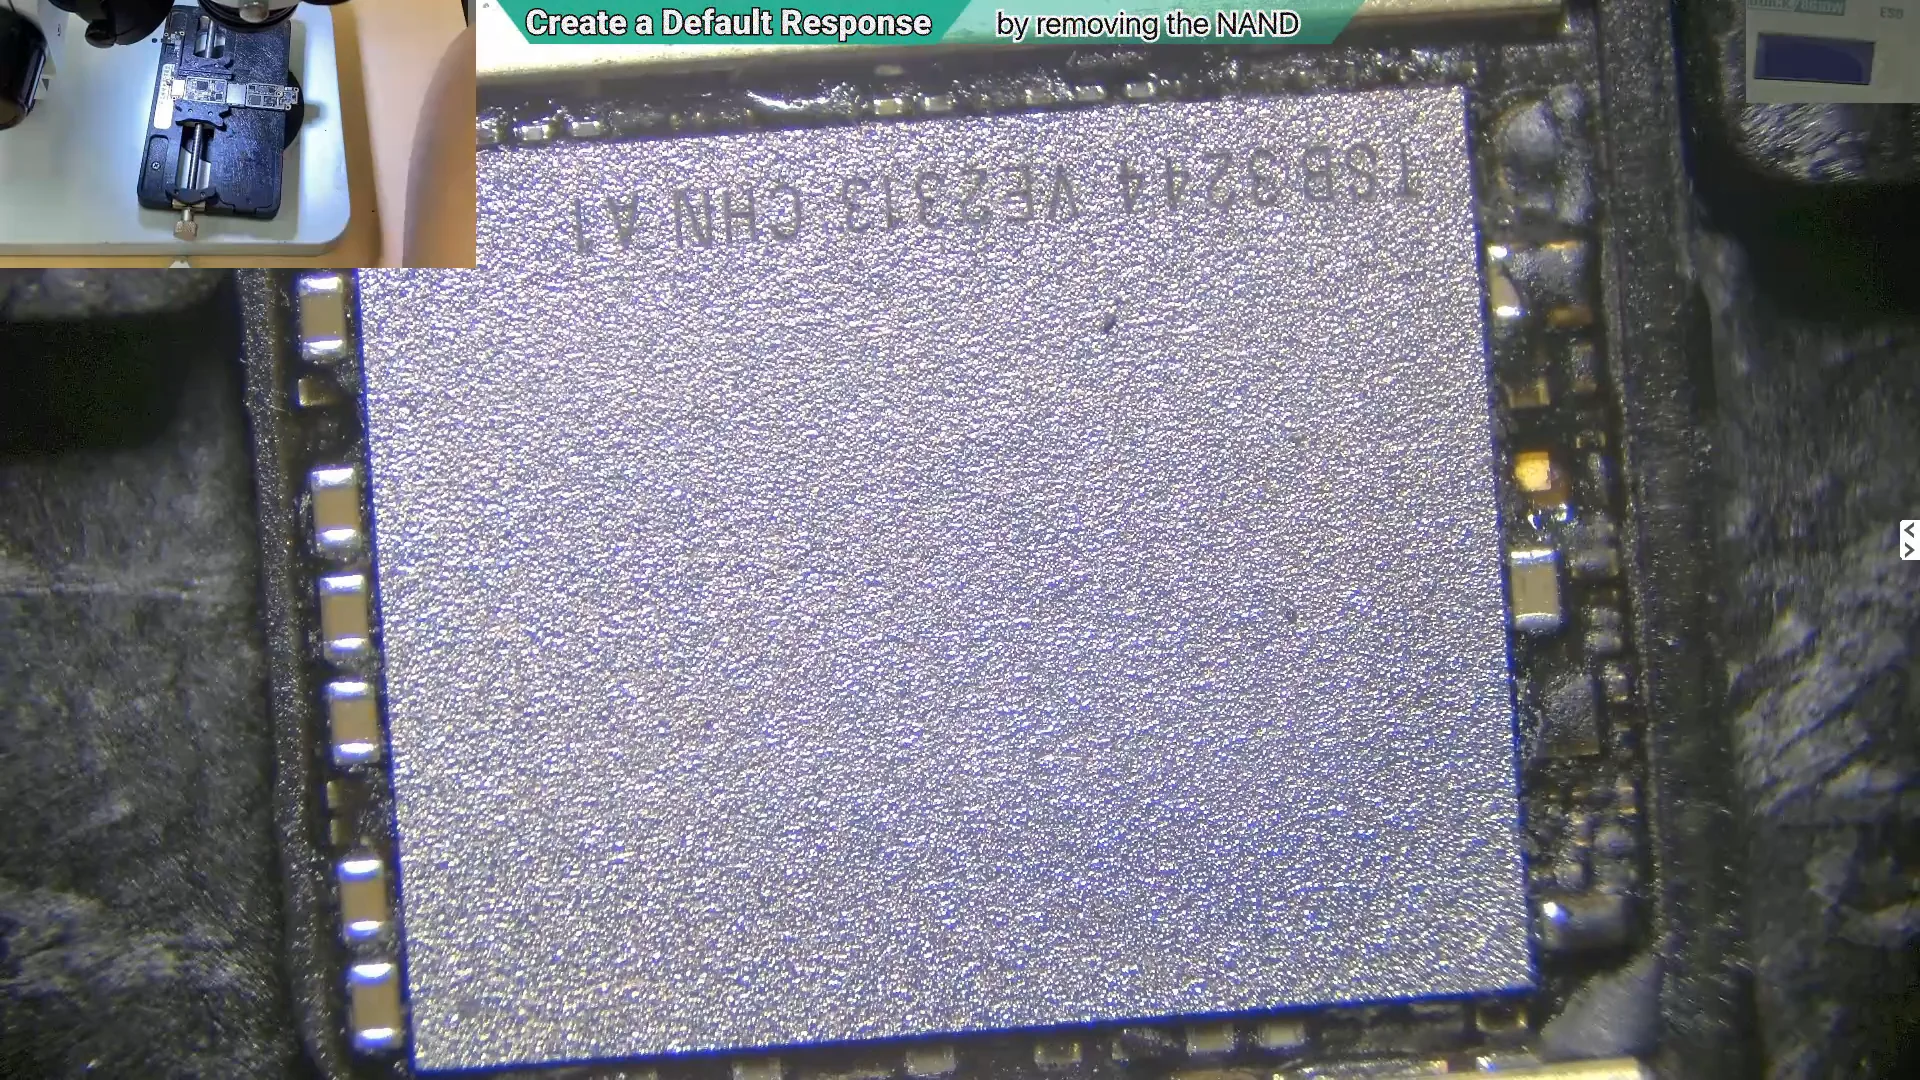
Since the motherboard still failed to boot normally, the next diagnostic step was to remove the NAND flash memory. This test helps determine whether the CPU can enter its expected boot state without the NAND installed. If the CPU is functioning correctly, pressing the power button should cause the motherboard to enter DFU mode, producing a stable current draw of approximately 80 mA on the DC power supply.
The NAND flash memory was prepared for removal as part of the diagnostic process. This test helps verify whether the motherboard can enter its expected boot state without the NAND installed.
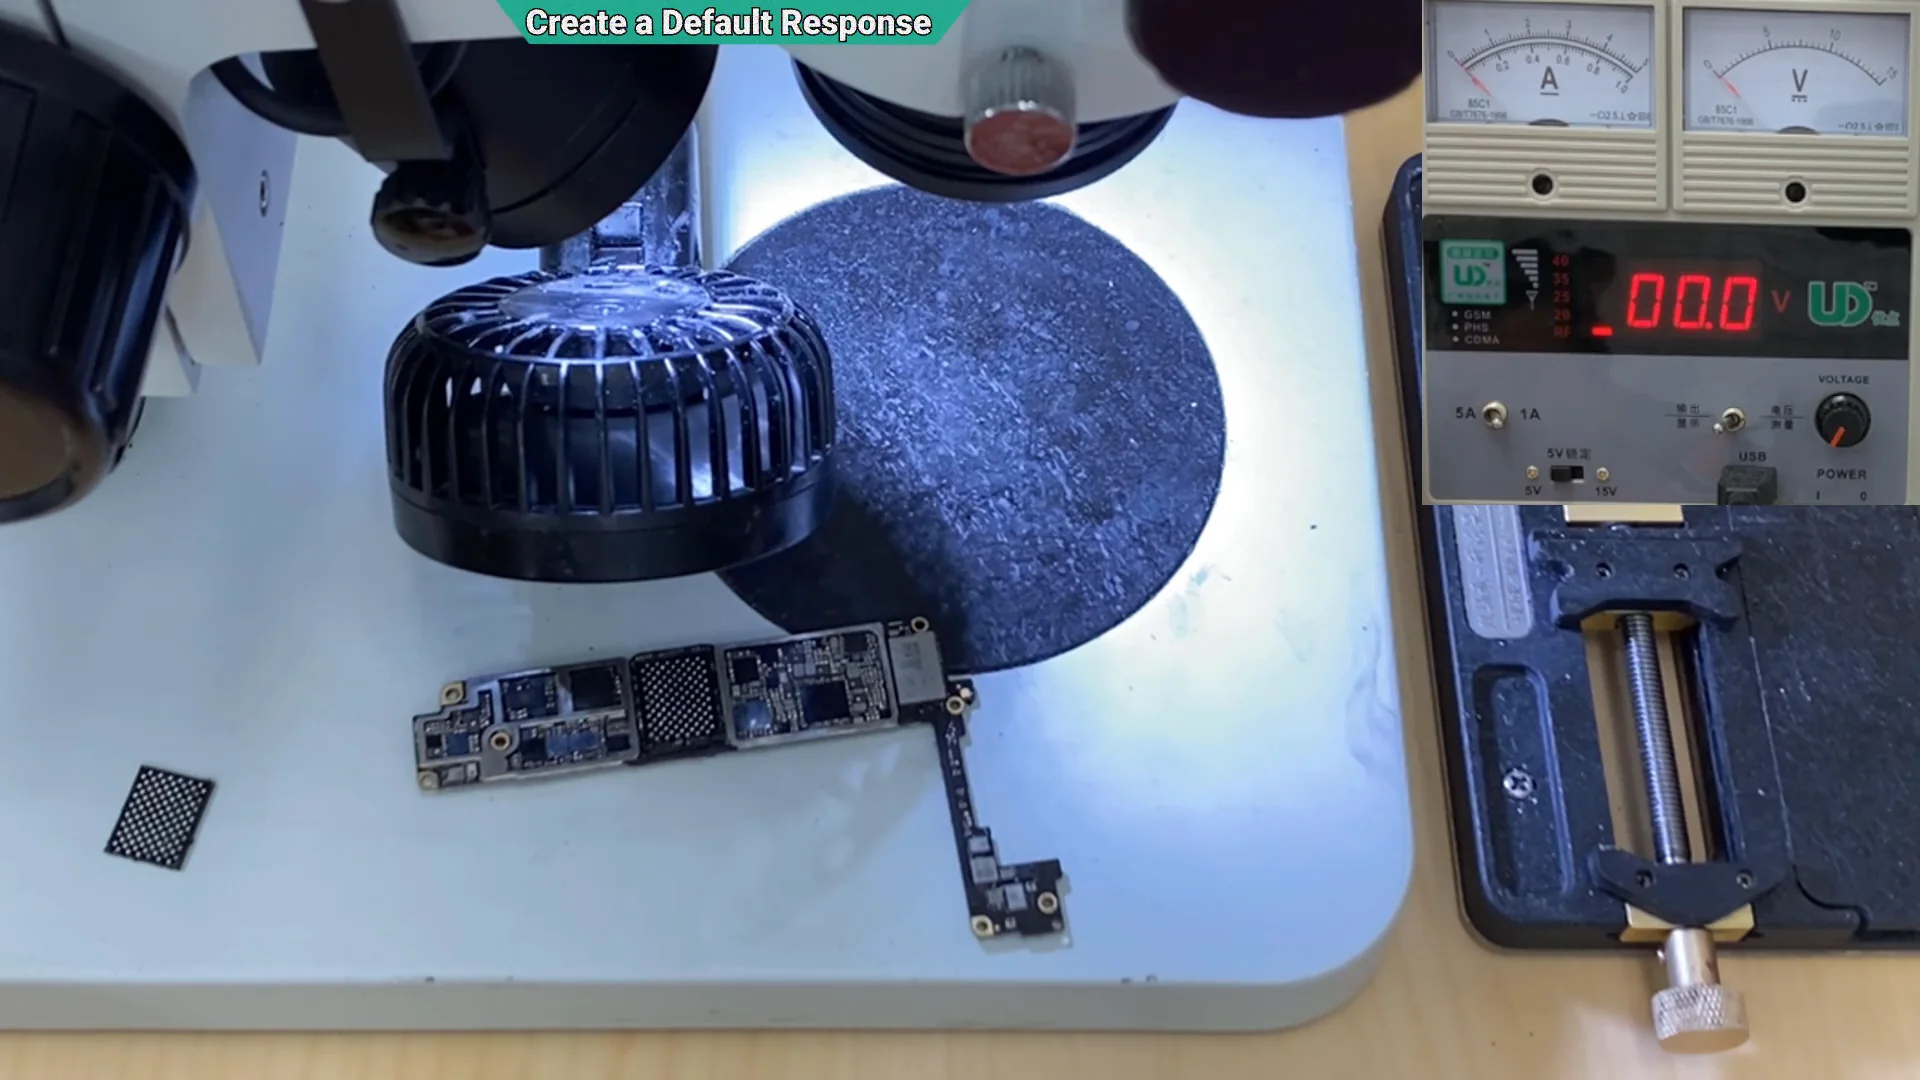
The NAND flash memory was removed carefully to preserve the customer’s data while allowing further diagnostic testing of the motherboard.
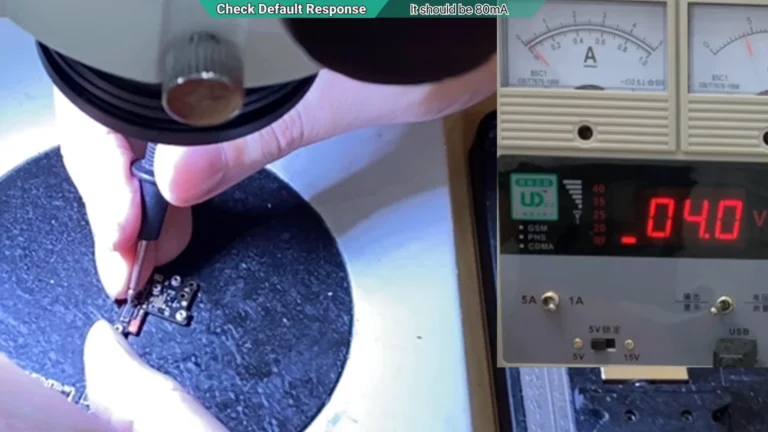
With the NAND removed, the motherboard was tested again using the DC power supply. Under normal conditions, pressing the power button should cause the CPU to enter DFU mode, where the current typically rises to approximately 80 mA and remains stable.
After the NAND was removed, pressing the power button still produced the same 10–20 mA looping current response instead of entering the expected DFU mode at approximately 80 mA. This confirmed that the NAND was not responsible for preventing the motherboard from booting.
Although the motherboard still failed to reach DFU mode, this result was actually encouraging. Since removing the NAND produced no change in the current response, the NAND was ruled out as the cause of the fault. This meant there was no reason to replace the original NAND or restore the device, preserving the customer’s data while allowing the diagnosis to continue.
Inspecting the CPU Startup Circuit
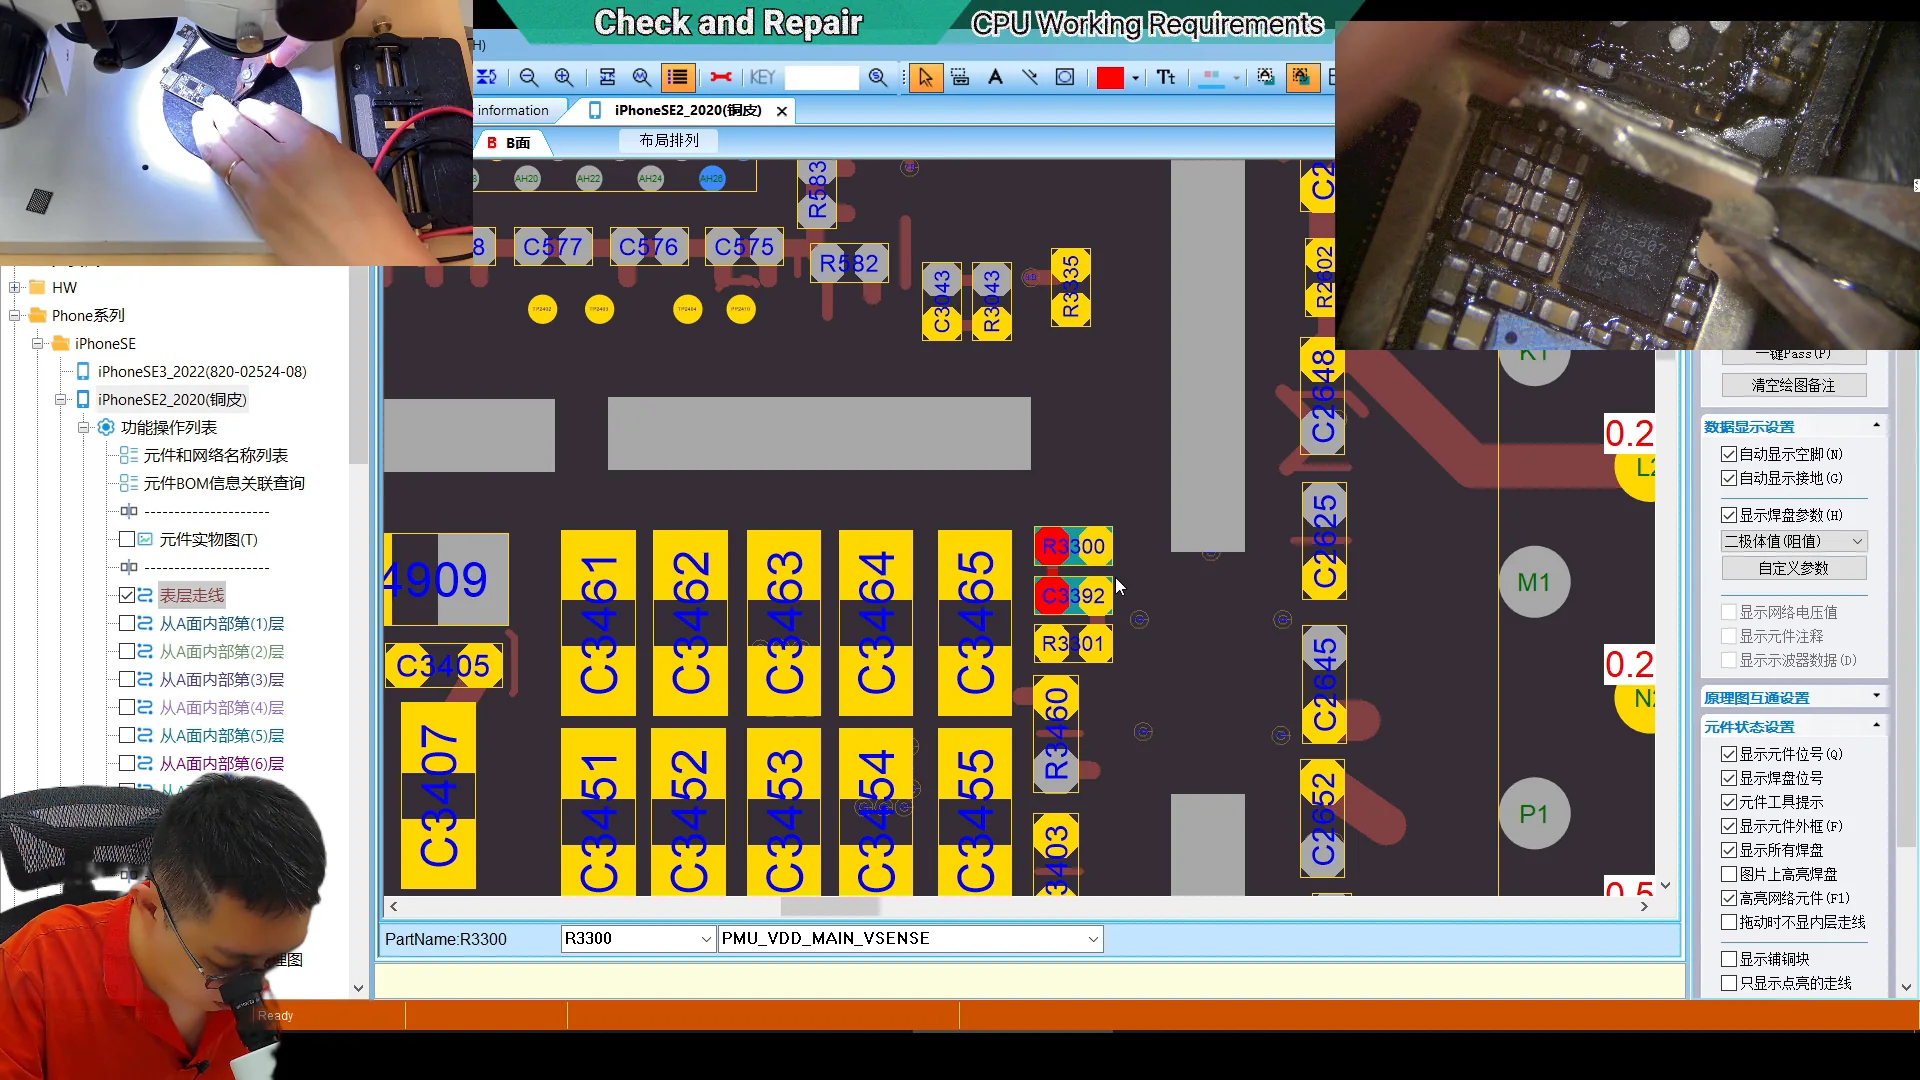
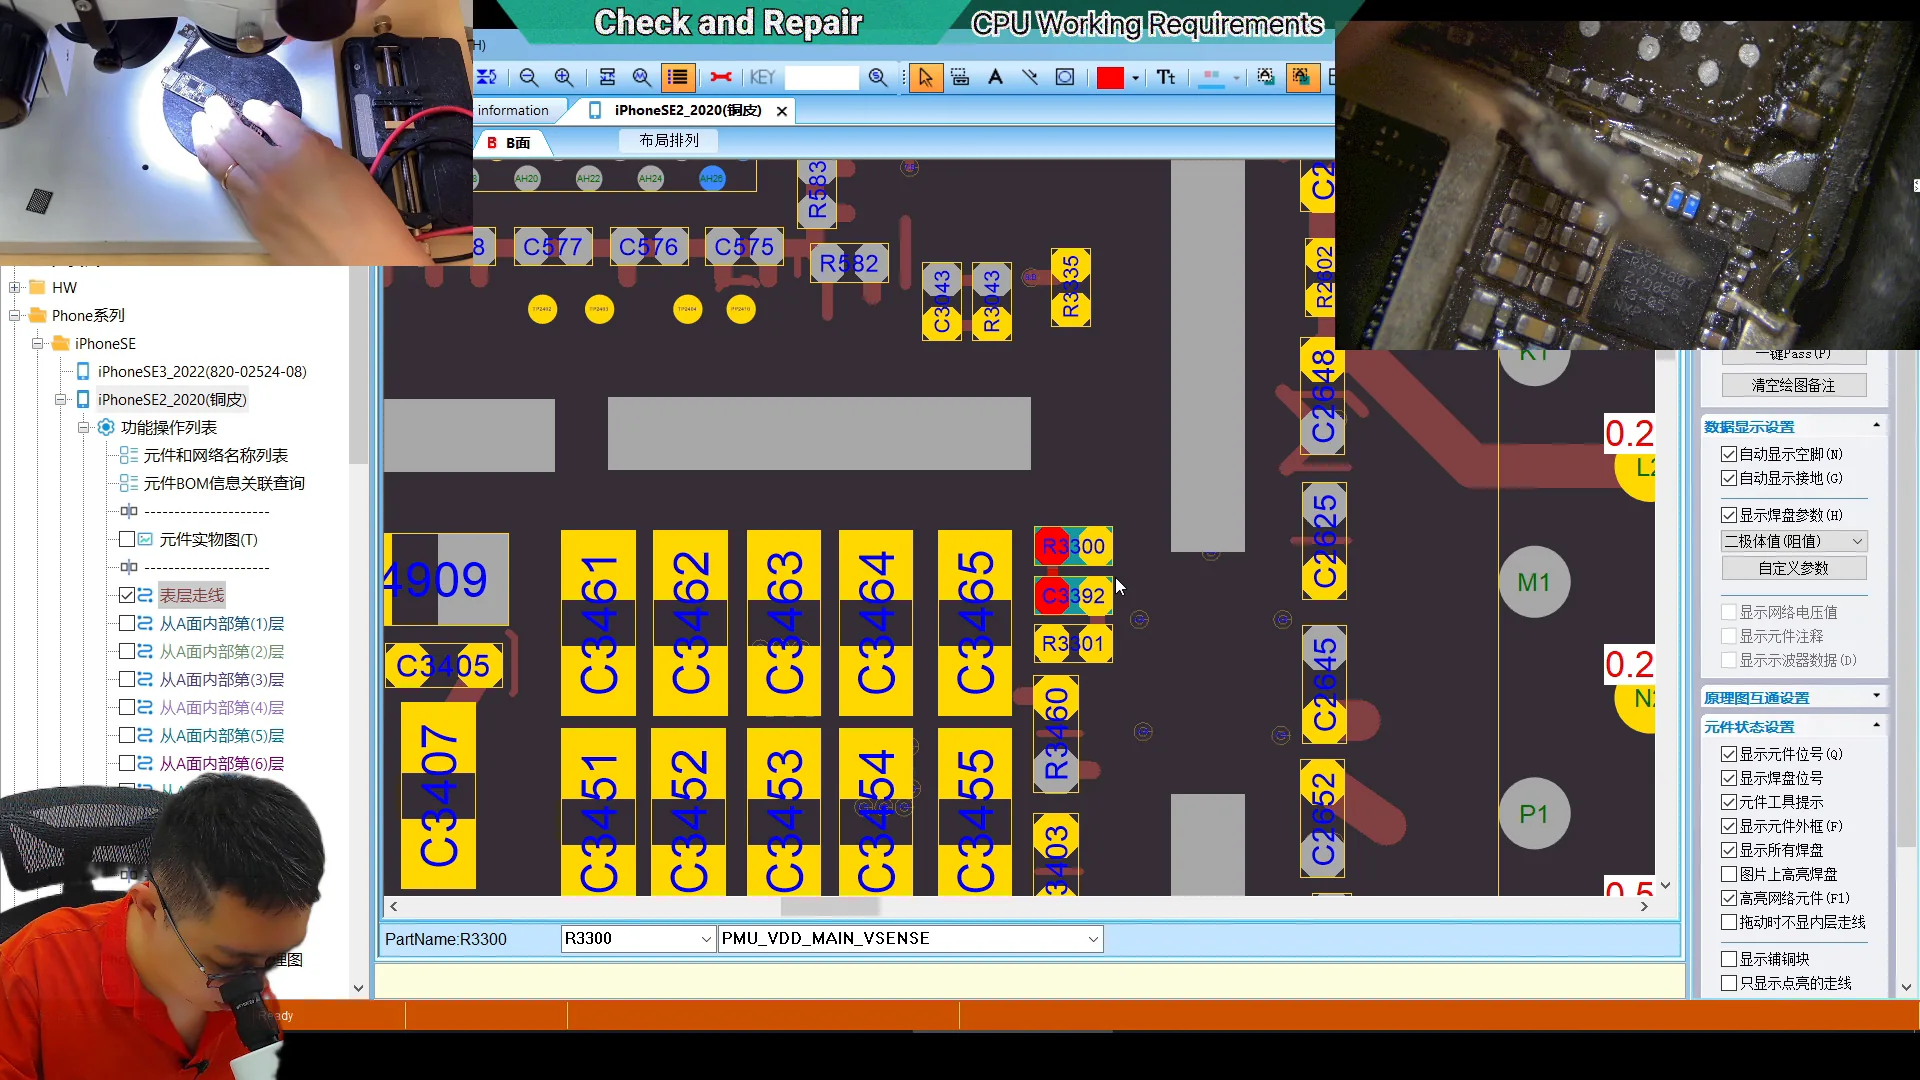
Because the motherboard still failed to enter DFU mode after the NAND was removed, the fault was unlikely to be caused by the NAND itself. The next step was to inspect the circuitry responsible for allowing the CPU to start. Using the microscope together with a board reference diagram, attention was focused on an area near the USB IC where several critical components were located beneath a metal shield. Based on the earlier corrosion found on the motherboard, there was a strong possibility that additional hidden damage existed underneath this shield.
The microscope image was compared with a board reference diagram to identify components involved in the CPU startup circuit. Several critical components were located beneath the metal shield in this area, making it the next location for detailed inspection.
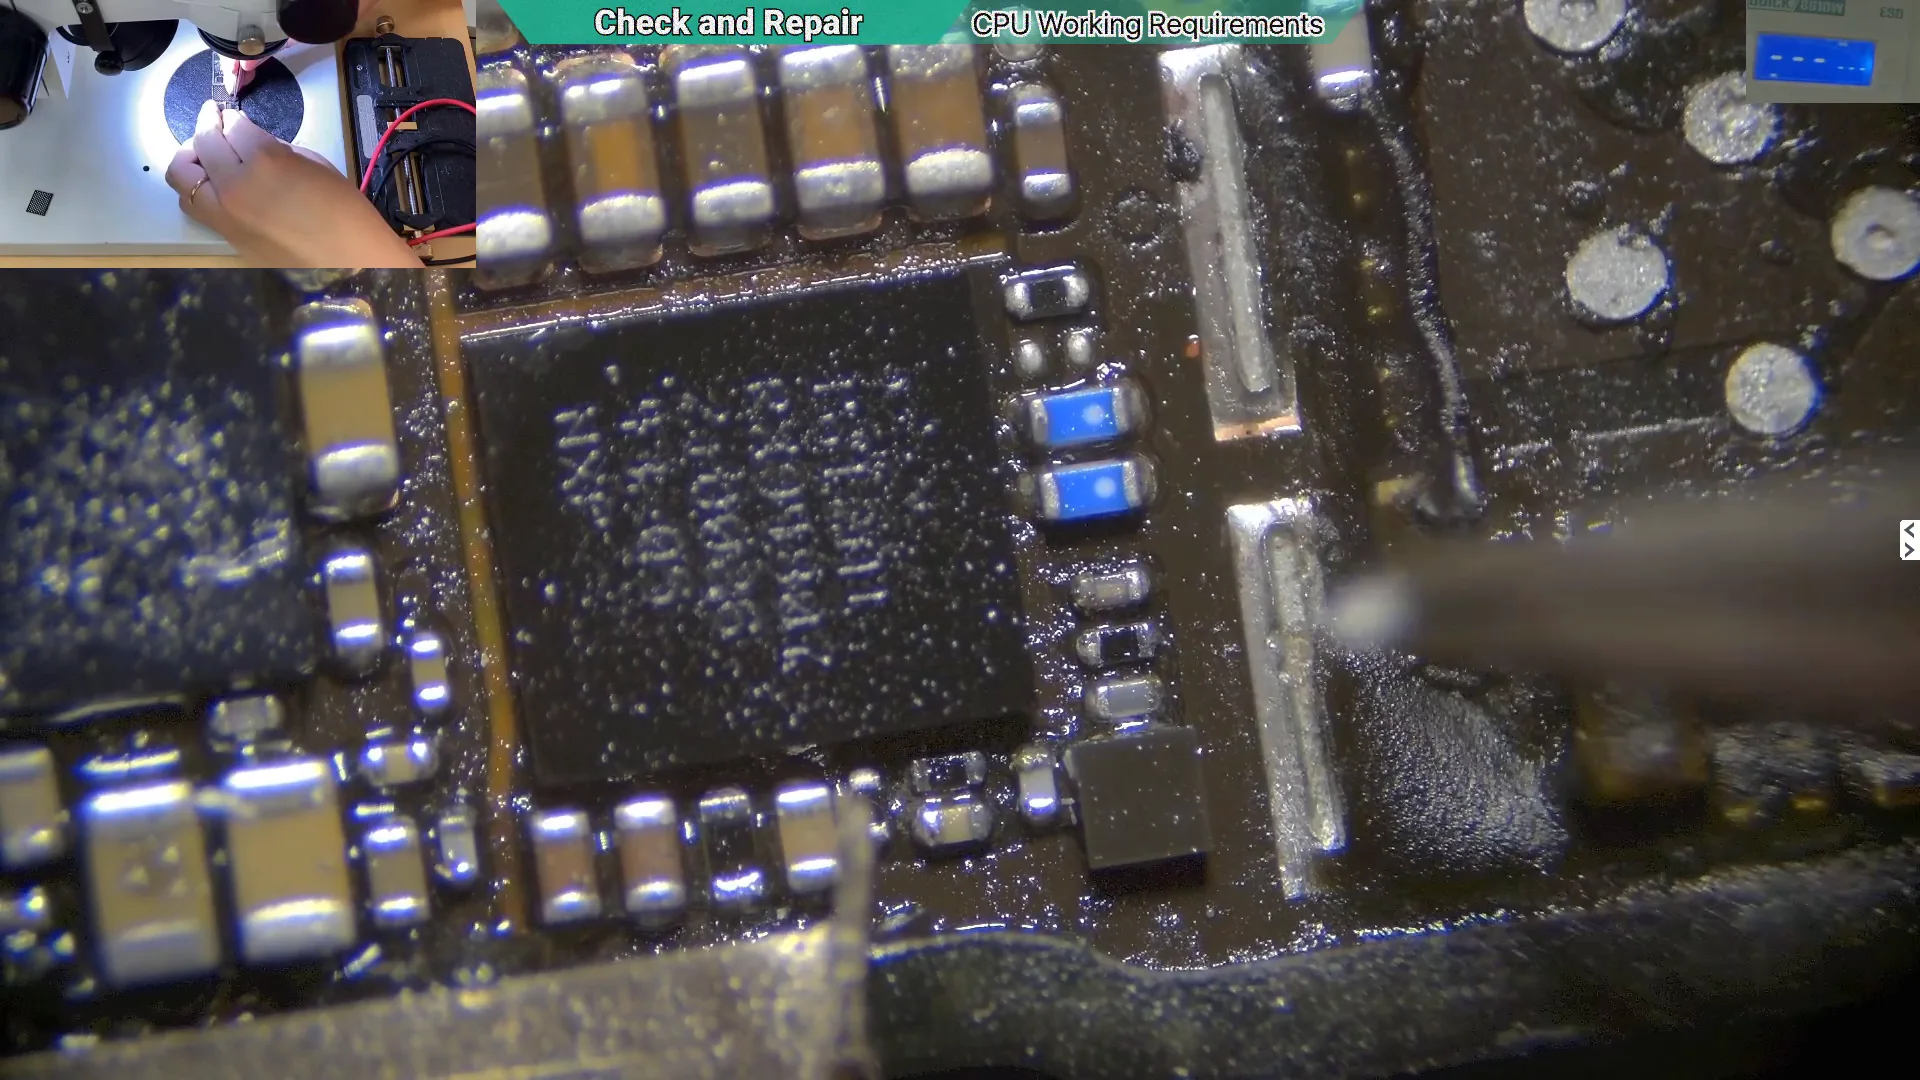
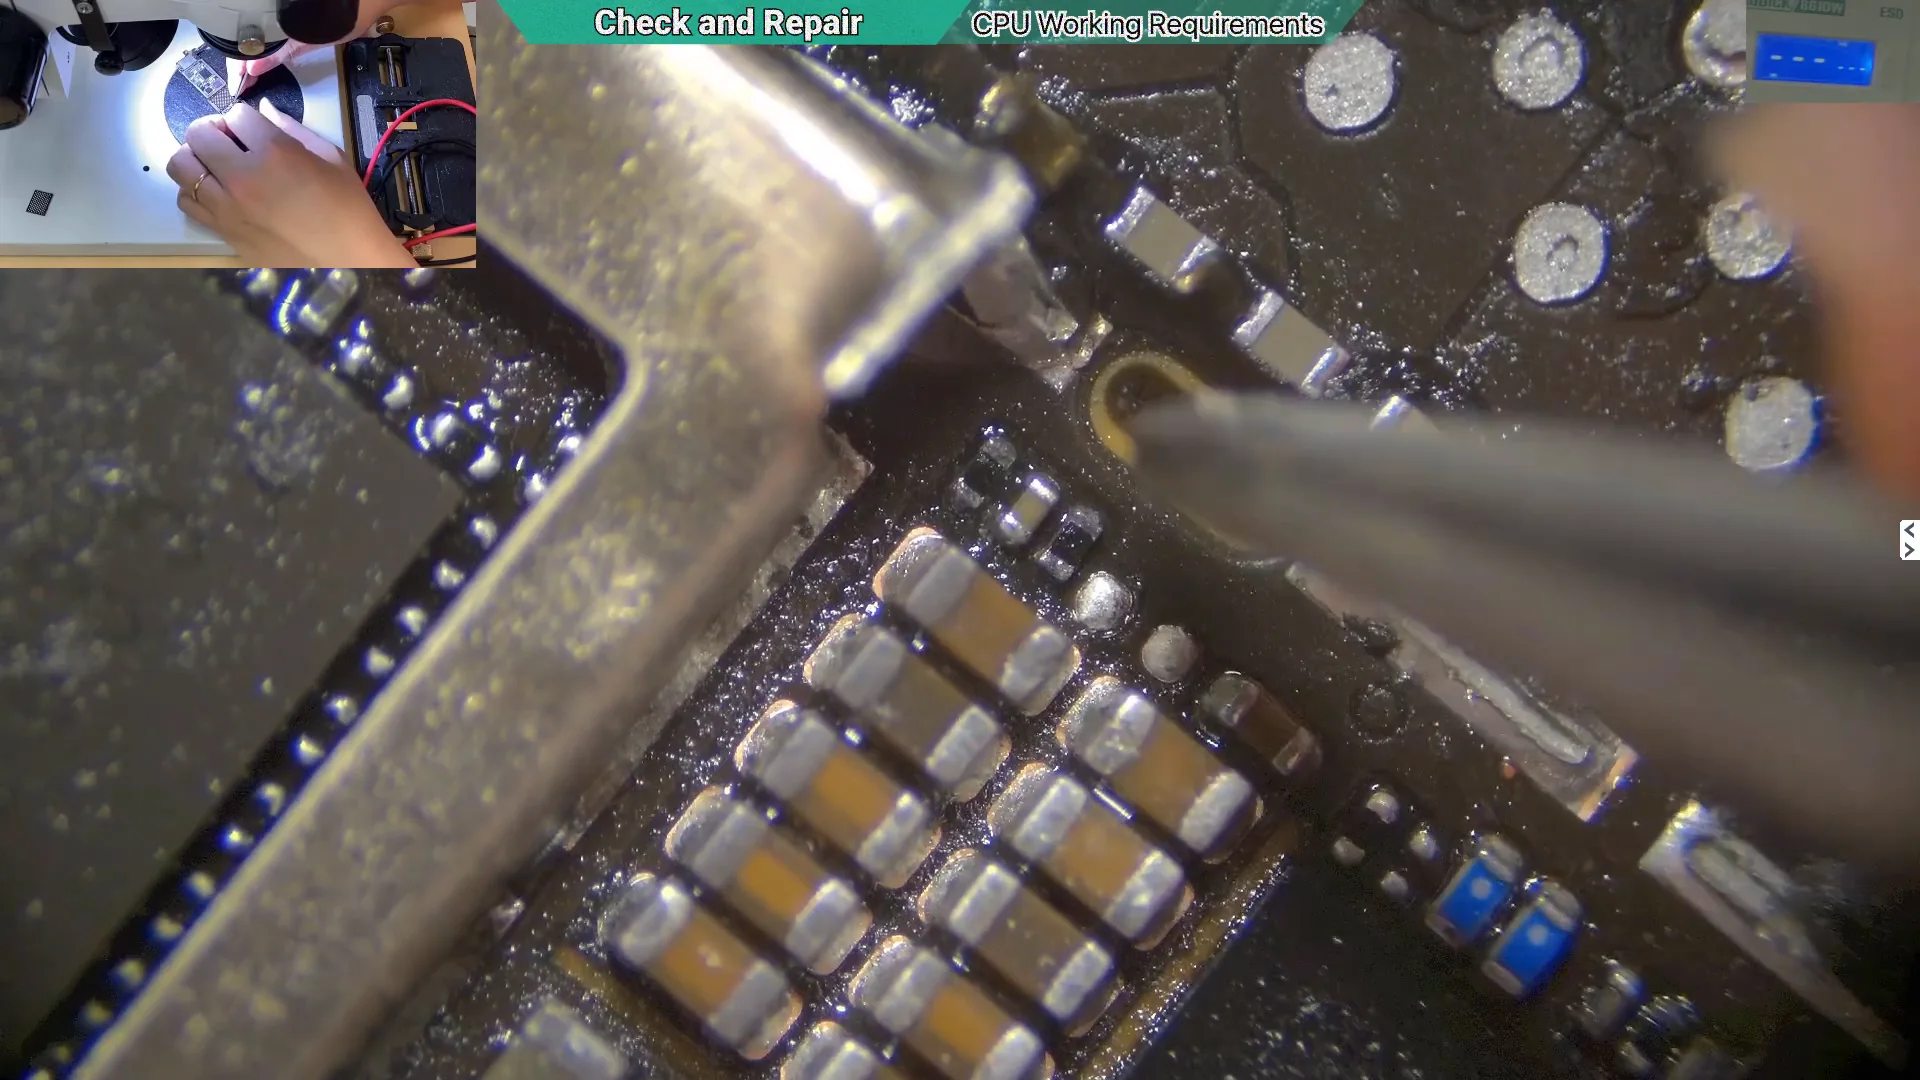
The metal shield was carefully removed to expose components hidden underneath. Water damage often spreads beneath protective shields, making visual inspection impossible until the area is opened.
With the shield removed, the USB IC area could be inspected more closely for signs of corrosion or damage that were not visible from the outside. (See Figure 2)
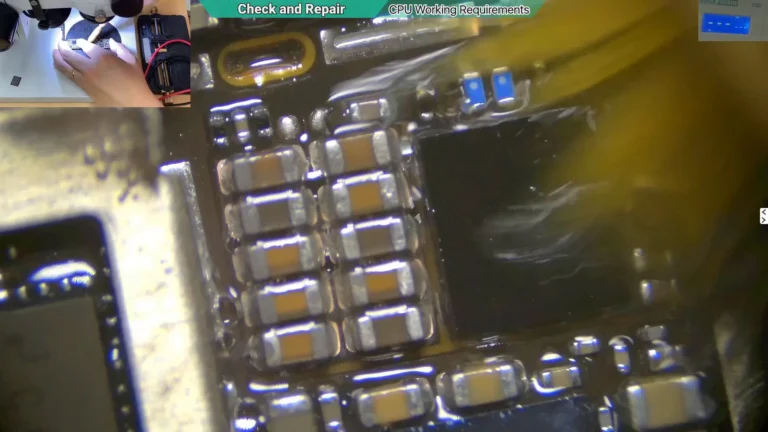
Several small resistors beneath the shield showed clear signs of oxidation caused by water damage. Although these components appeared minor, they are part of the circuitry required for normal CPU startup and required further investigation.
Cleaning the CPU Startup Circuit
The affected area needs to clean thoroughly to remove oxidation and conductive residue left by the water damage before the motherboard was tested again.
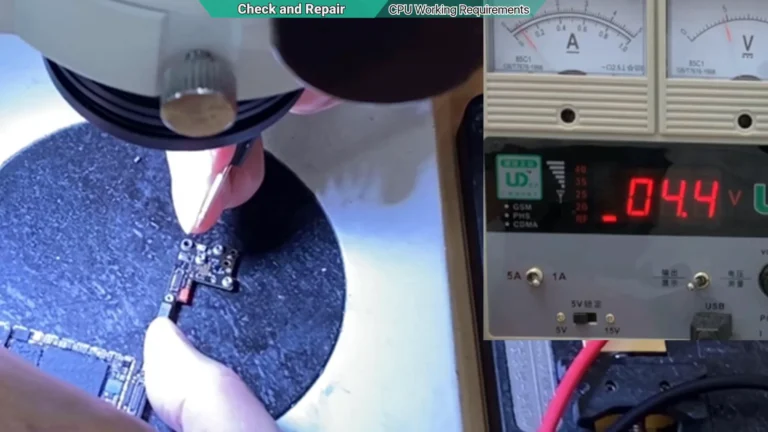
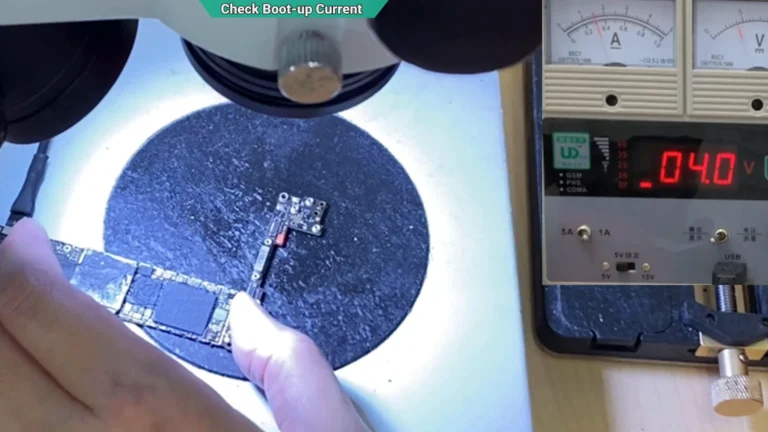
After cleaning, the motherboard was connected to the DC power supply once more. The standby current had now returned to 0 mA, confirming that the remaining current leak had been eliminated. The power button was then pressed to observe whether the motherboard could finally enter its expected boot state.
After cleaning the affected area, the motherboard remained at 0 mA standby current and entered DFU mode when the power button was pressed. The stable current of approximately 80 mA confirmed that the CPU was now starting normally and the remaining fault had been resolved.
This result confirmed that the remaining problem was not caused by the CPU or the NAND flash memory. Instead, corrosion affecting the CPU startup circuit had prevented the motherboard from entering the normal boot sequence. Once the contamination was removed, the motherboard entered DFU mode as expected, allowing the repair to continue.
Reinstalling the Original NAND
With the CPU startup issue resolved, the original NAND flash memory could now be reinstalled. Before installation, both the motherboard and the NAND required careful preparation to remove the remaining underfill adhesive from the previous removal. The original NAND was then reballed and soldered back onto the motherboard, preserving the customer’s original storage chip and data.
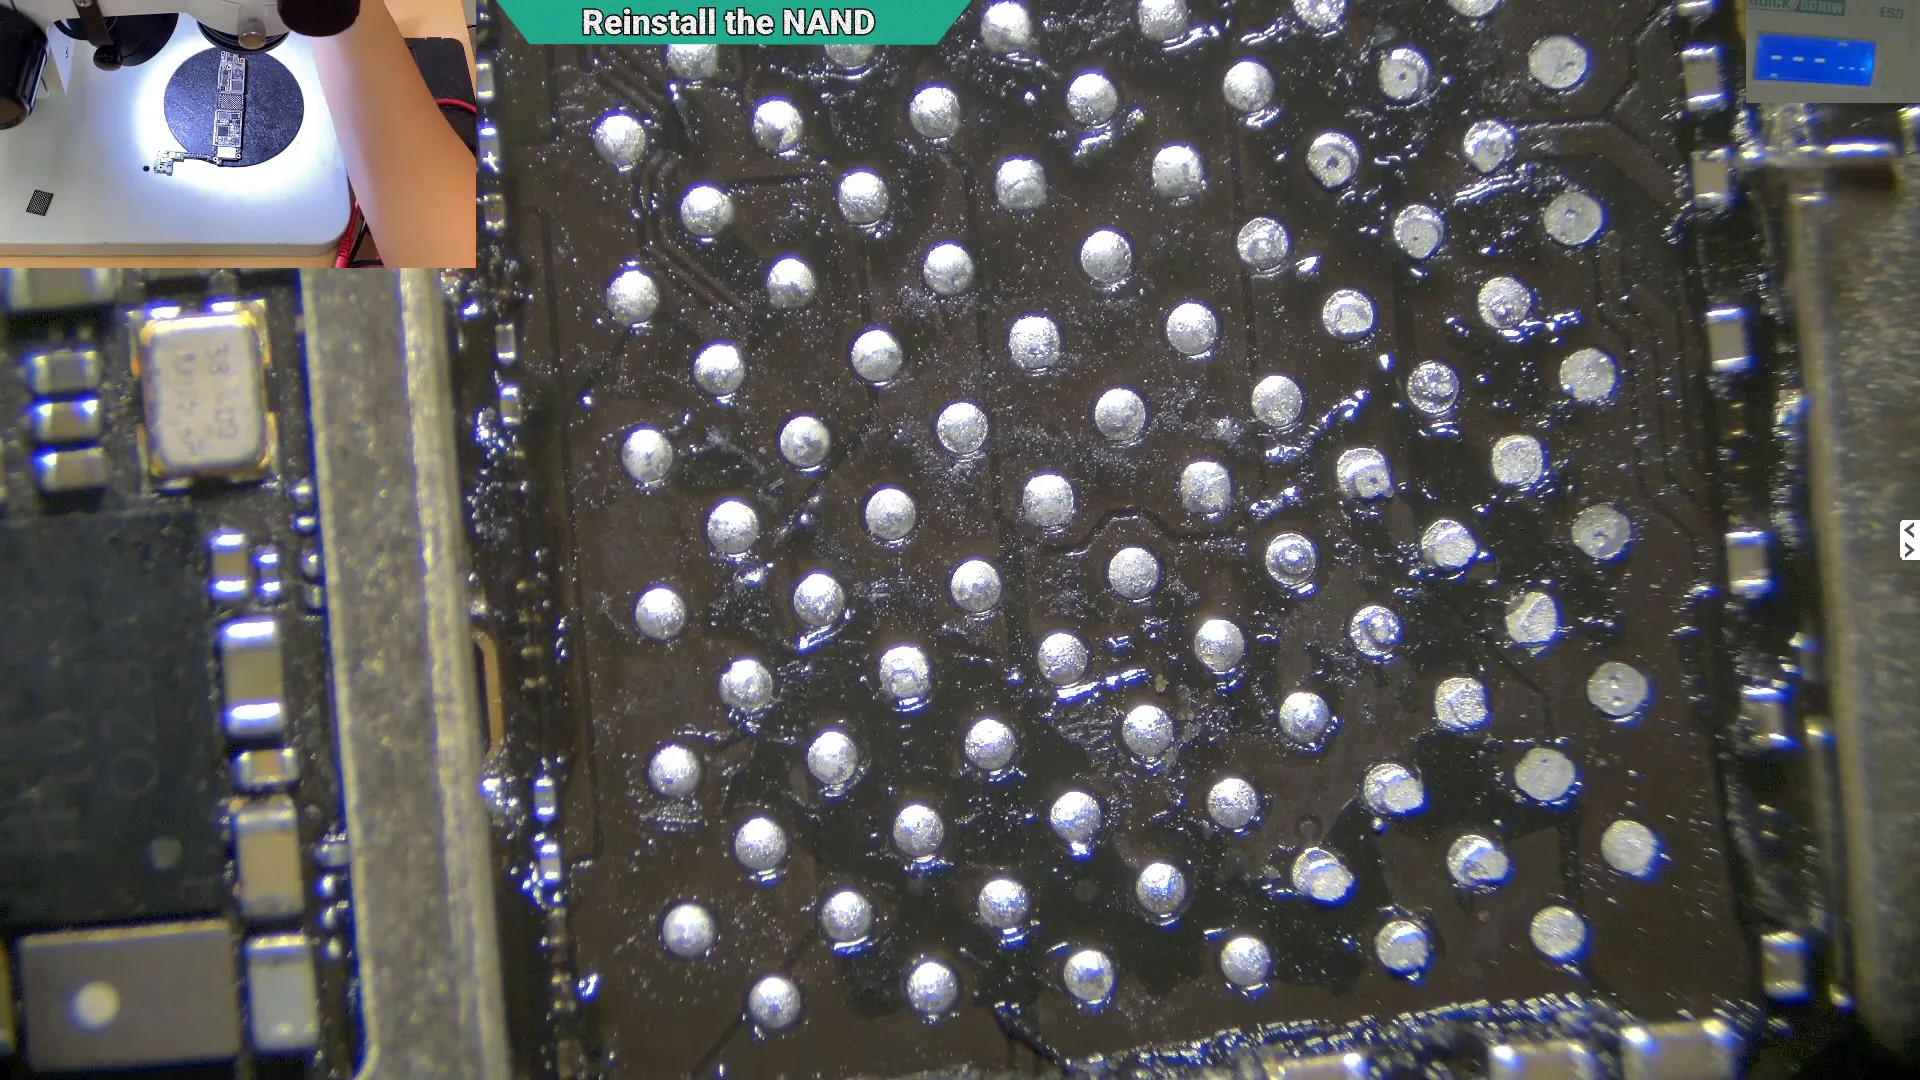
Residual underfill adhesive was about to be removed from the motherboard to provide a clean surface for reinstalling the original NAND.
The original NAND was cleaned thoroughly before new solder balls were formed. Keeping the customer’s original NAND helps preserve the existing data.
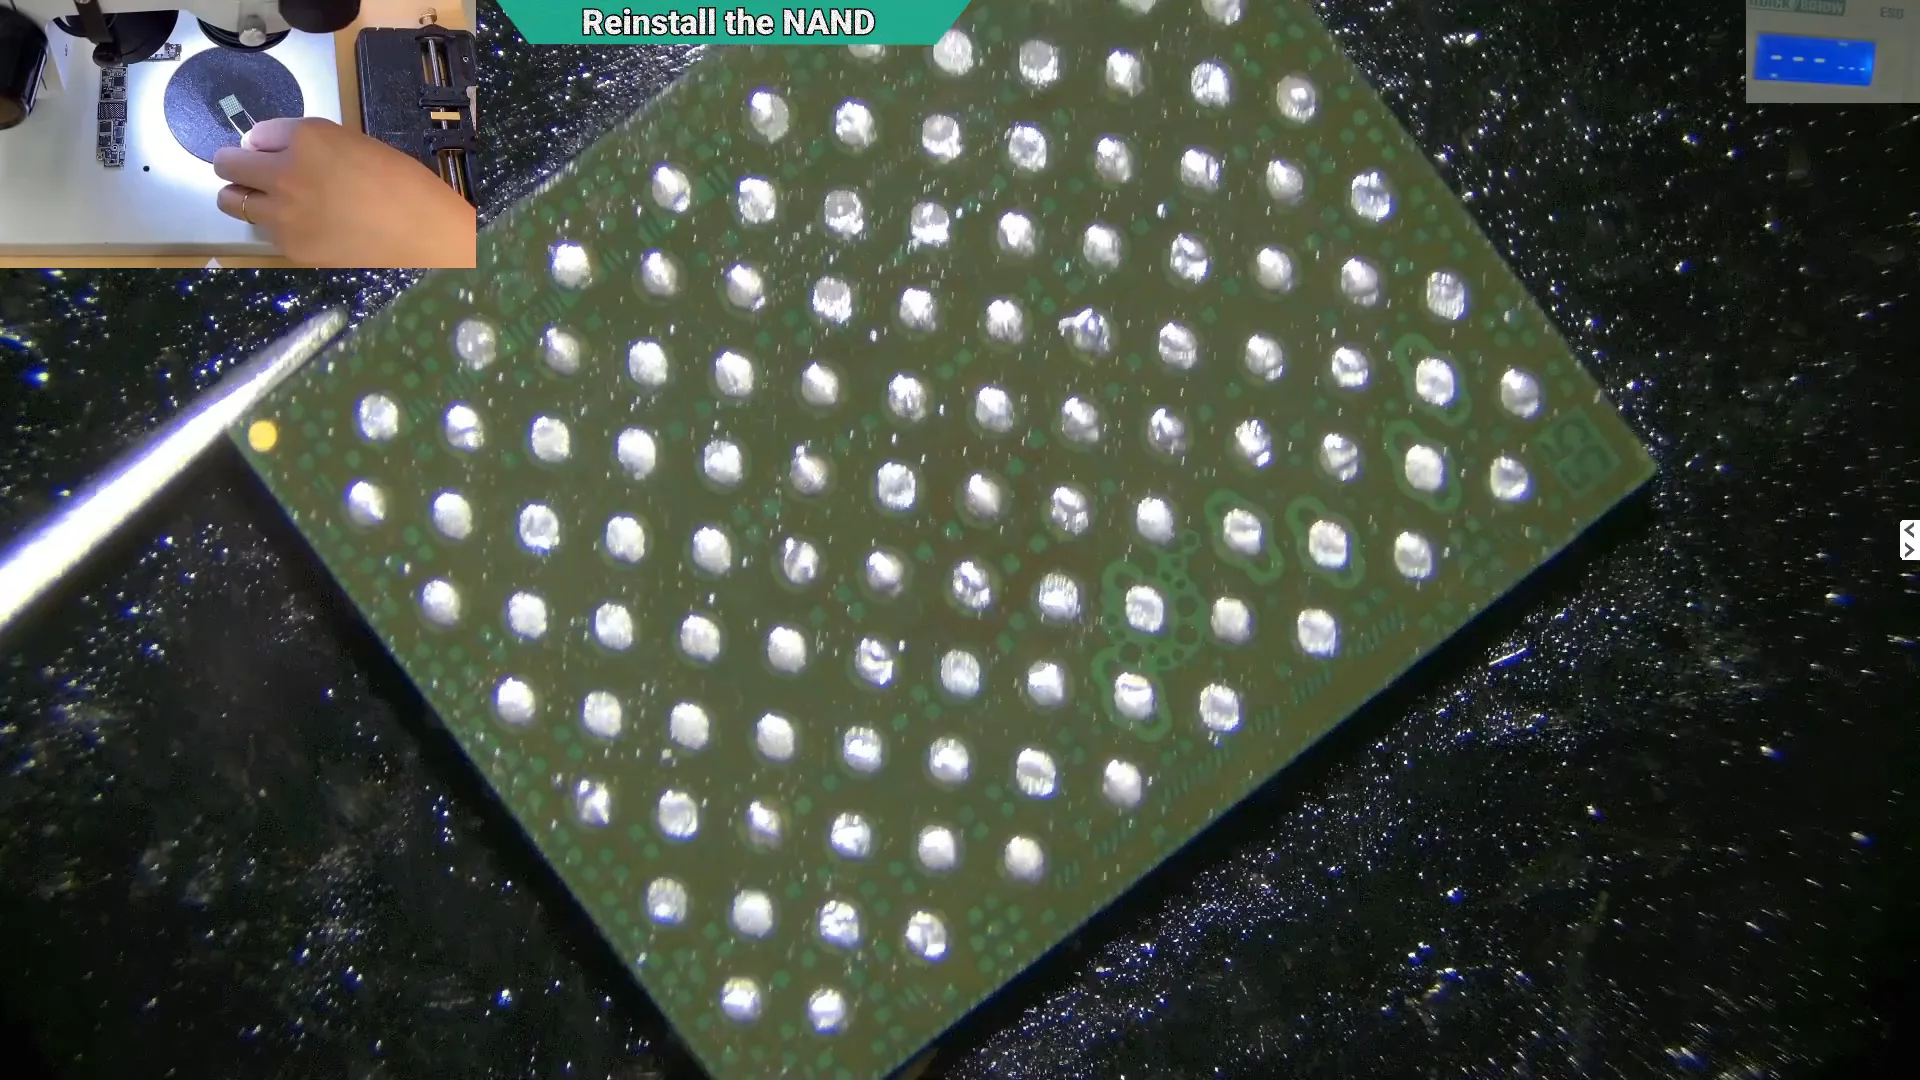
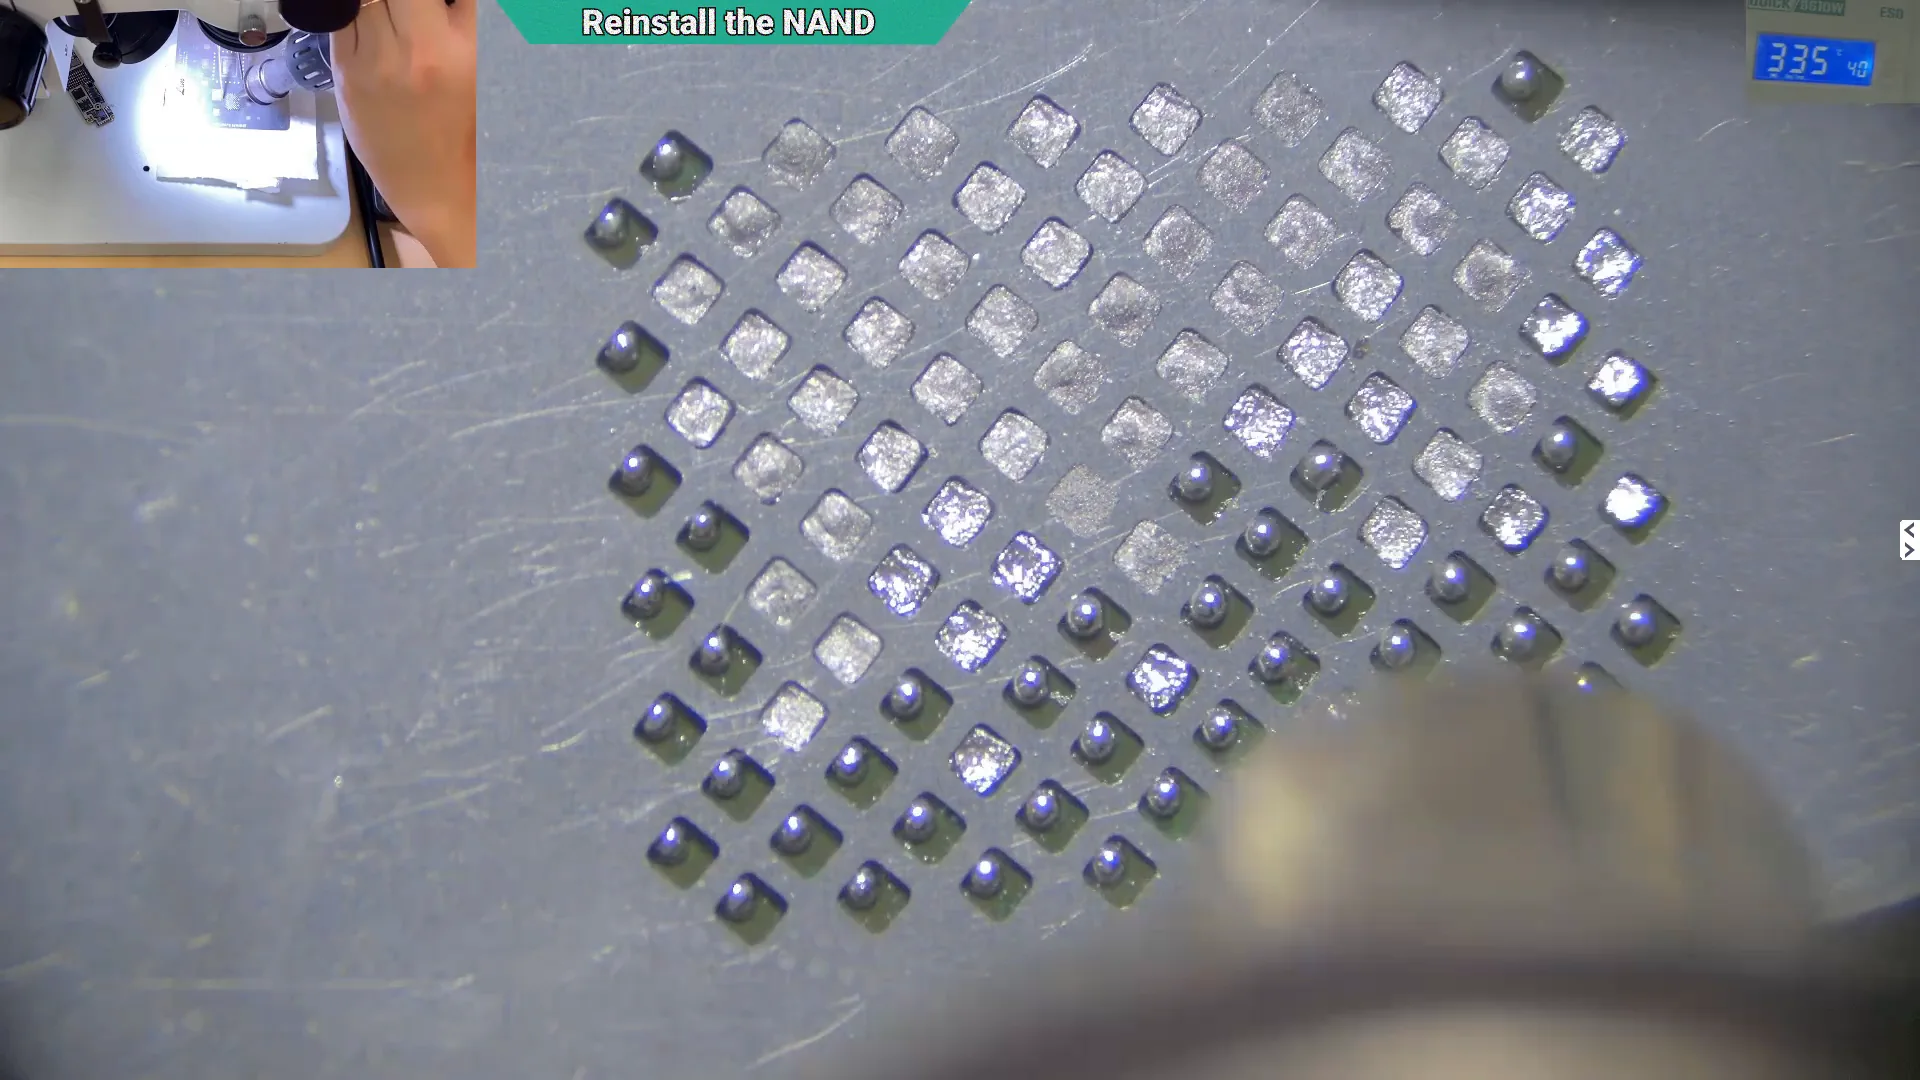
New solder balls were formed on the original NAND using a stencil and controlled hot air, preparing it for reinstallation onto the motherboard.
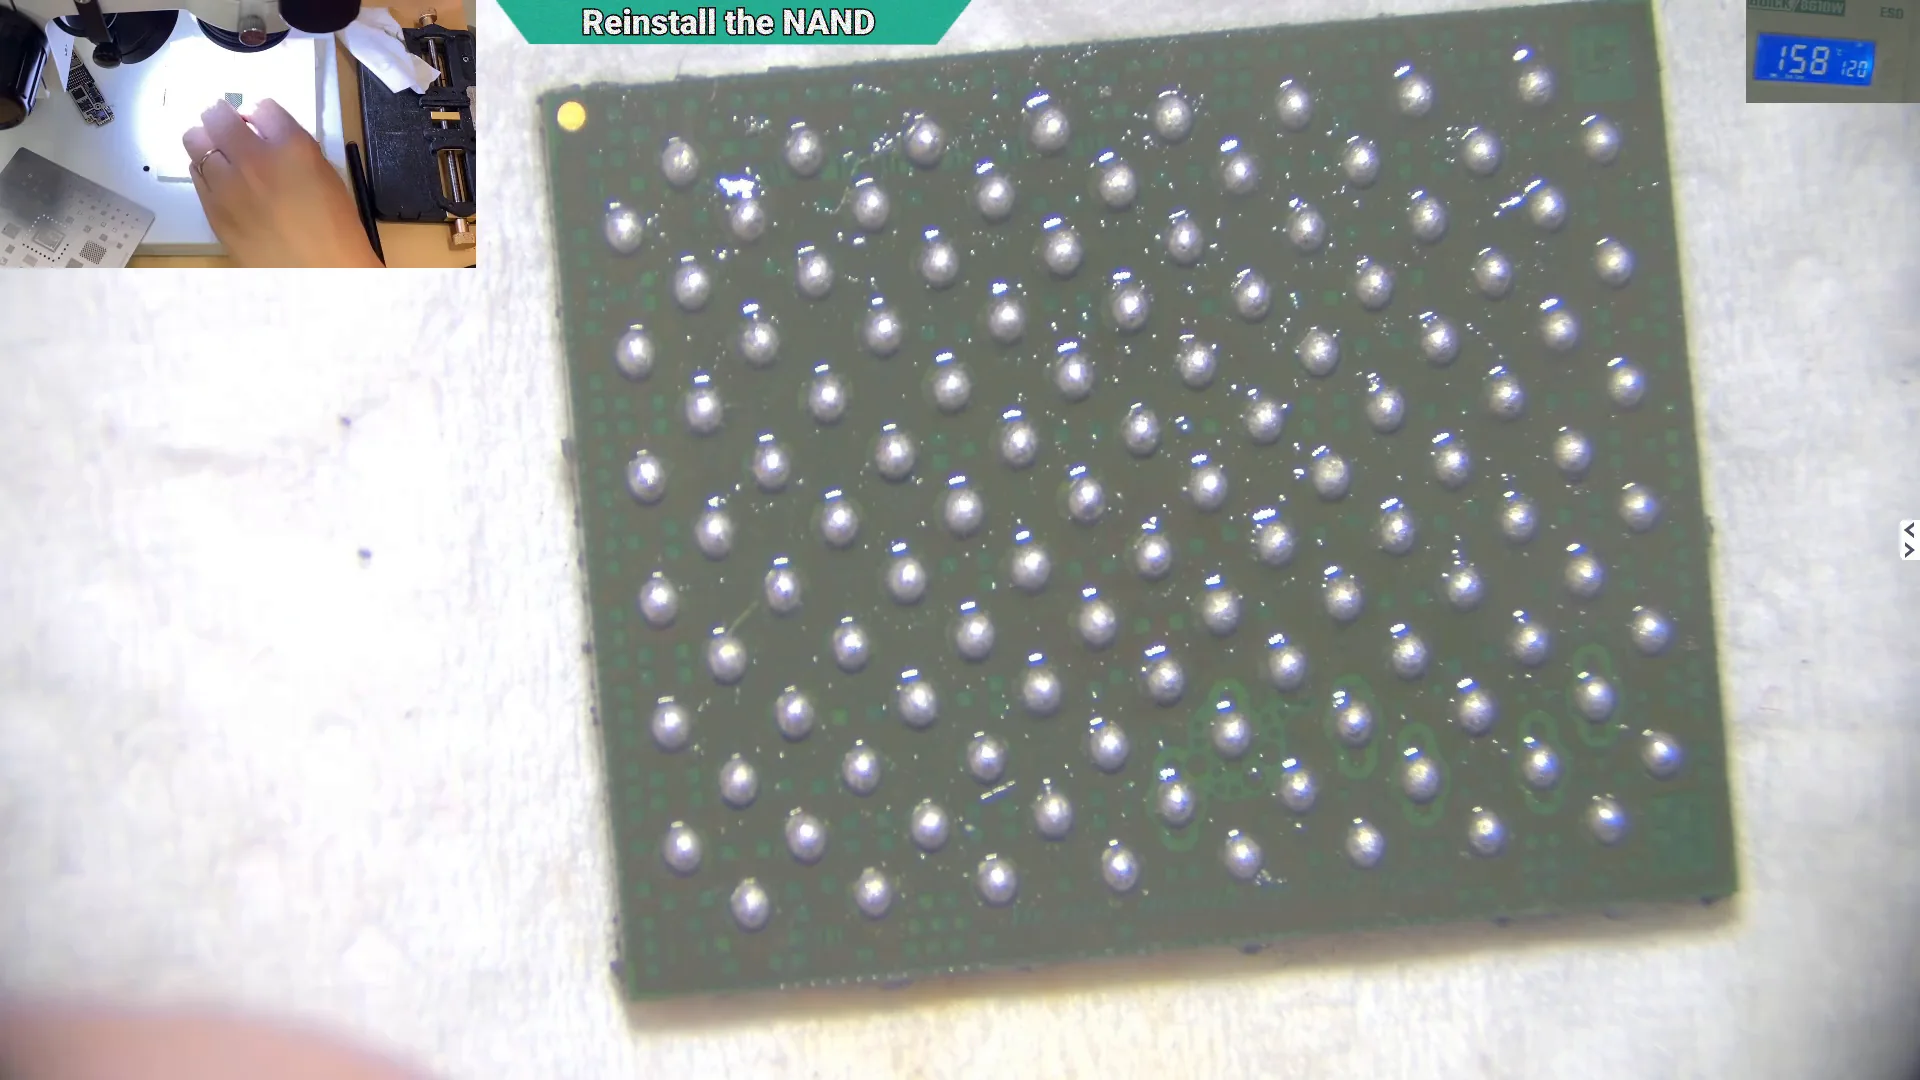
After reballing, every solder ball was inspected before the original NAND was reinstalled onto the motherboard.
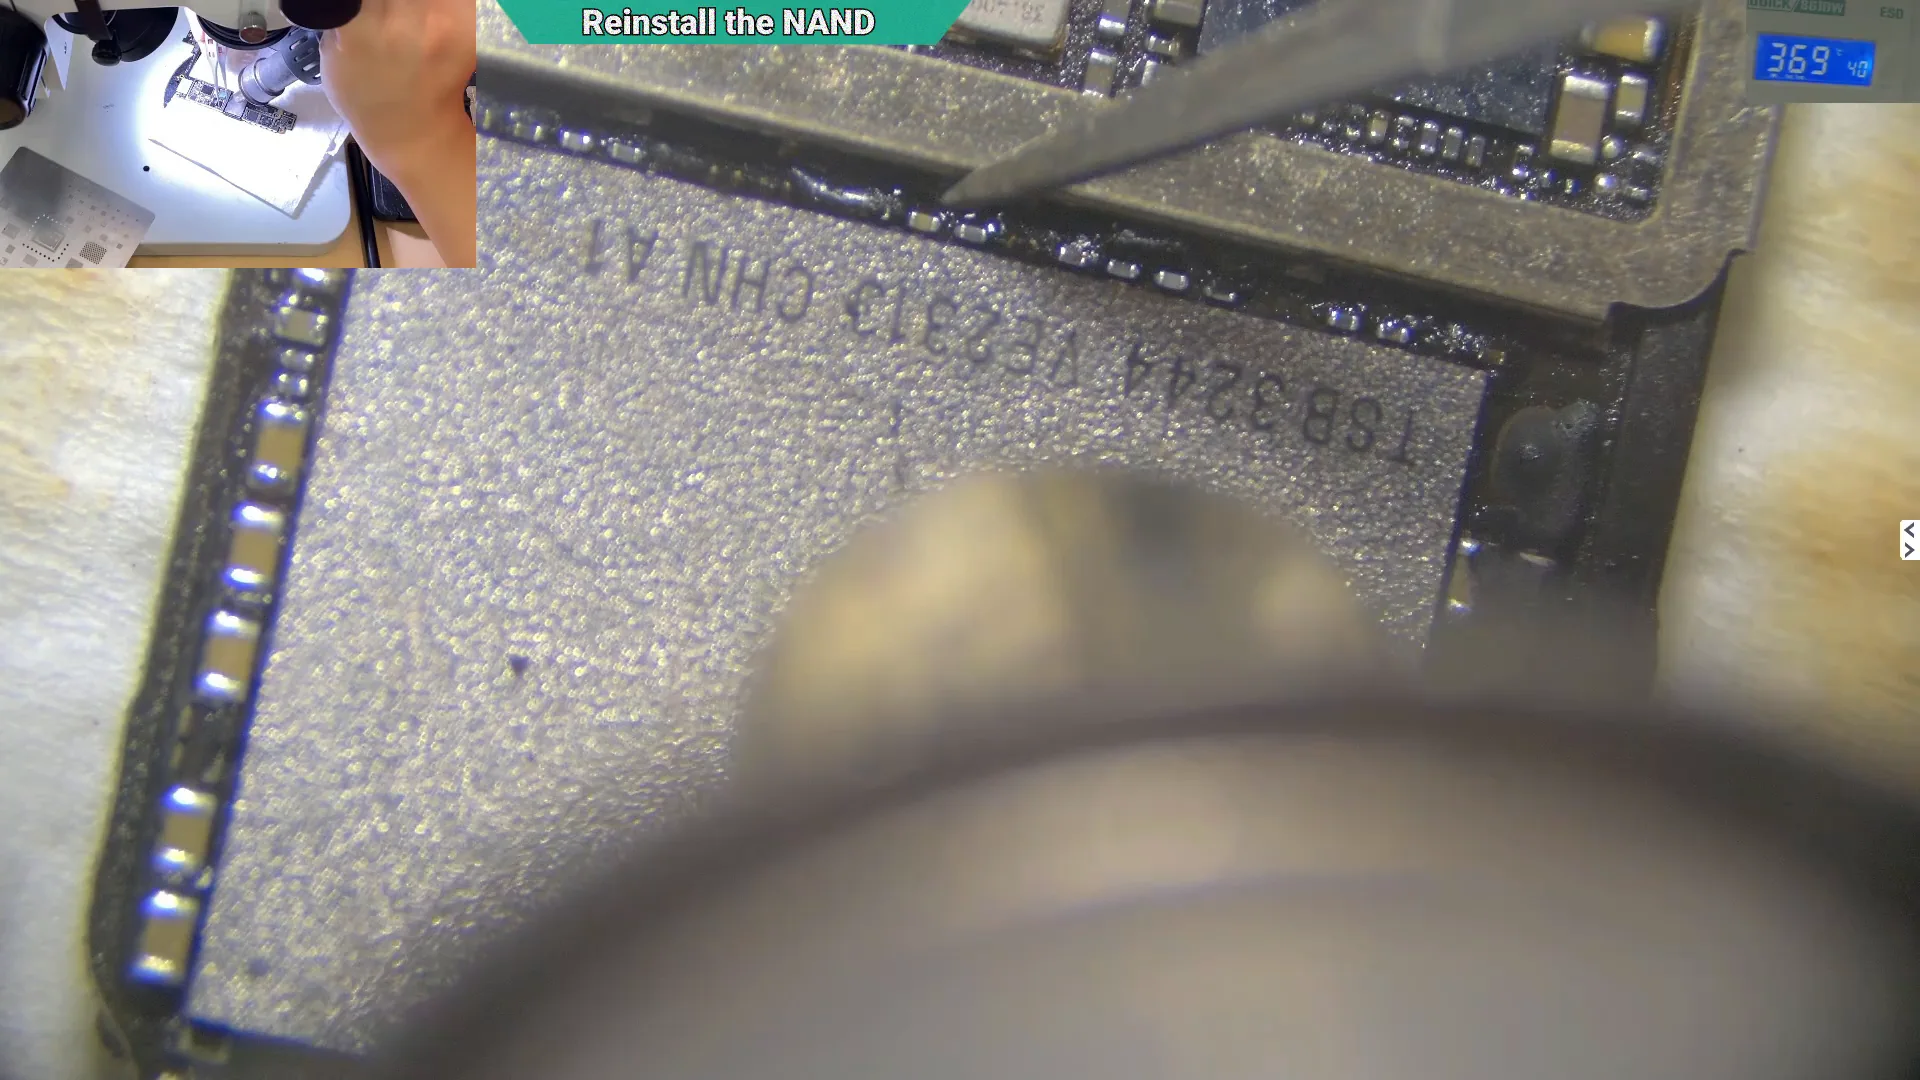
The original NAND was carefully soldered back onto the motherboard, completing the hardware repair while preserving the customer’s original storage chip and data.
Verifying Normal Boot After Reinstalling the Original NAND
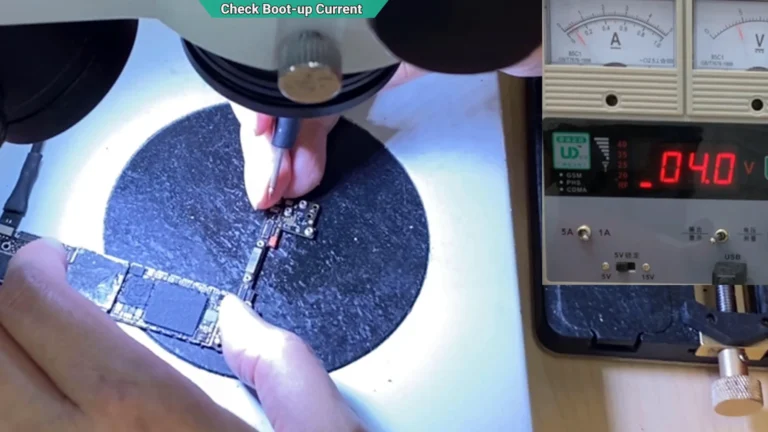
After reinstalling the original NAND, the motherboard was connected to the DC power supply for one final verification. The current response now matched the expected boot sequence, confirming that the motherboard had recovered from the earlier faults and was able to communicate with the original NAND correctly.
With the original NAND reinstalled, pressing the power button produced the expected startup current pattern. The current rose to approximately 80 mA before returning to 0 mA, indicating that the motherboard had successfully completed its initial startup checks.
Since the initial startup sequence was now normal, the motherboard was tested further by allowing it to continue the full boot process.
Holding the power button long enough to continue the startup process caused the current to increase beyond 300 mA, with normal fluctuations as the motherboard progressed through the boot sequence. This confirmed that the CPU, PMU, and original NAND were now working together as expected.
Restoring the Backlight Circuit
After confirming that the motherboard could boot normally with the original NAND installed, attention returned to the damaged backlight circuit. Earlier inspection had revealed that two solder pads beneath the backlight IC had been completely destroyed by corrosion and burn damage. Before the repair could be completed, these damaged connections needed to be rebuilt and a replacement backlight IC installed.
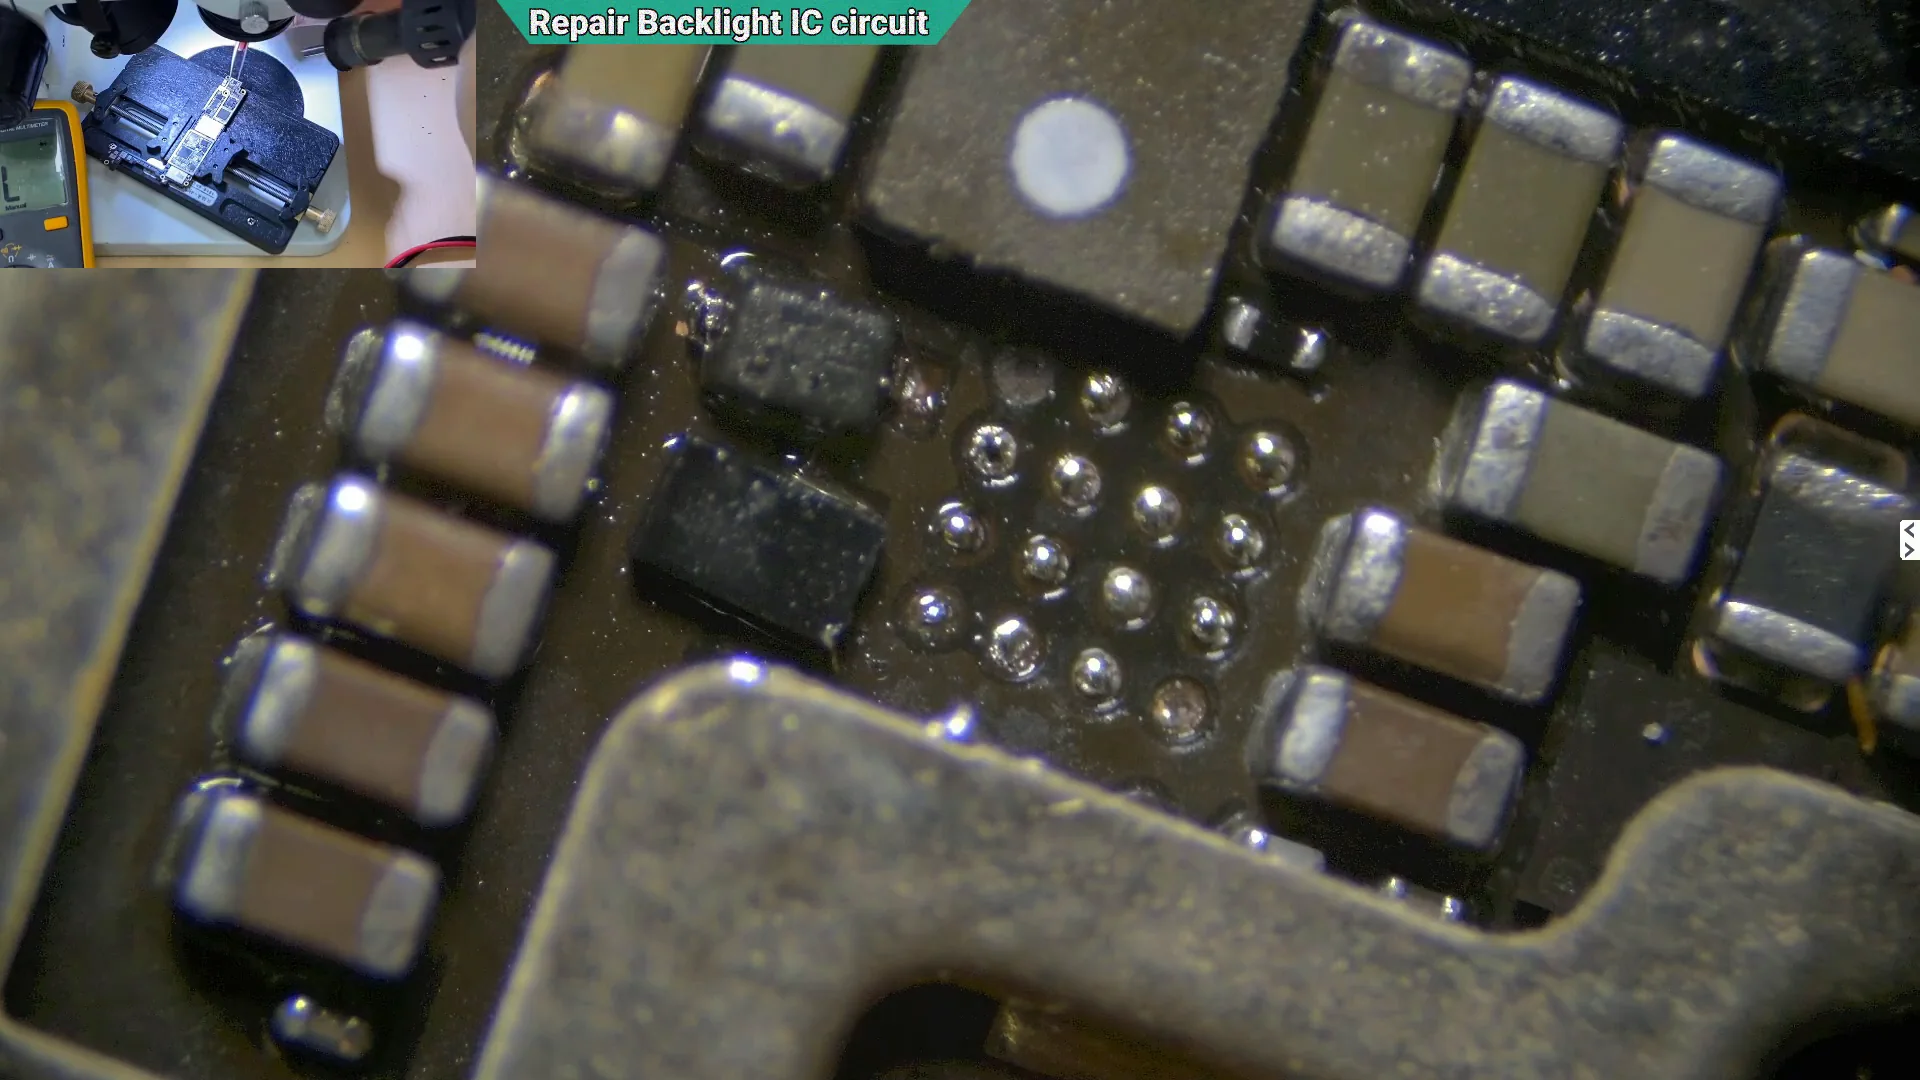
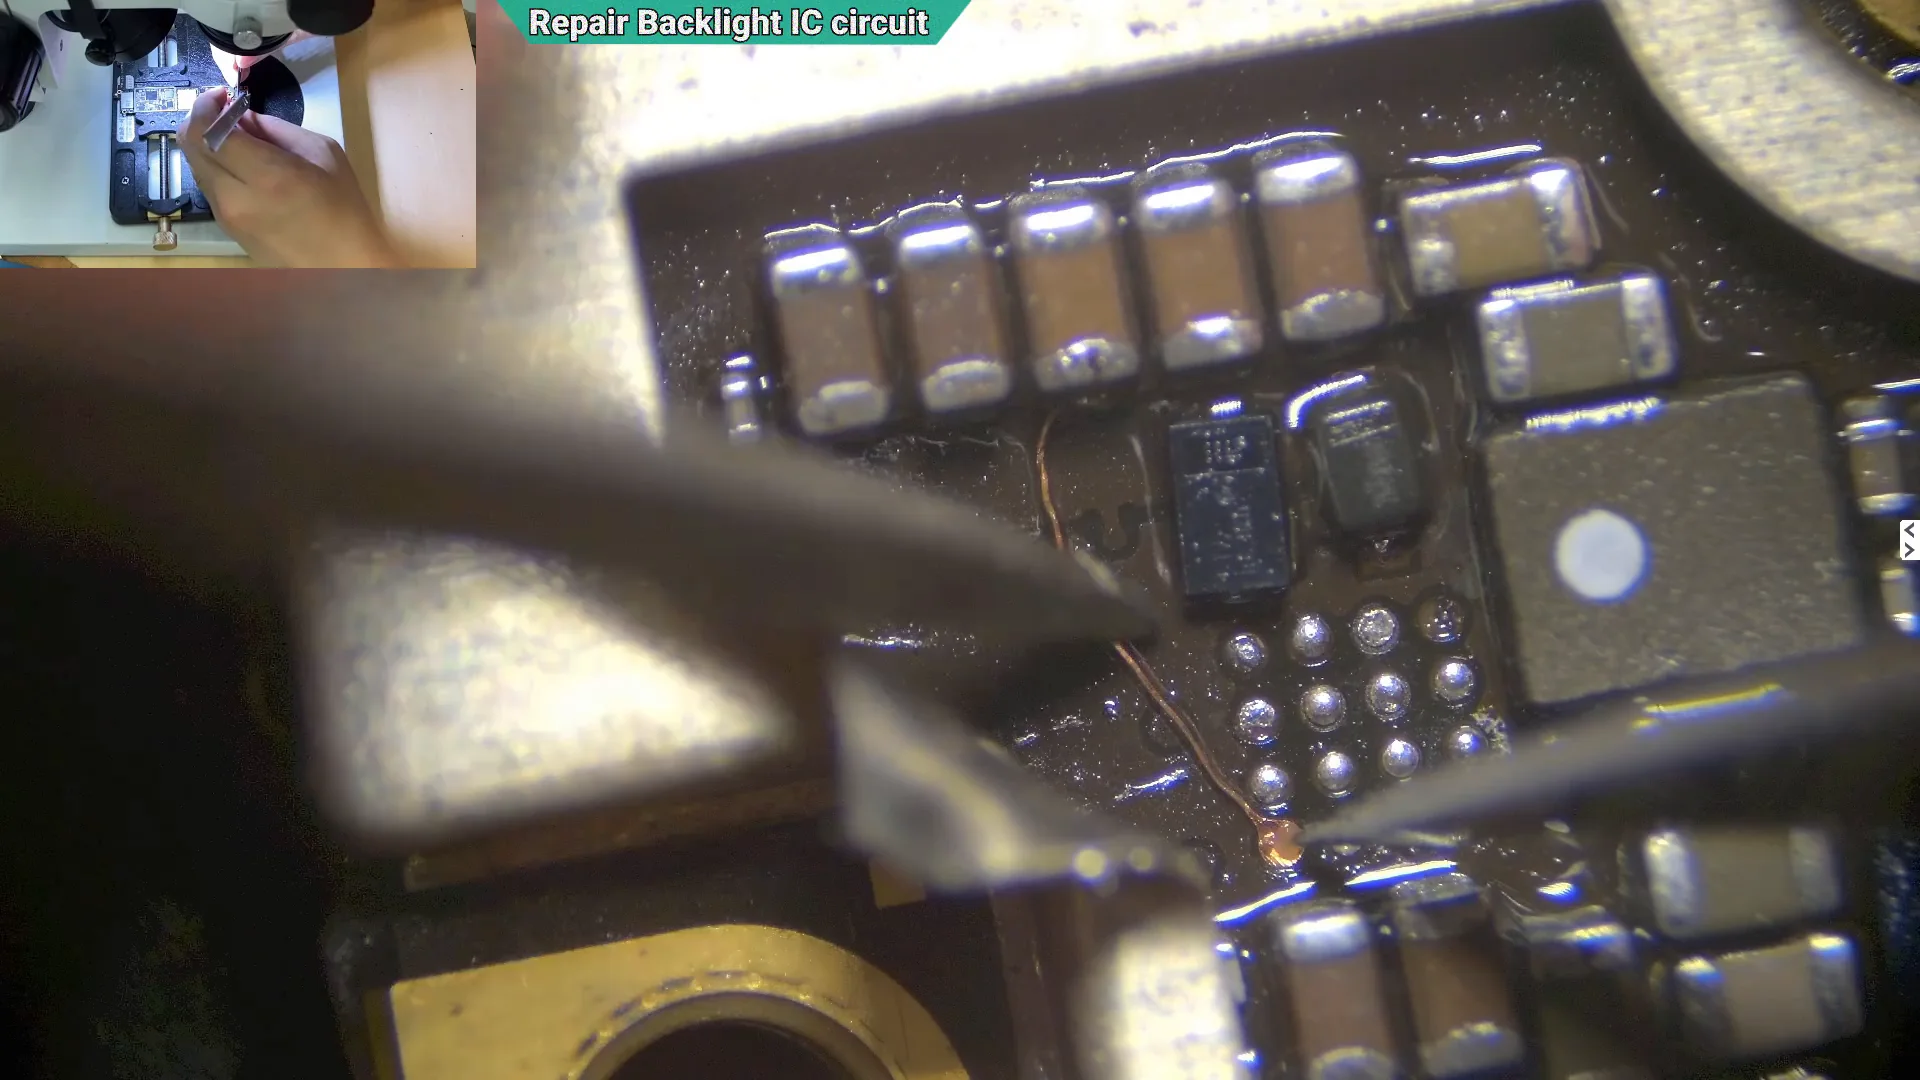
With the motherboard confirmed to be booting normally, work resumed on the backlight circuit. Although the damaged diodes had already been replaced, two solder pads destroyed by corrosion still needed to be reconstructed before installing the replacement backlight IC.
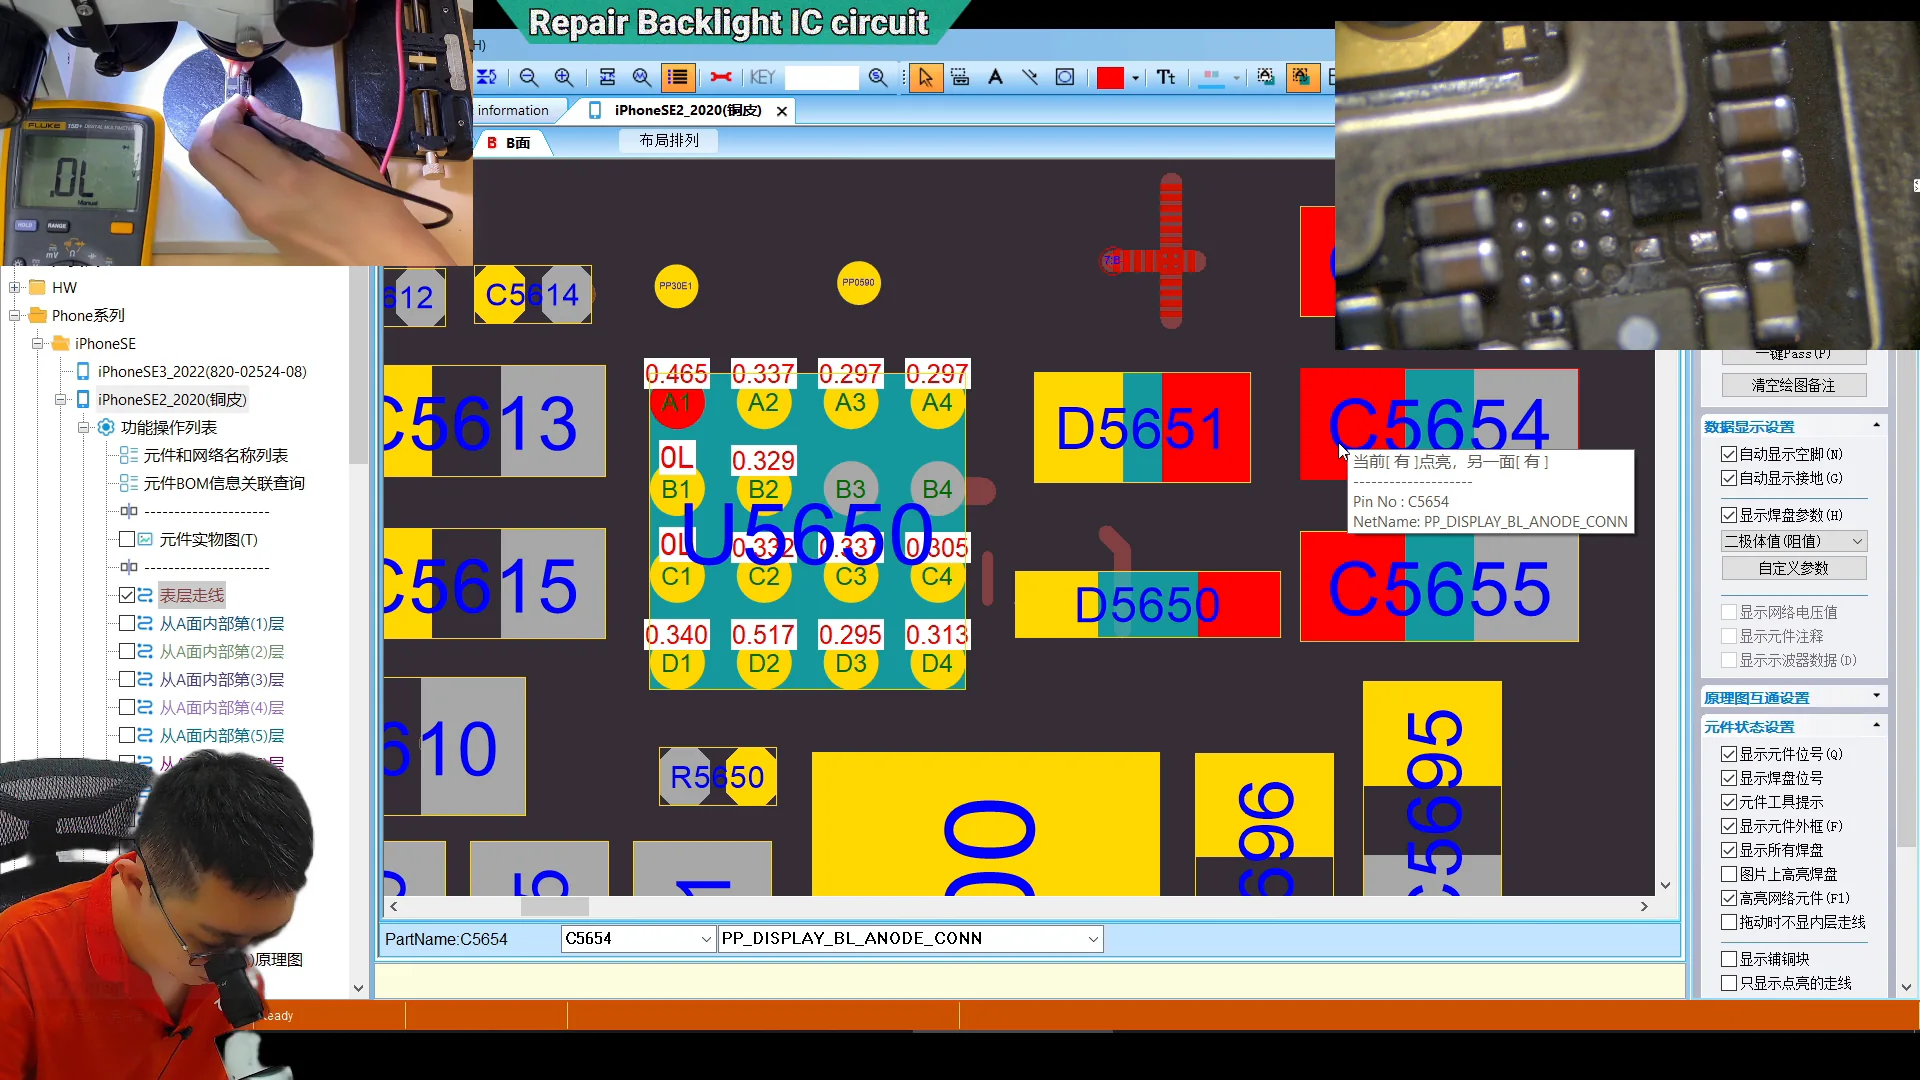
The damaged area was compared with a board reference diagram to identify where the missing solder pads should connect. This ensured the reconstructed pads matched the original PCB layout before the repair continued.
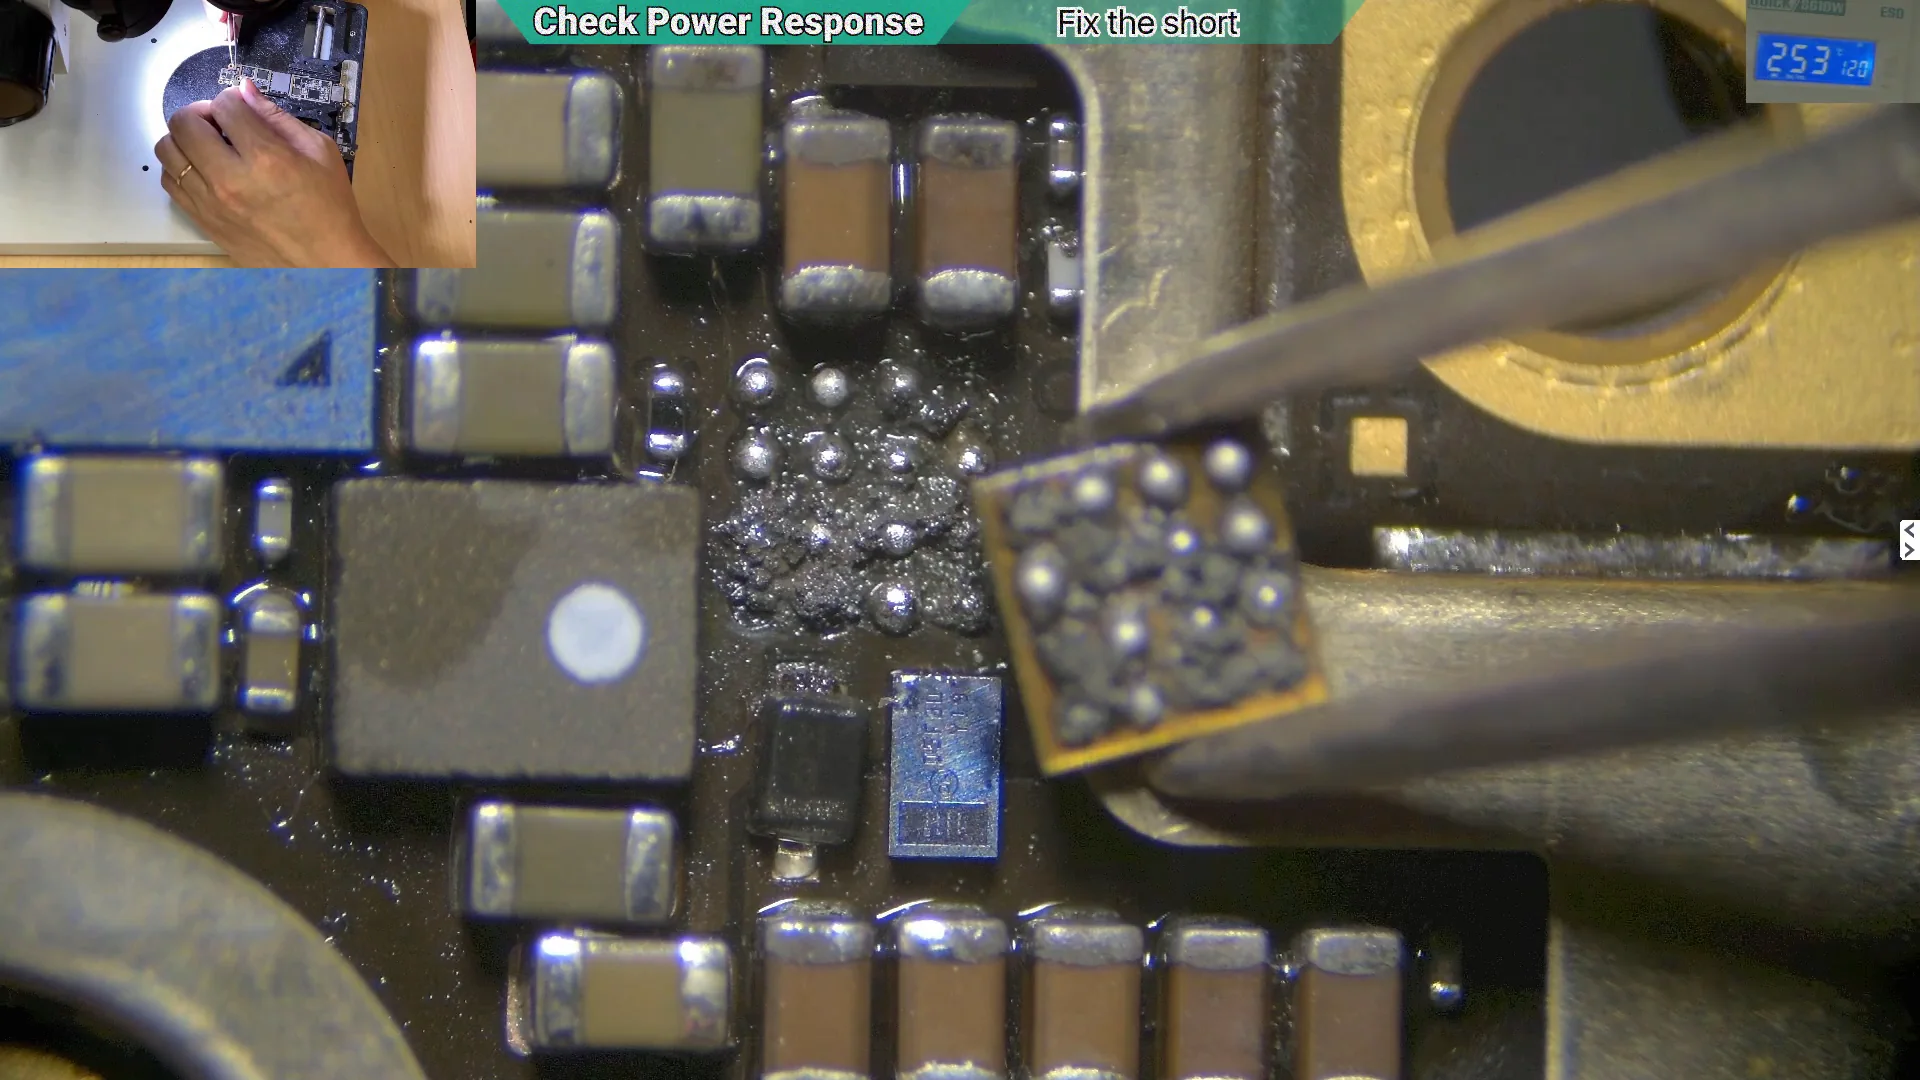
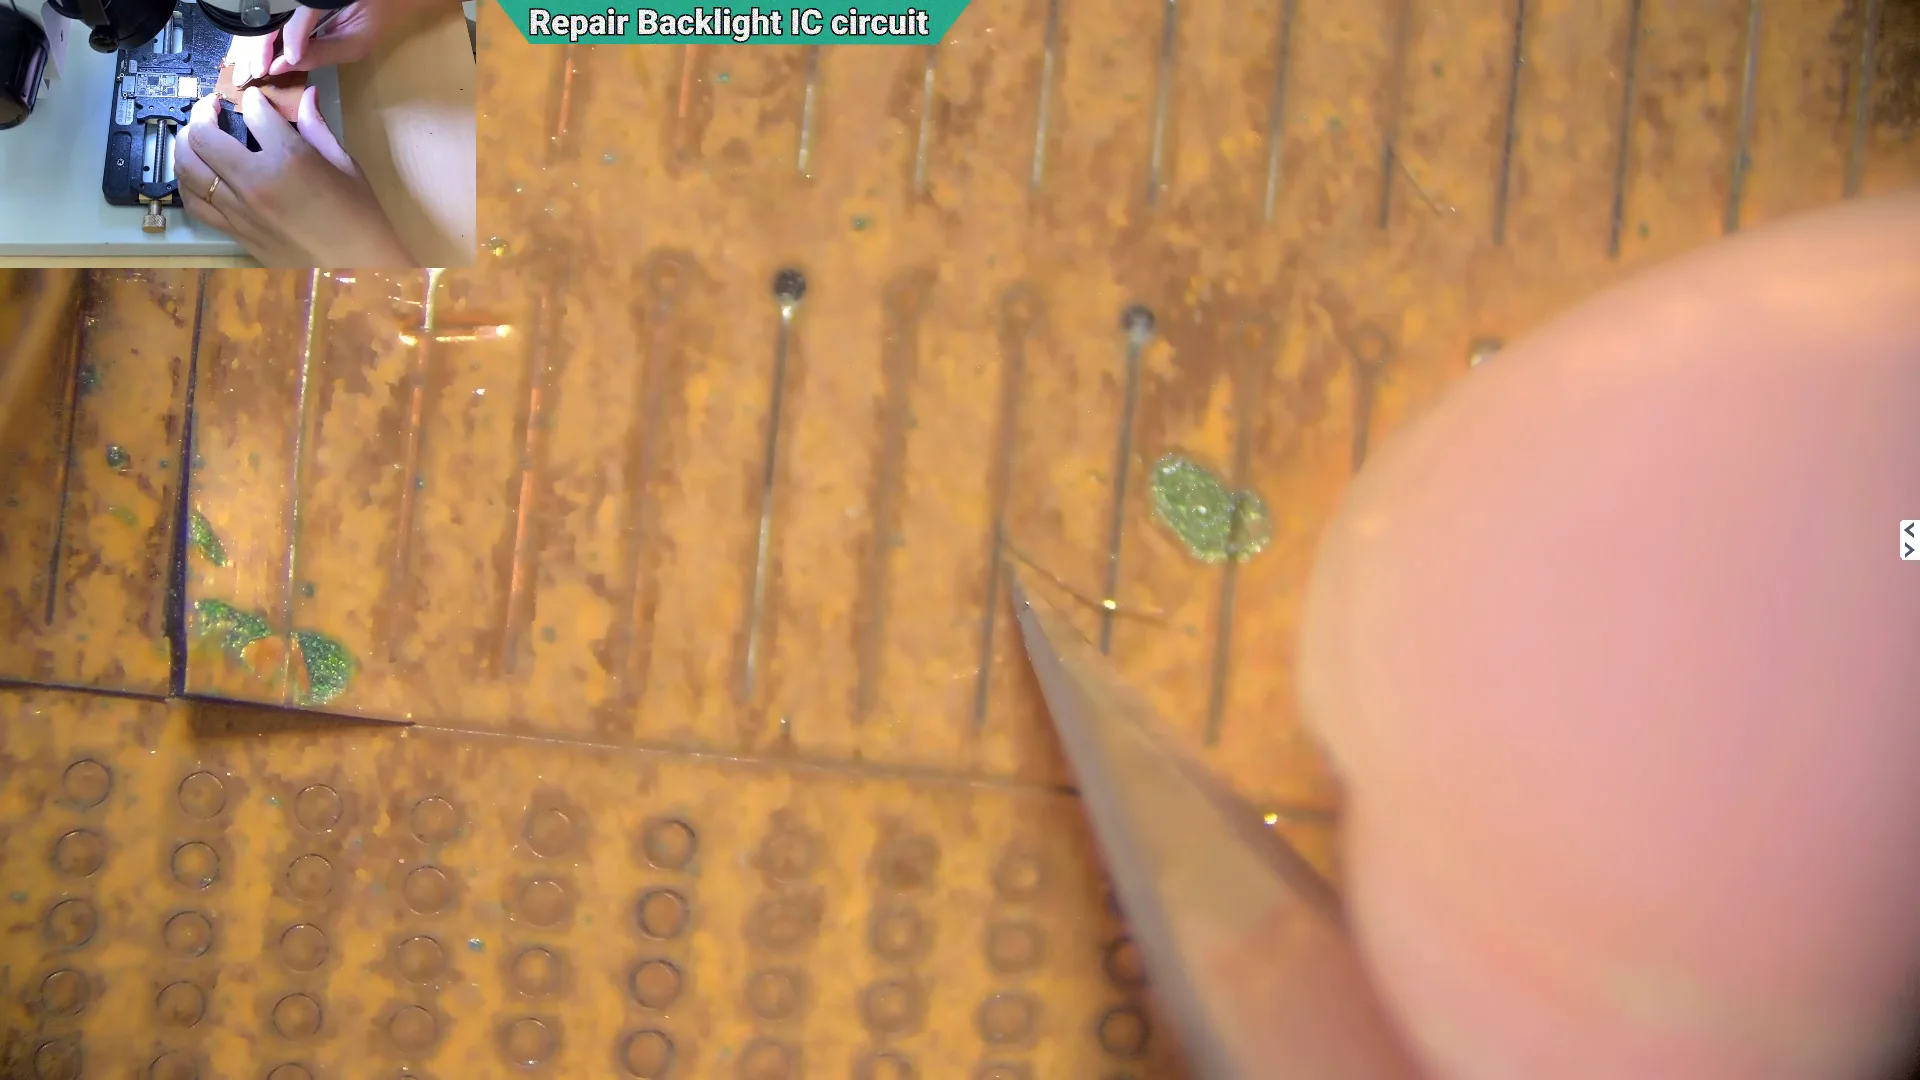
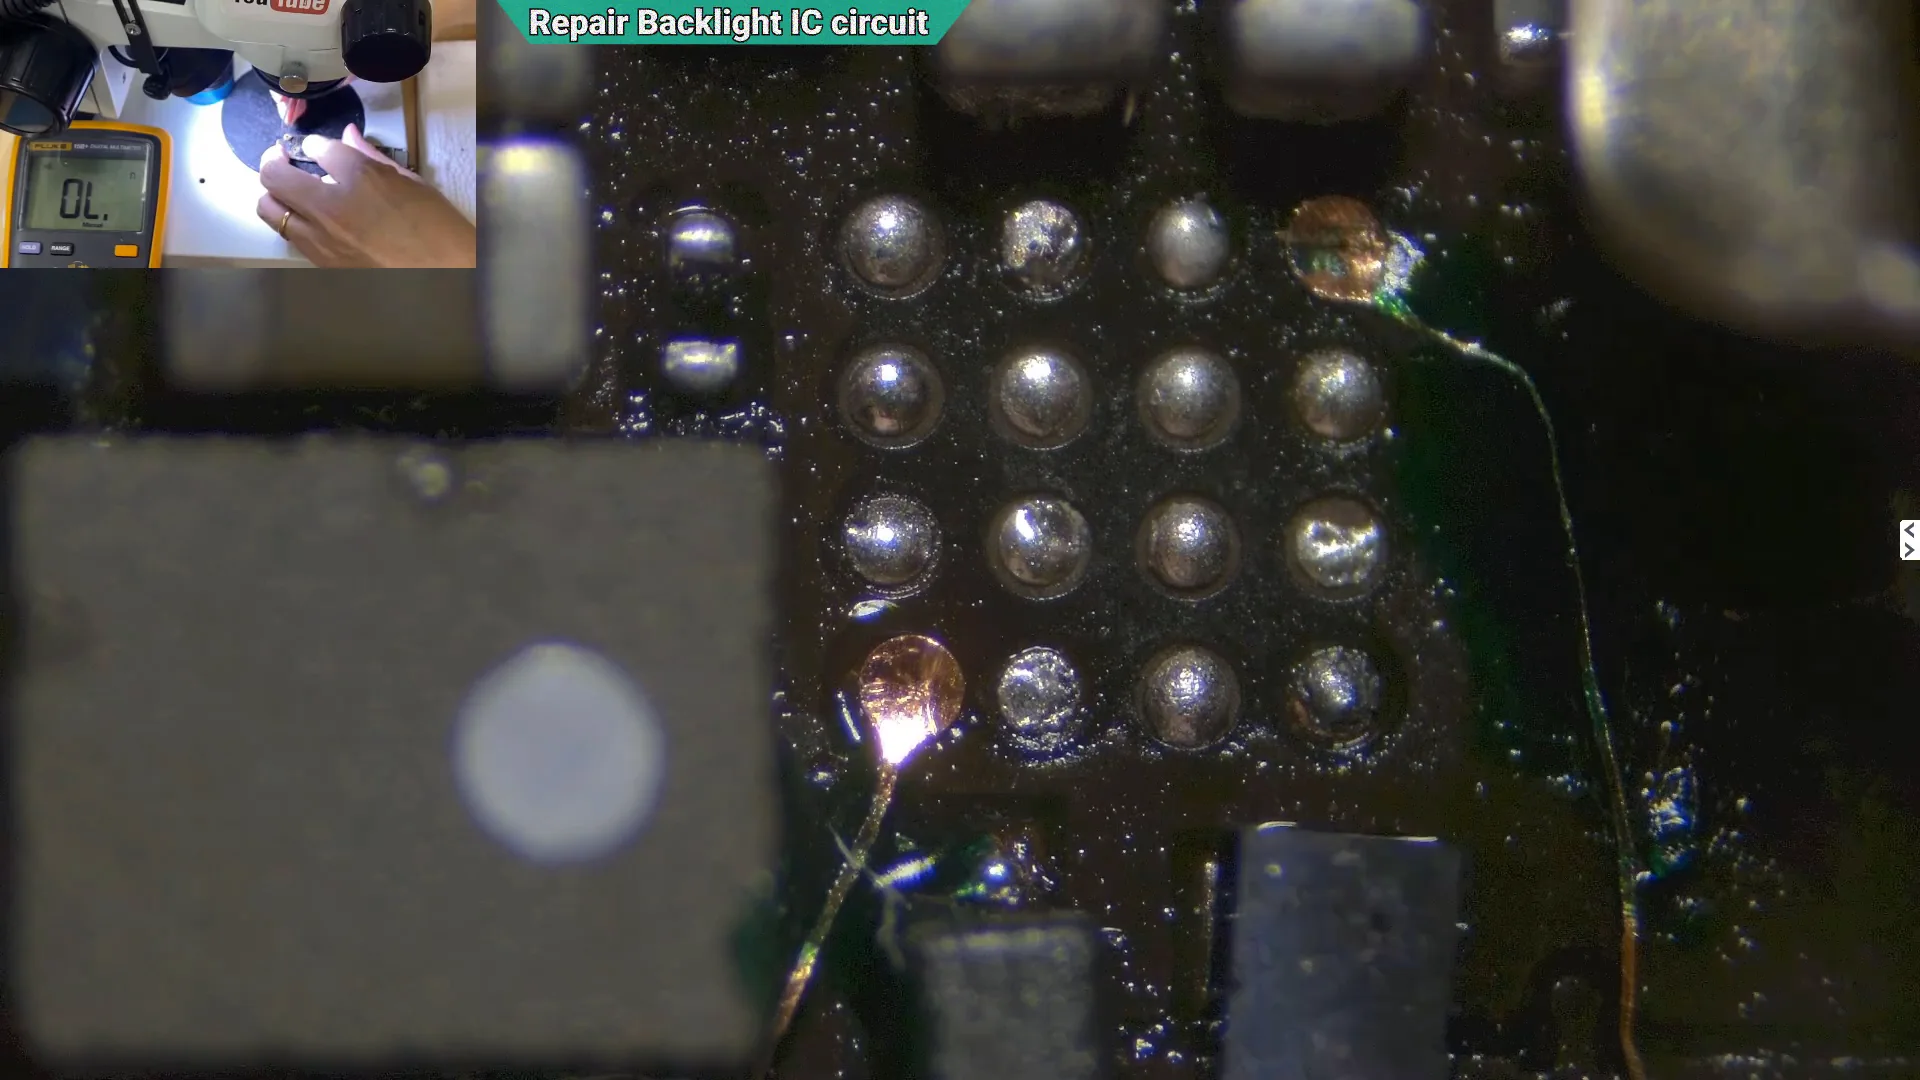
A solder pad repair kit was trimmed to create replacement pads matching the original PCB layout, providing a cleaner and more reliable repair than forming pads manually.
The replacement pads were carefully aligned with the damaged PCB to restore the missing solder pad locations before installing the replacement backlight IC.
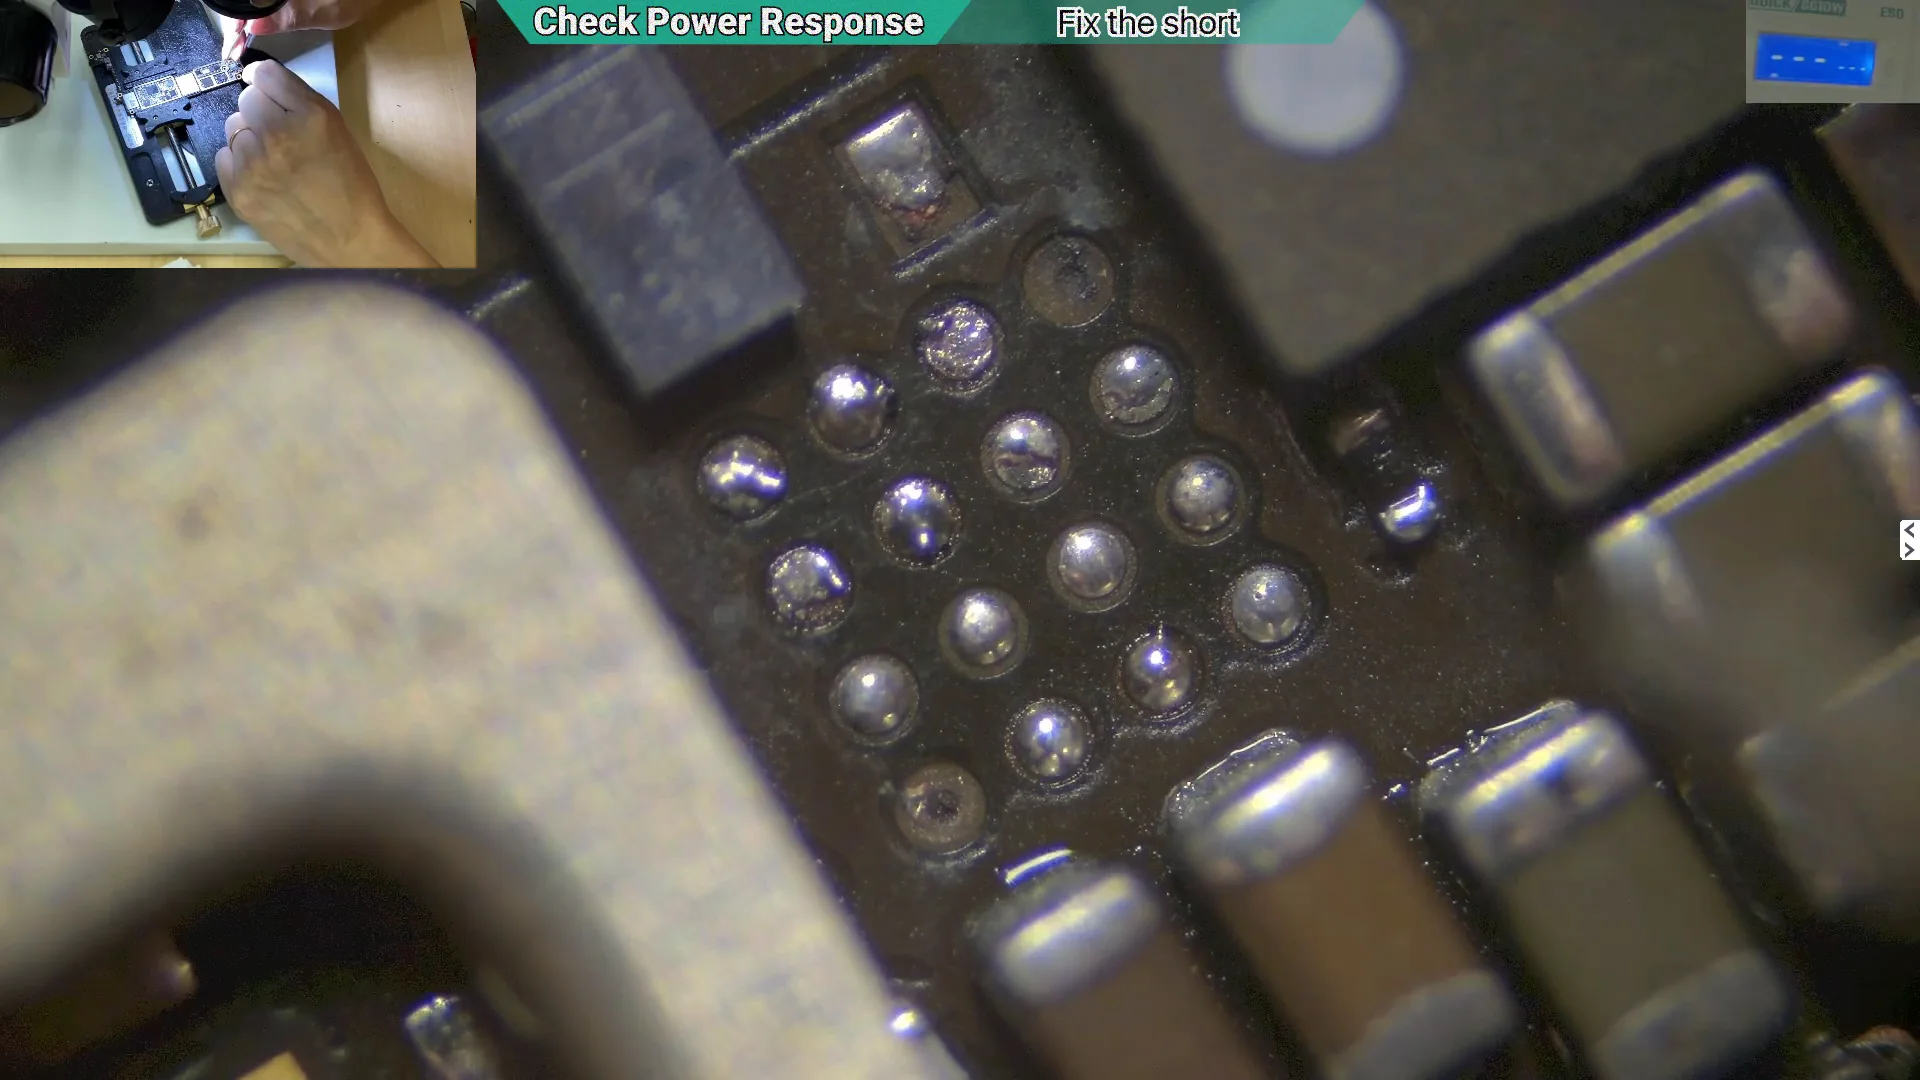
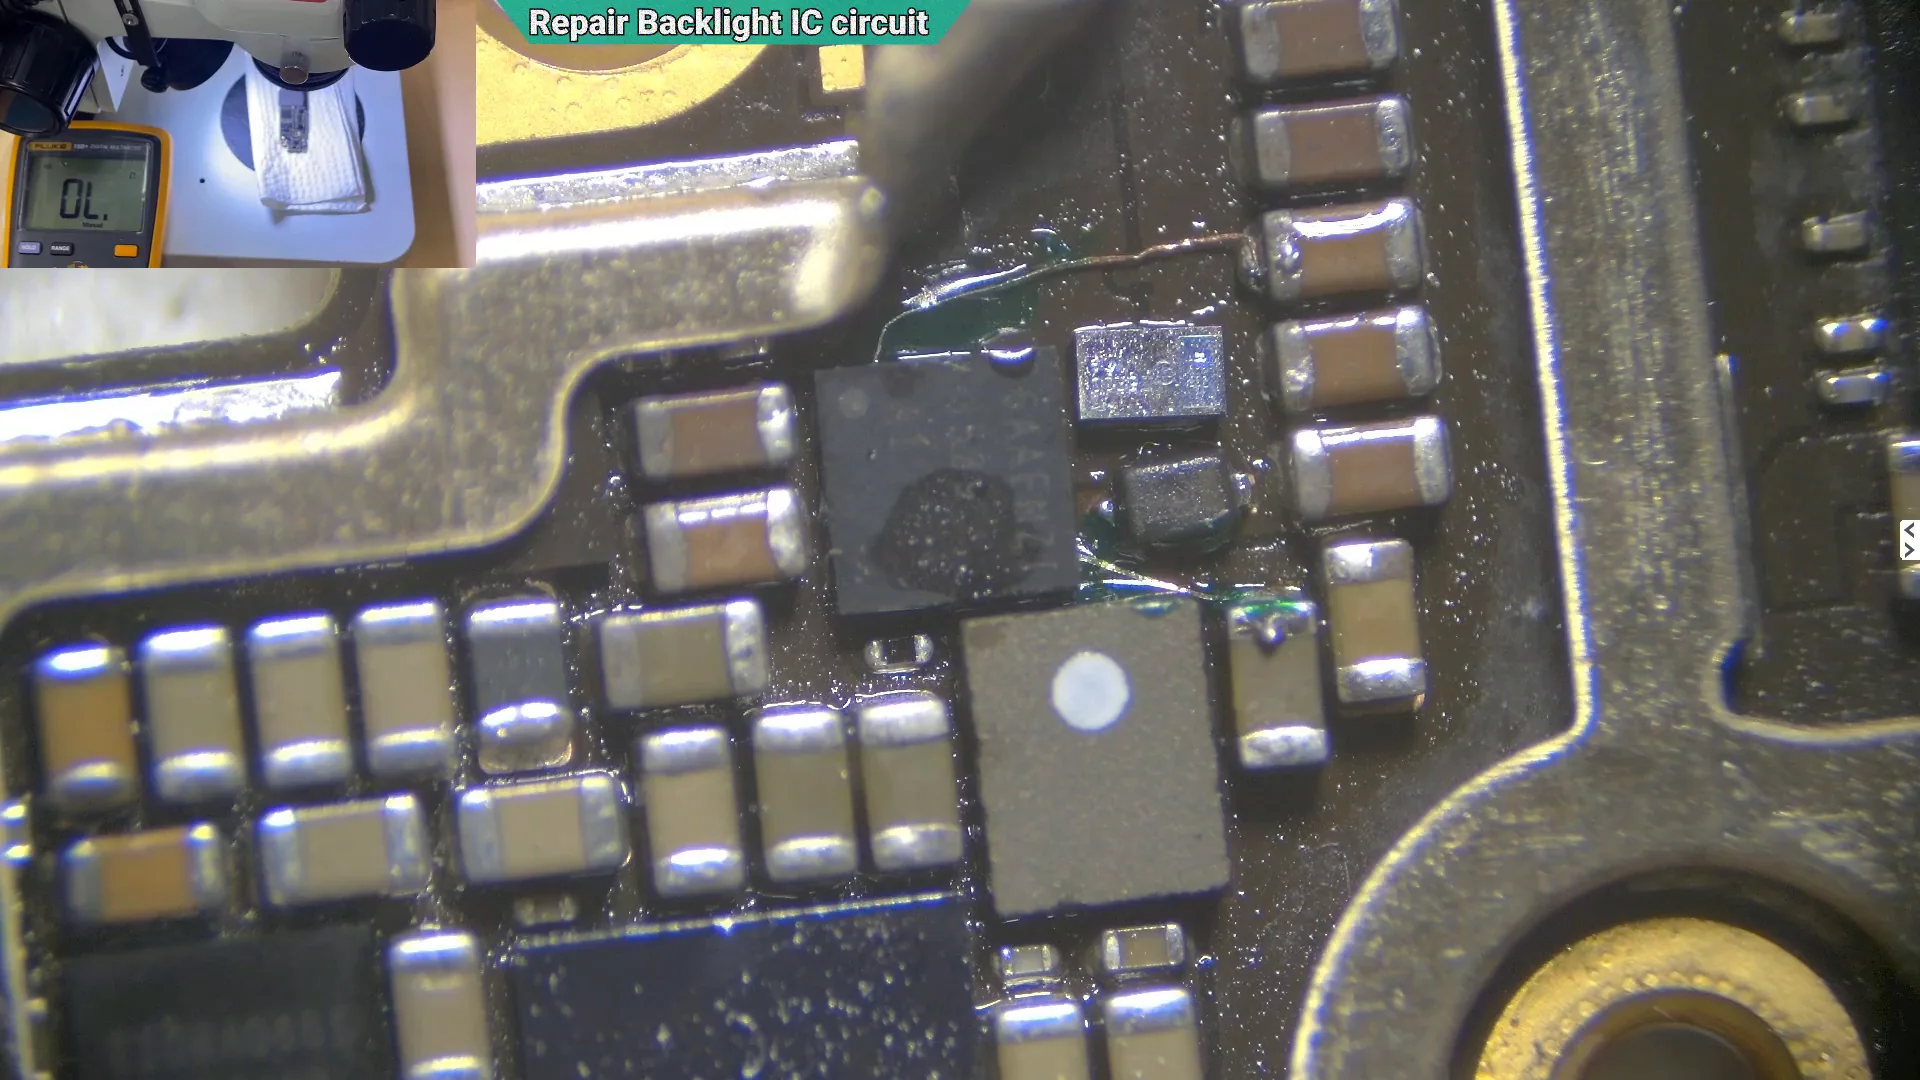
After the replacement pads were secured with UV mask, the repaired PCB was ready for installation of the replacement backlight IC.
The replacement backlight IC was installed onto the reconstructed circuit, completing the repair of the damaged backlight section of the motherboard.
Final Assembly and Functional Testing
After completing the motherboard repair, the device was reassembled for functional testing. This final stage verifies that the repaired motherboard, display, charging system, and original NAND all operate together correctly before the iPhone is returned to the customer.
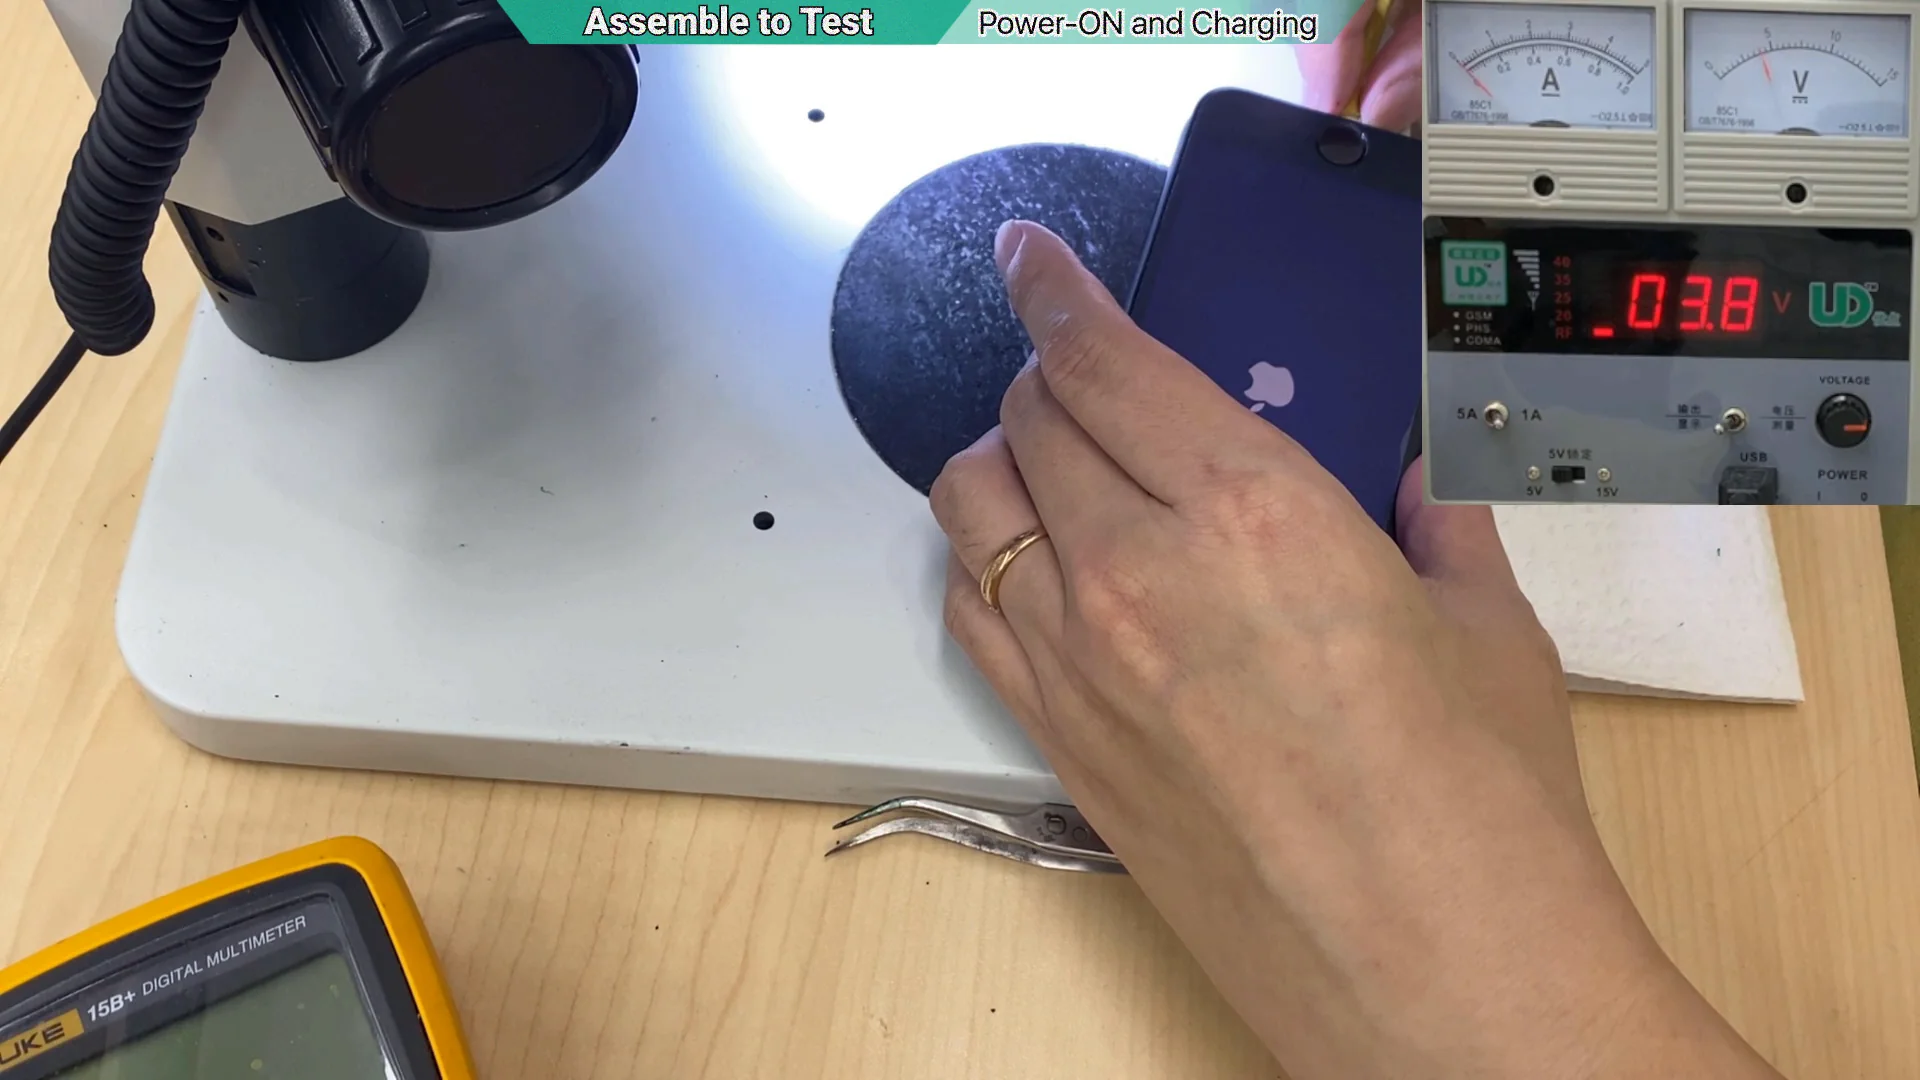
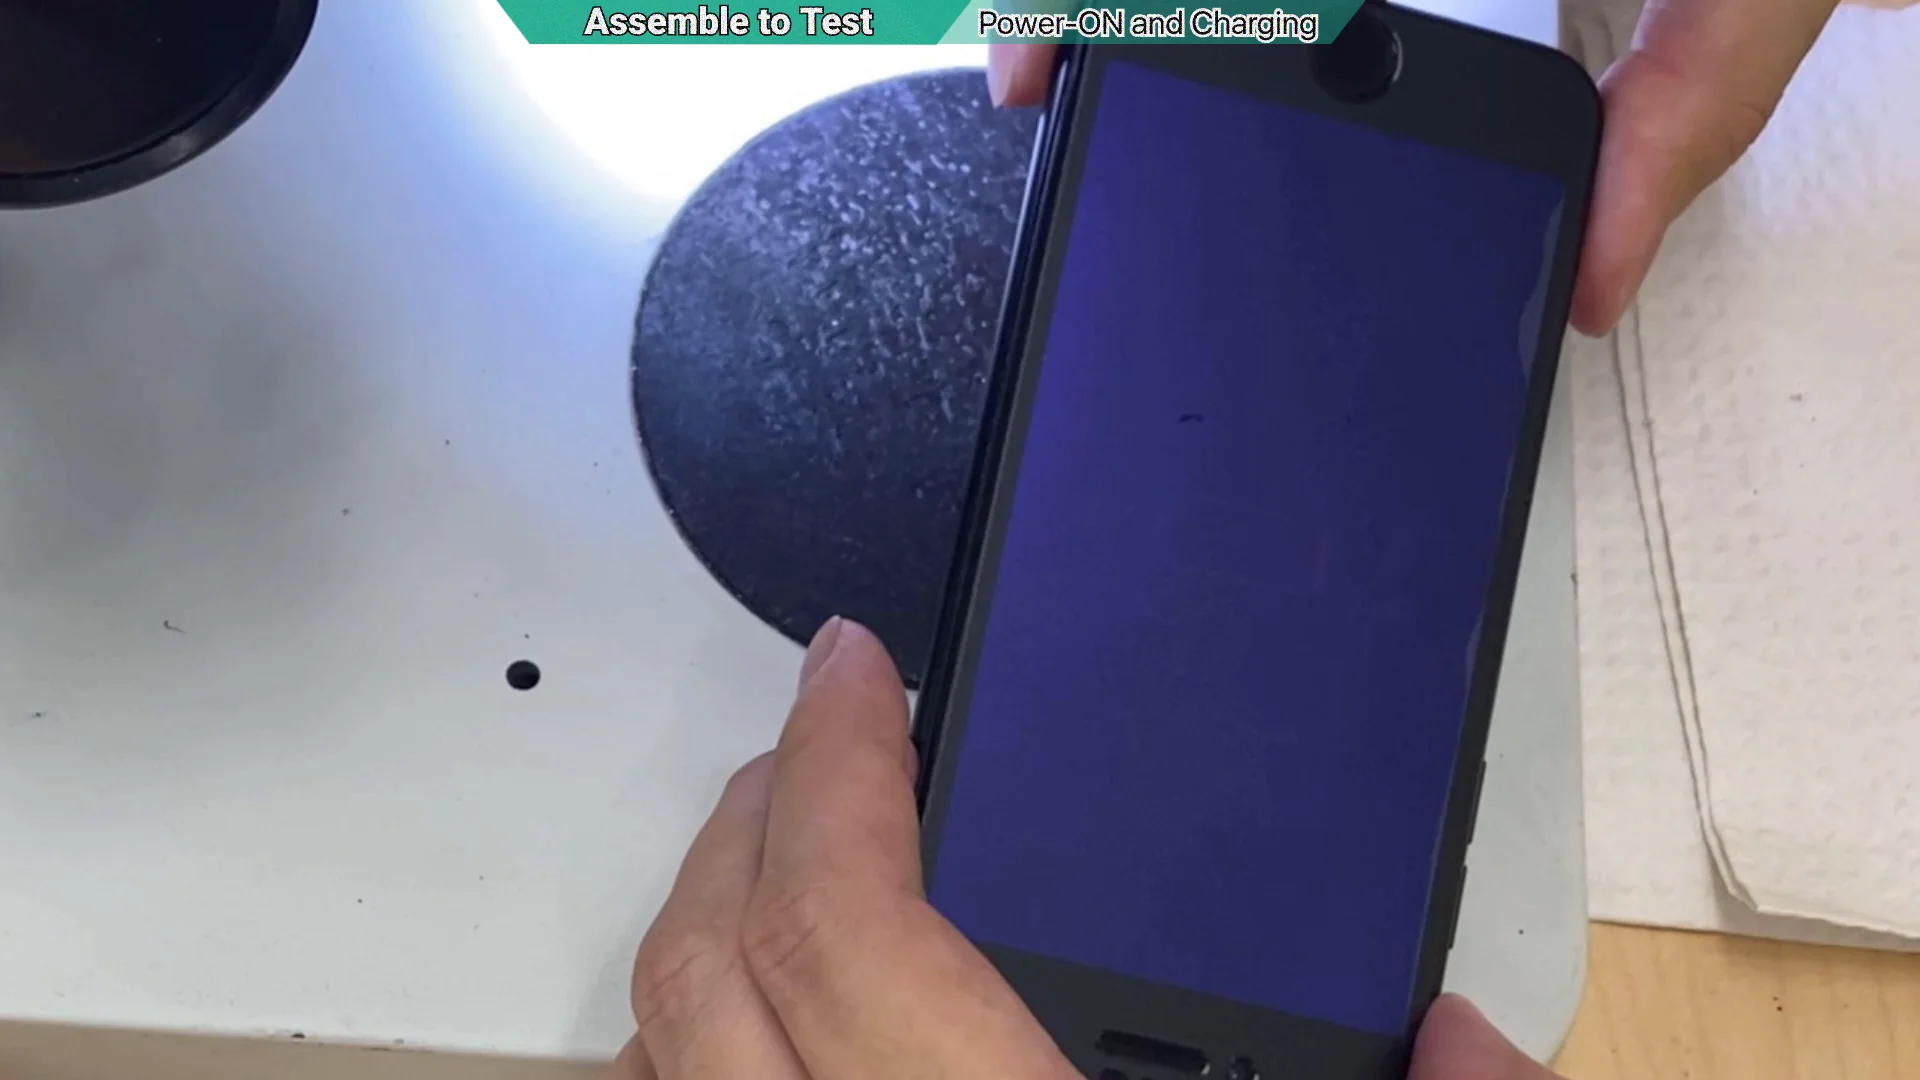
During the initial power-on test, the repaired iPhone successfully displayed the Apple logo, confirming that the motherboard had entered the normal startup sequence. Because the battery had been completely discharged while the device was inoperable, the phone shut down shortly afterward and was connected to a charger before continuing with the final functional test.
During the first power-on test, the iPhone successfully displayed the Apple logo, confirming that the motherboard had begun the normal startup sequence. The device then shut down because the battery was fully discharged.
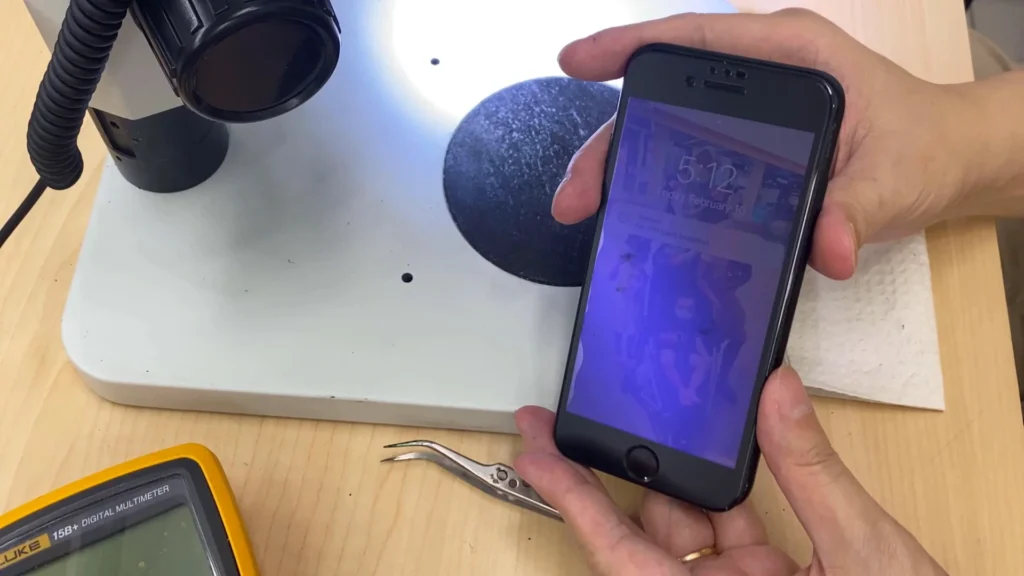
After connecting a charger, the iPhone displayed the charging screen, confirming that both the charging circuit and display were functioning correctly. The dim appearance is caused by the customer’s privacy screen protector rather than a display fault.
After the battery gained sufficient charge, the iPhone booted successfully to the original lock screen. The customer's wallpaper and data remained intact, confirming that the original NAND and personal data had been preserved throughout the repair. Personal details have been intentionally blurred to protect the customer's privacy.
Conclusion
This repair case reflects the same diagnostic approach we use on every water-damaged iPhone. Rather than replacing major components based on assumptions, we identify the actual cause of failure first and repair only what is necessary. This method has enabled us to successfully repair hundreds of water-damaged iPhones, preserving the original motherboard and customer data in the vast majority of cases.
Watch the Complete Repair Process
This article highlights the key stages of the repair. If you’d like to see the diagnosis and repair performed in real time, watch the full repair video on our YouTube channel.
Need Help with a Water-Damaged iPhone?
If your iPhone has been damaged by water, don’t assume the motherboard needs replacing or your data is lost. Every device is professionally diagnosed first to determine the actual fault before any major repair is recommended.
Many water-damaged iPhones can be repaired while preserving the original motherboard and customer data. Our evidence-based diagnostic process helps avoid unnecessary repairs whenever possible.